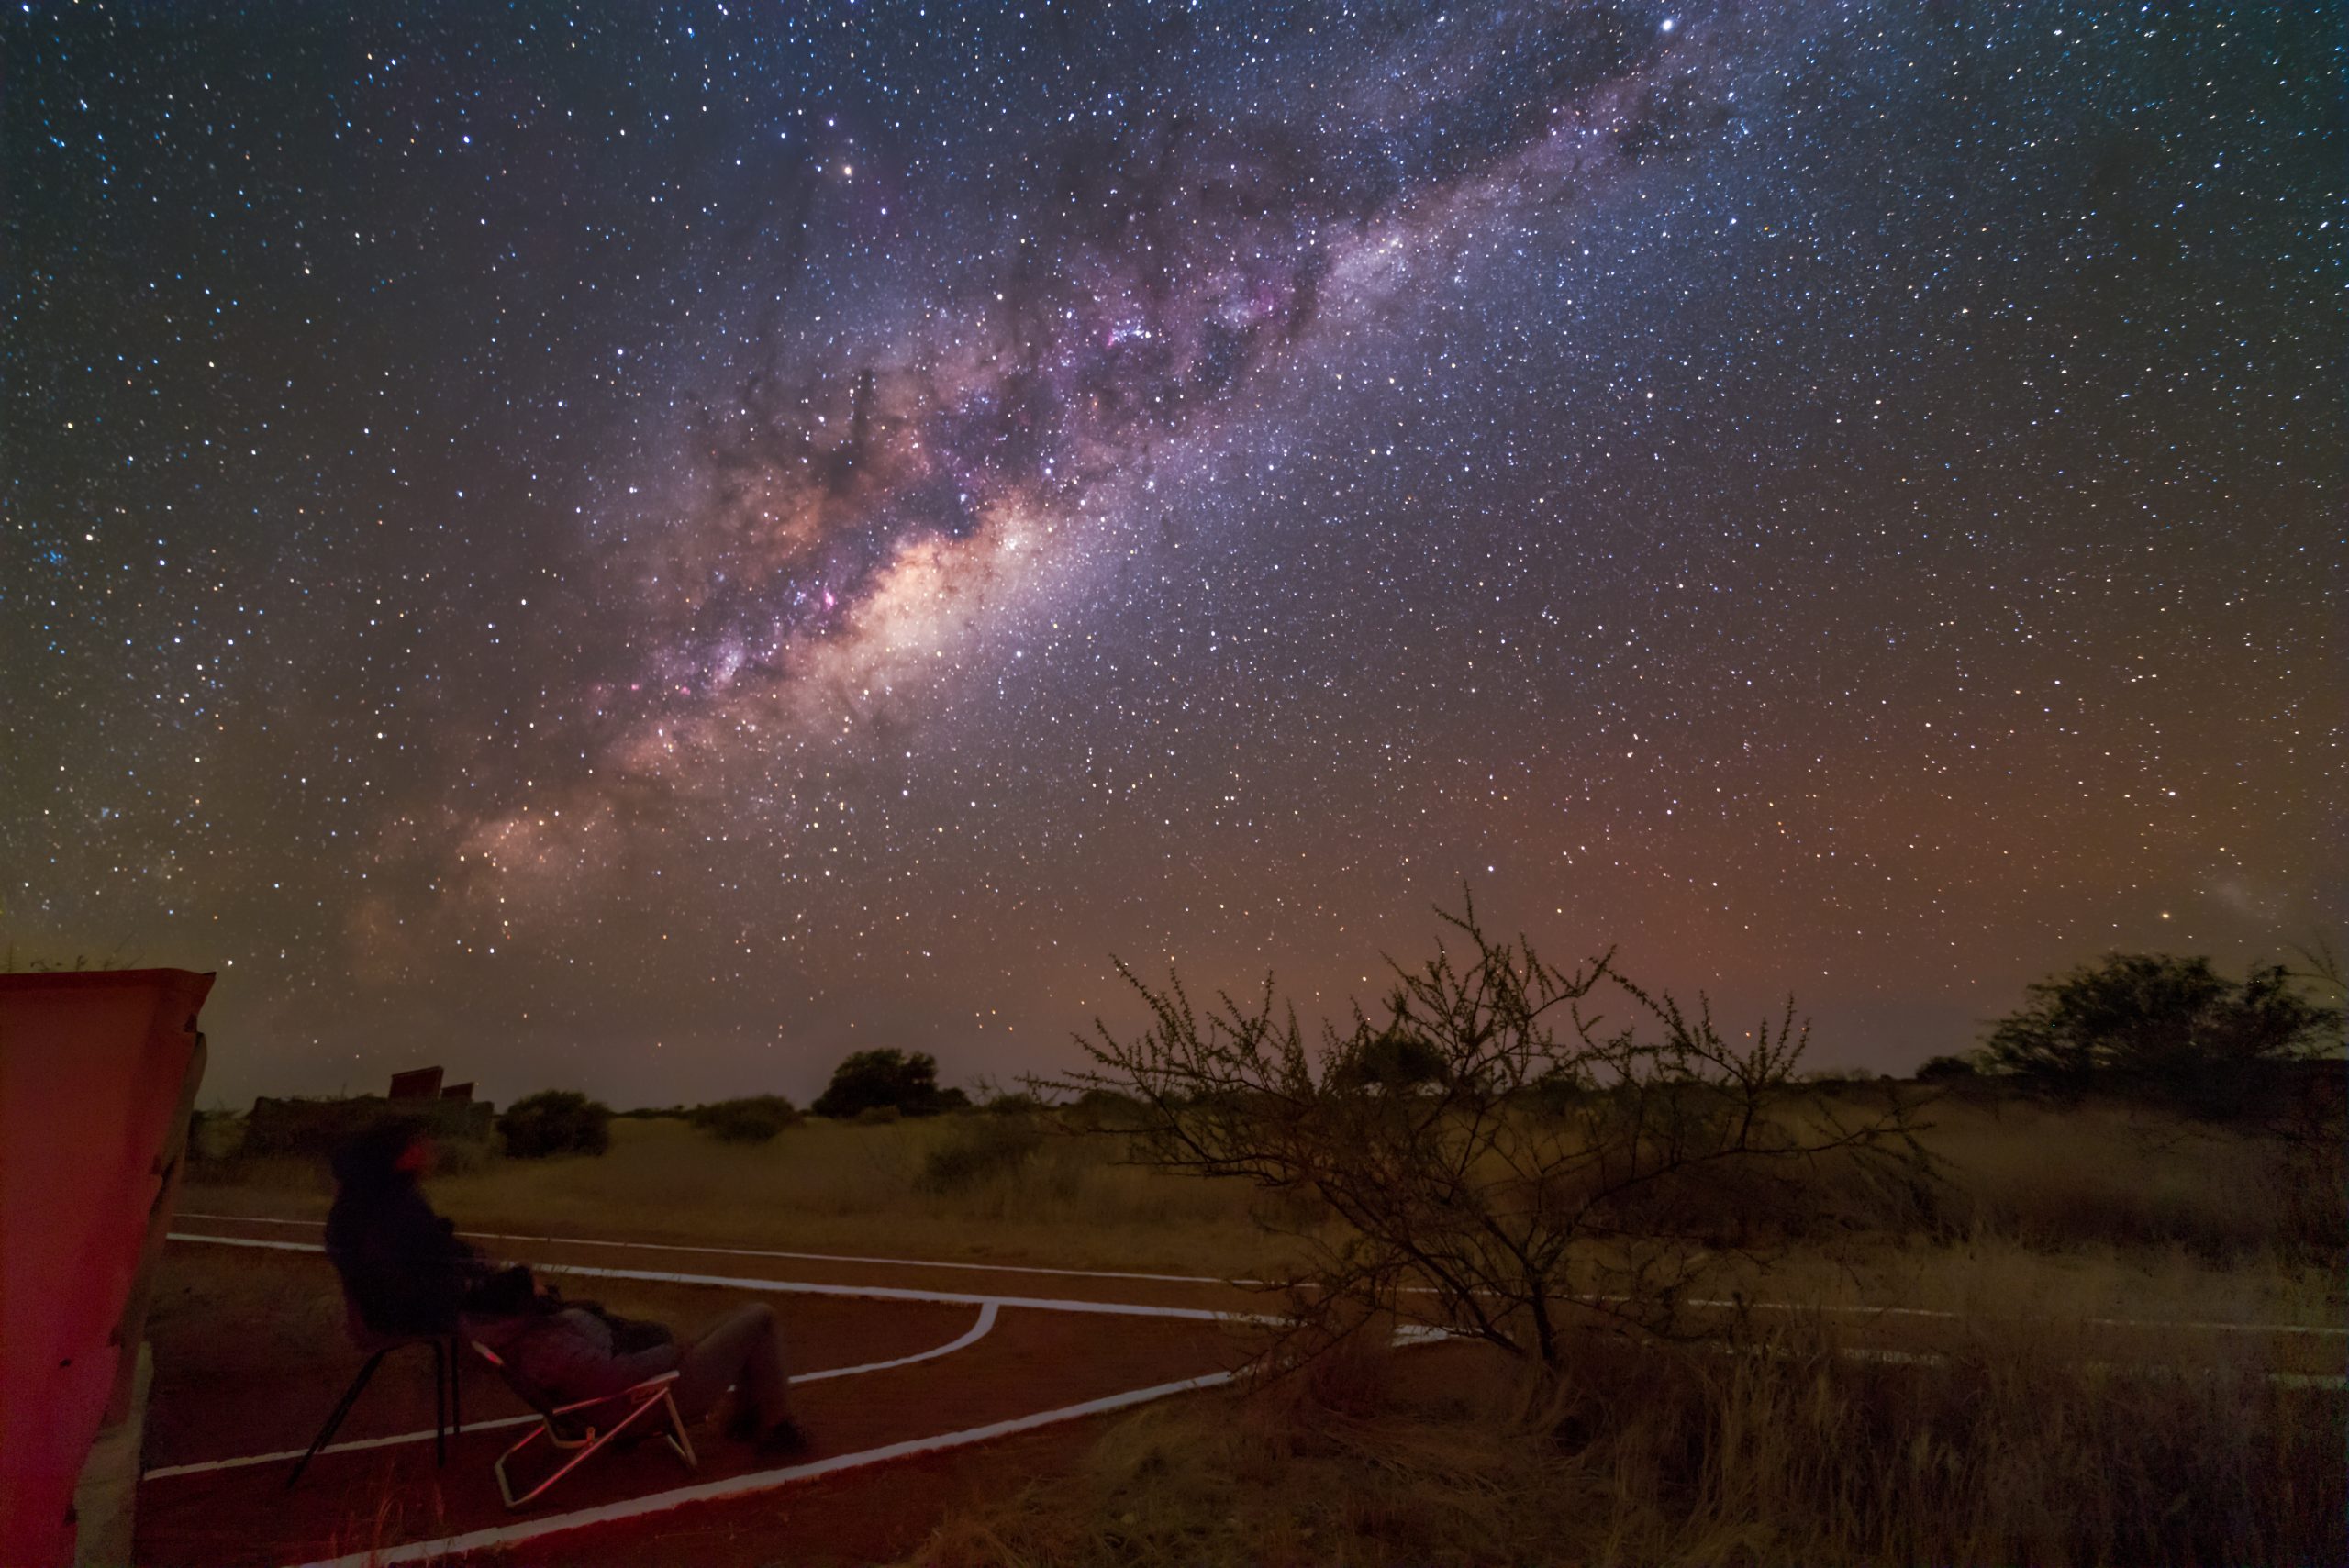
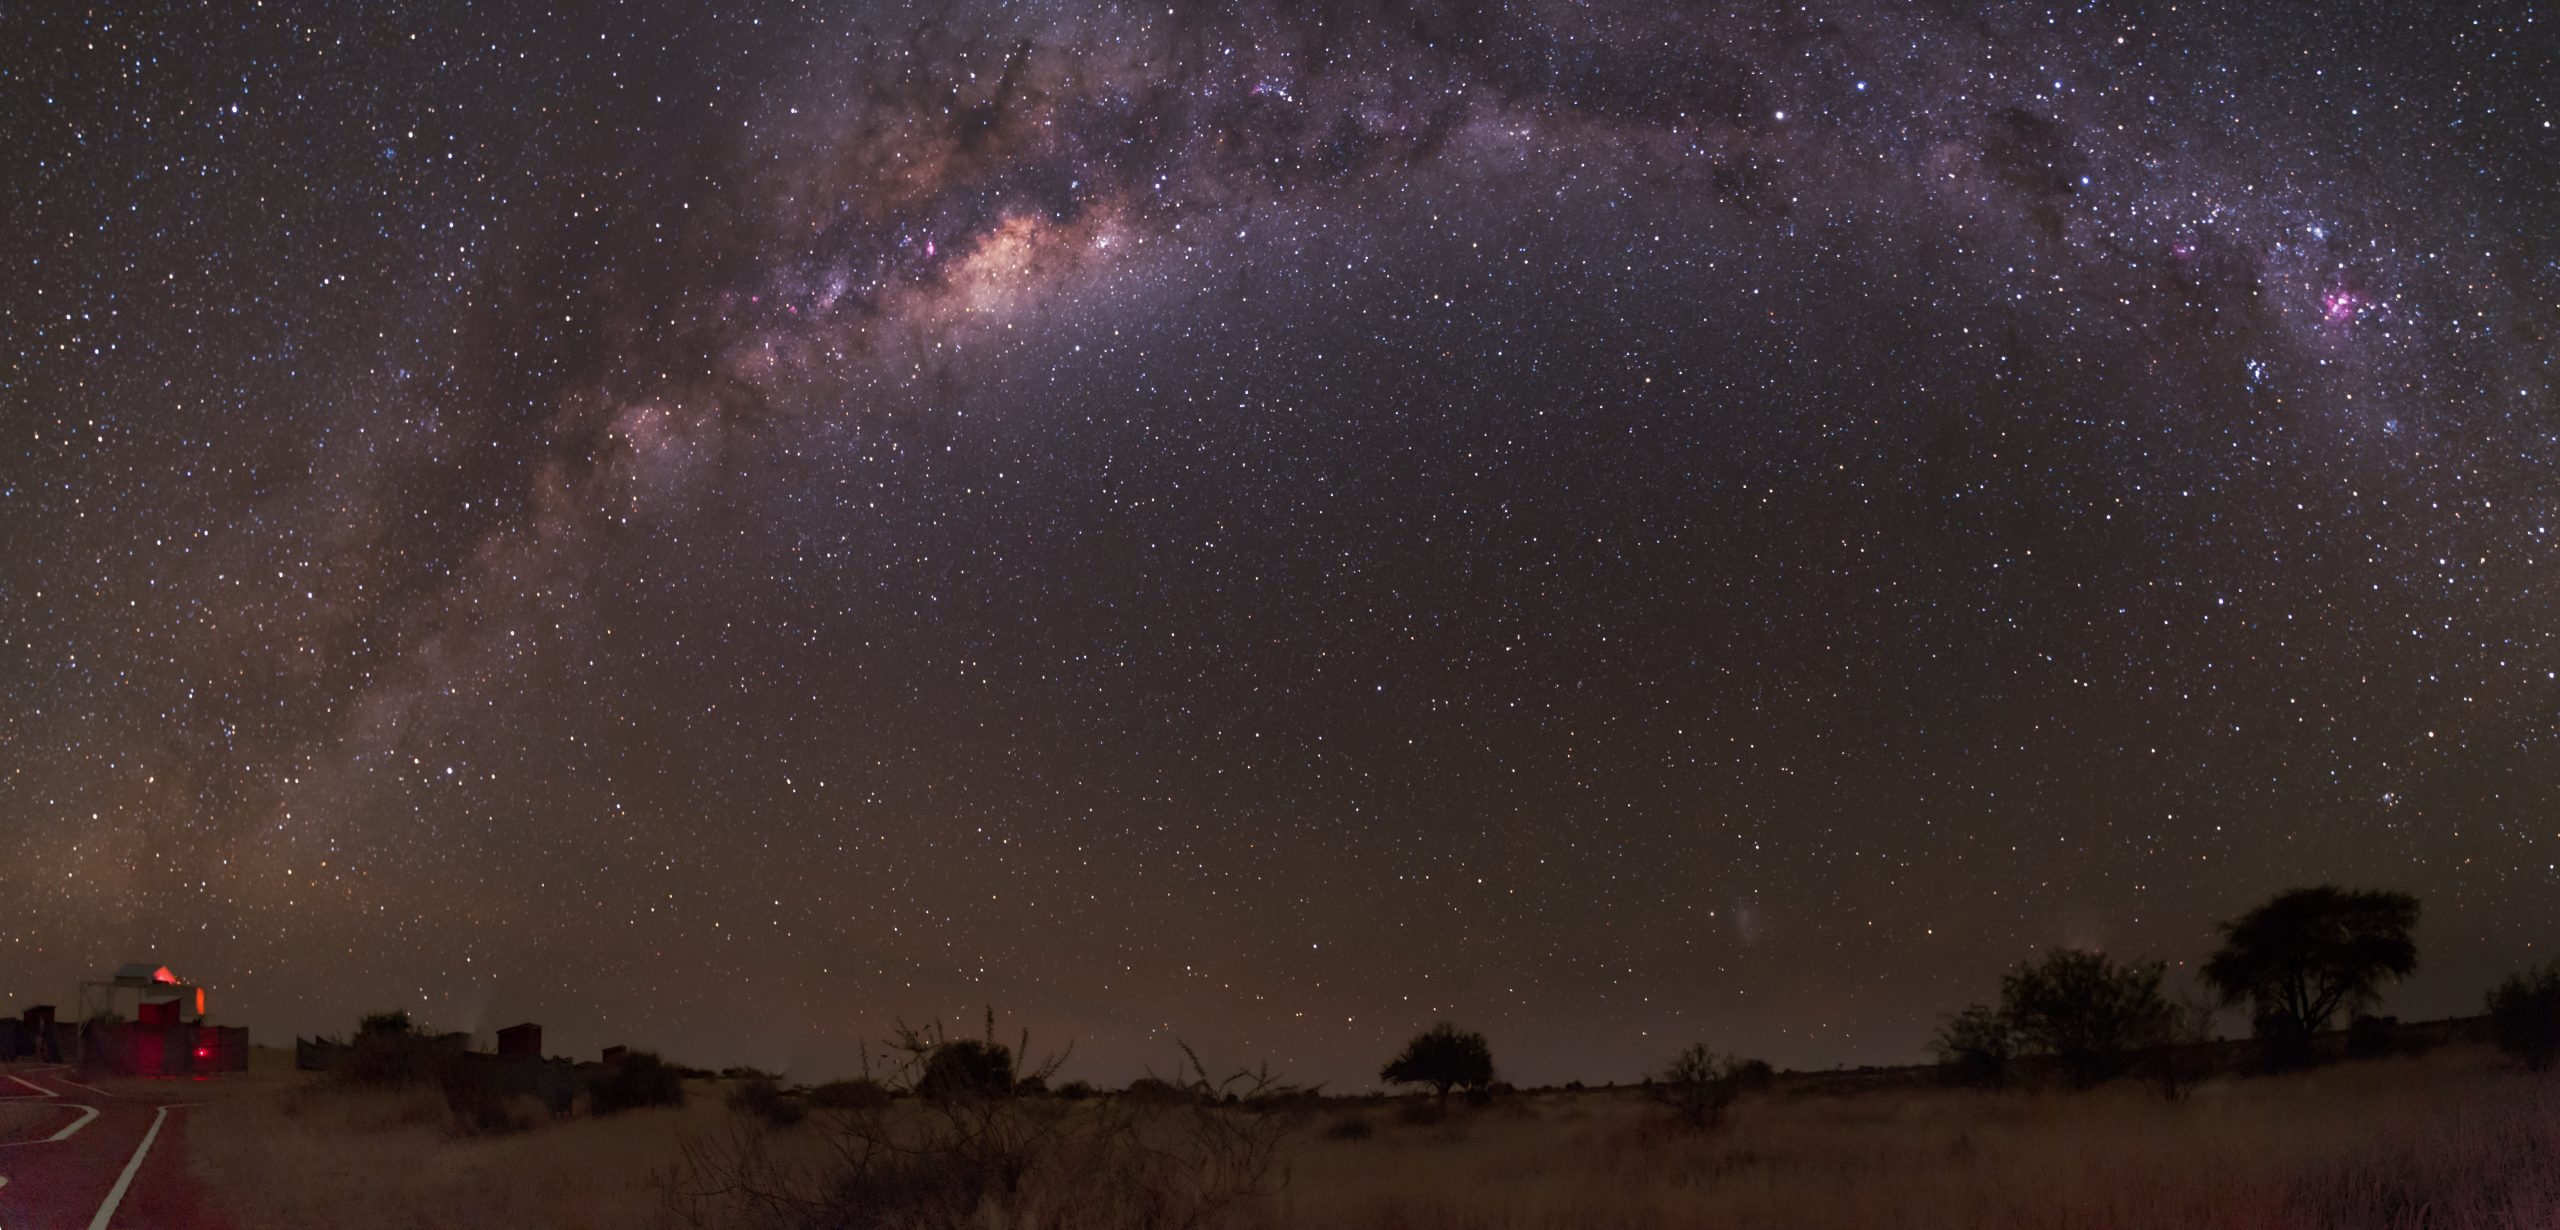
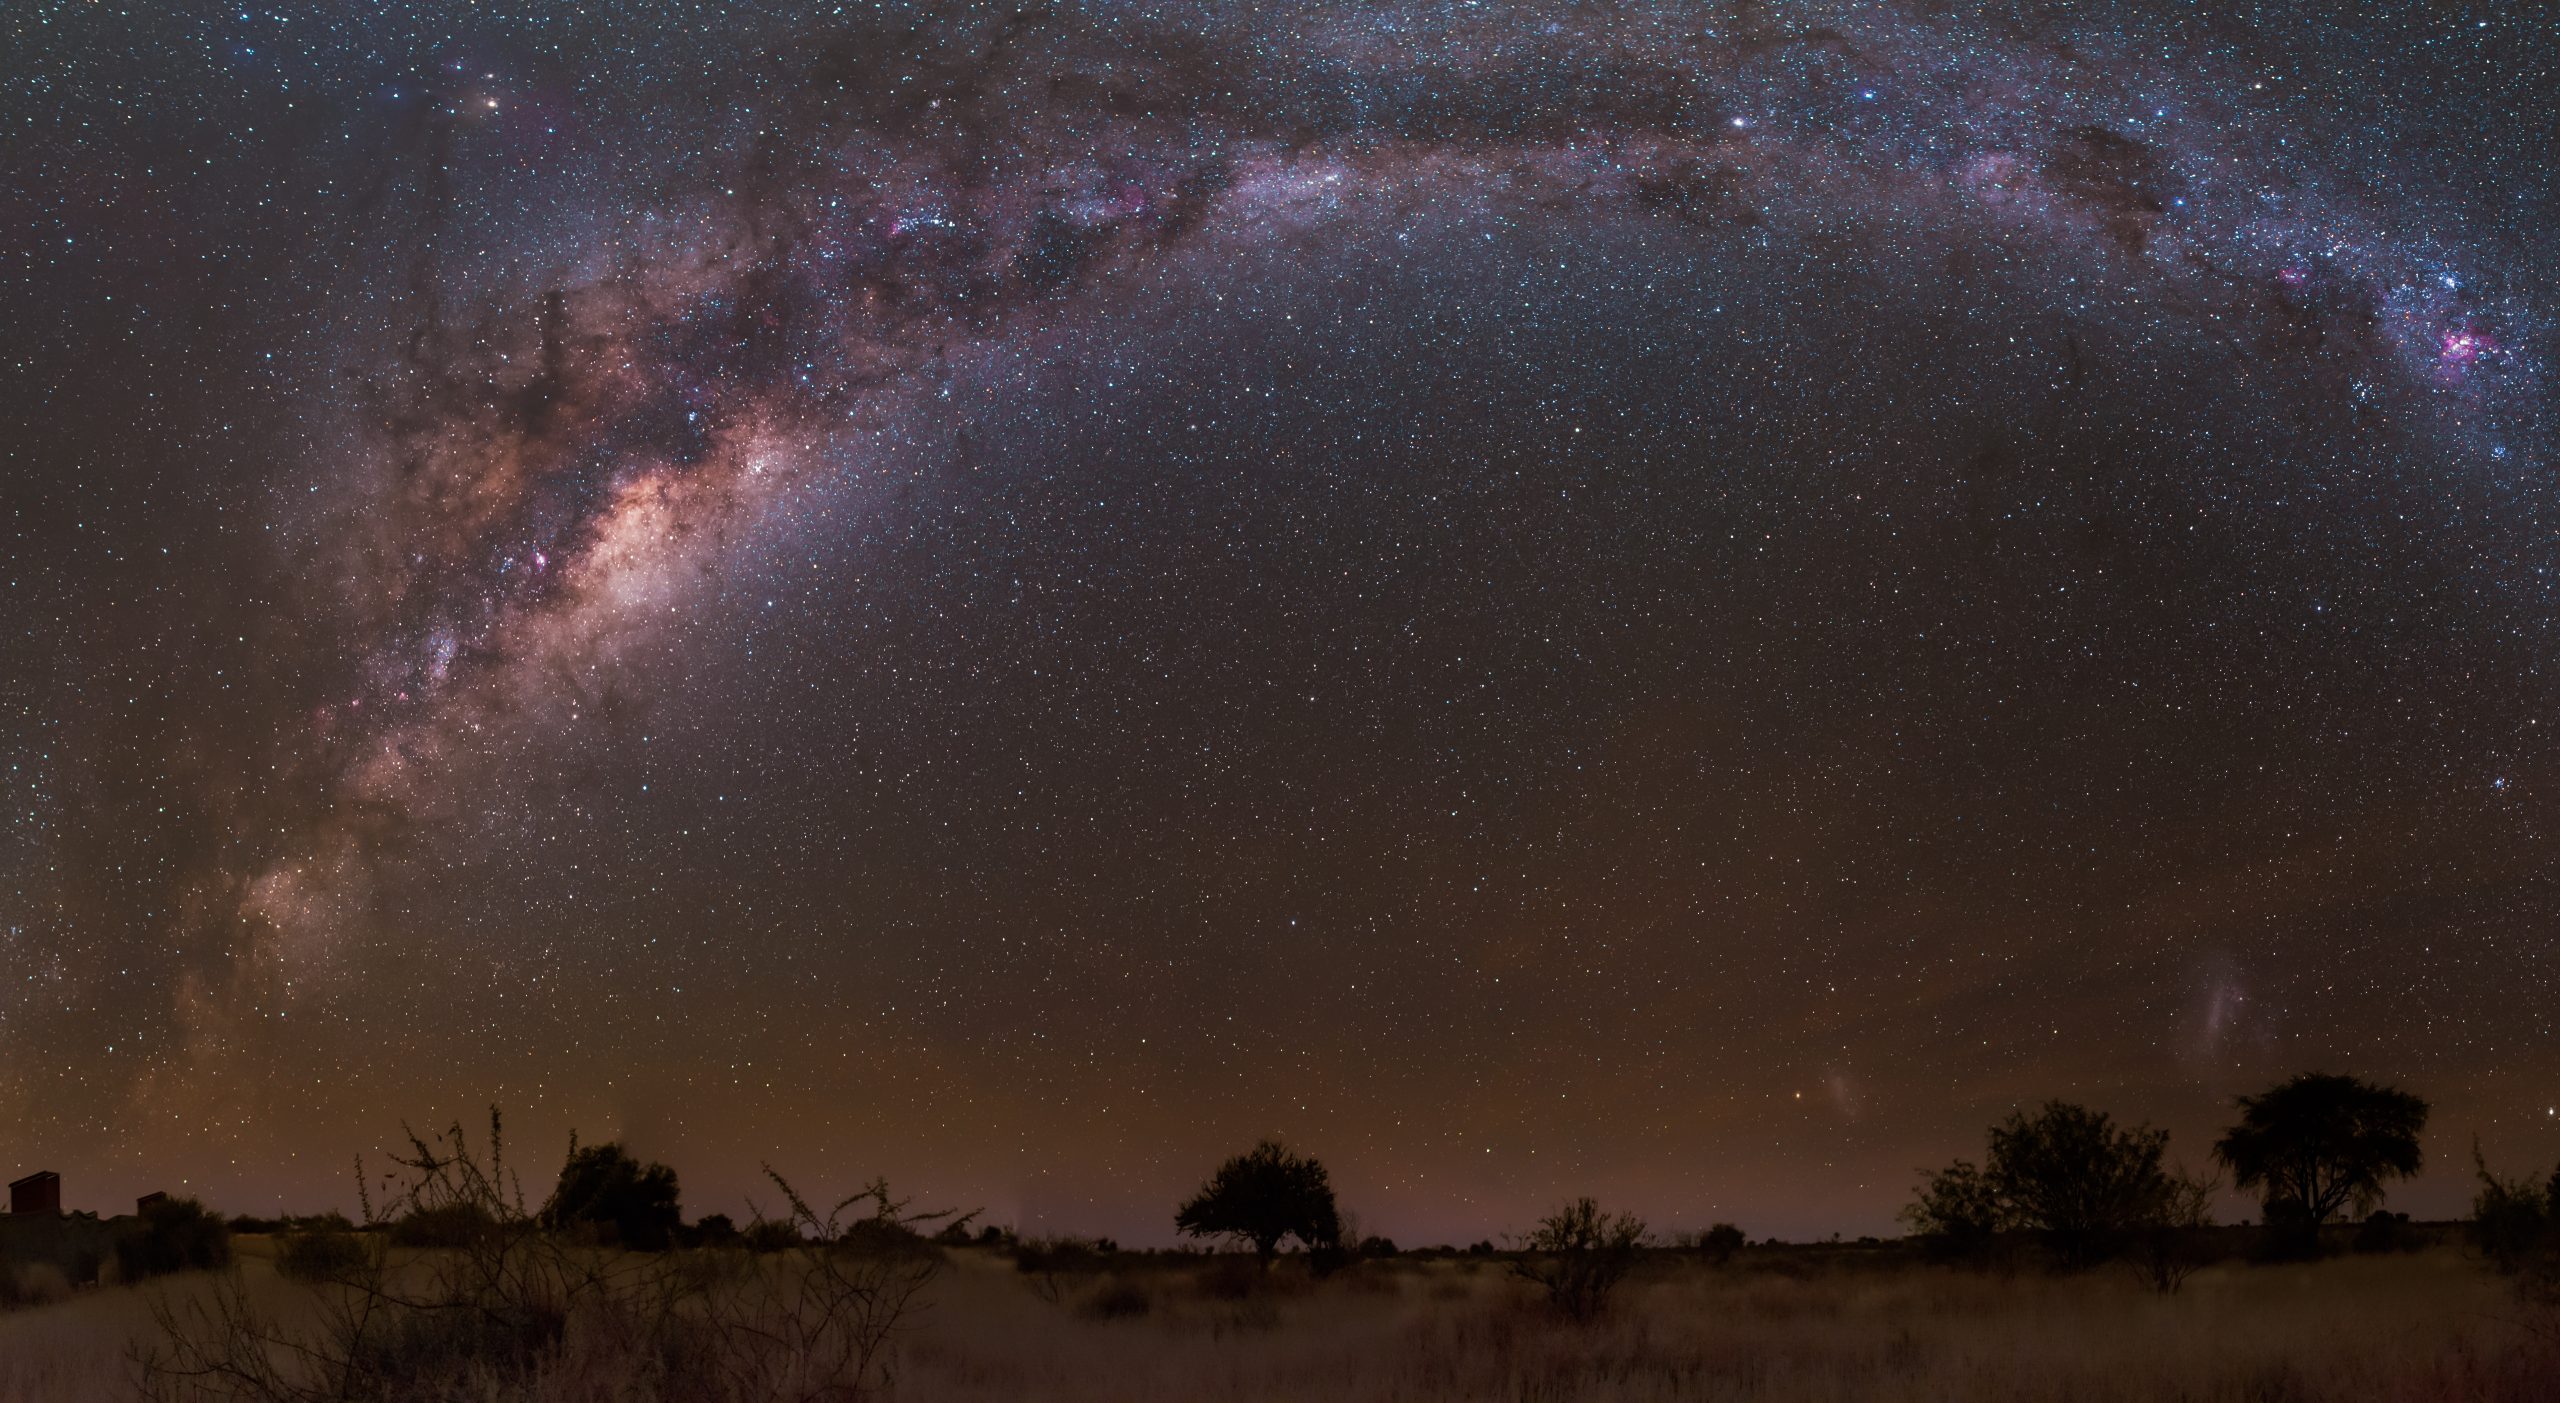
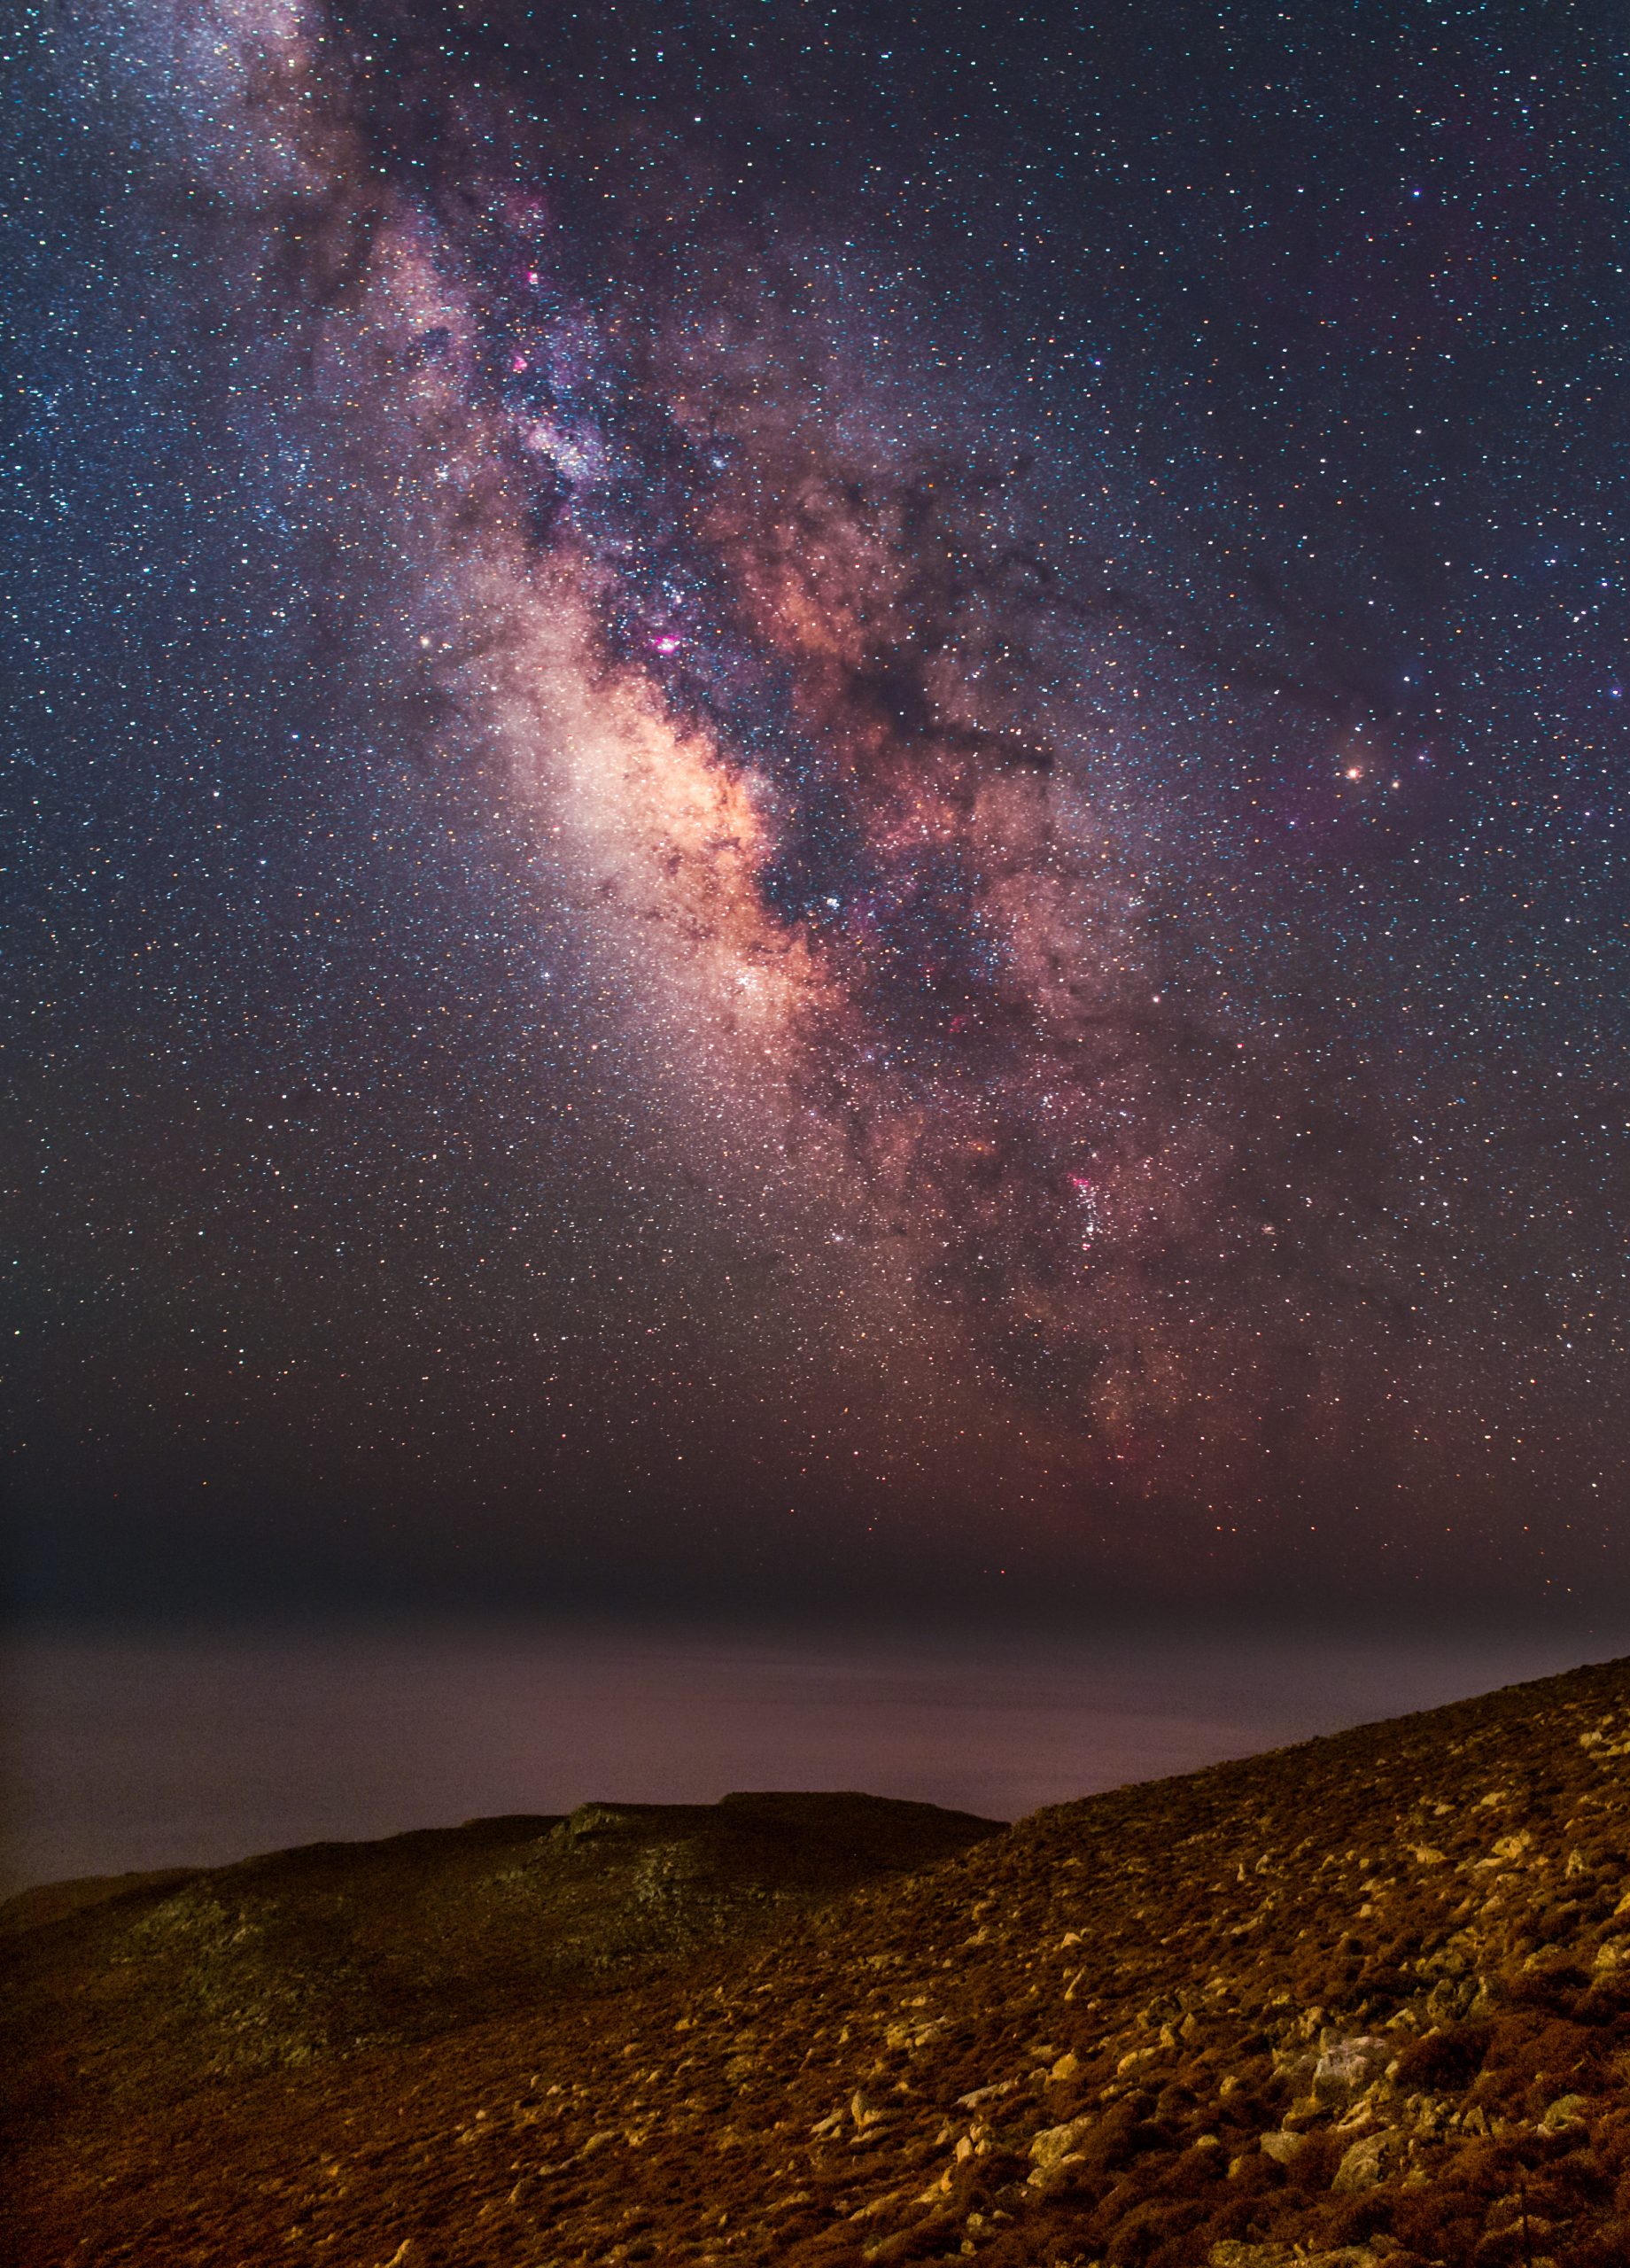
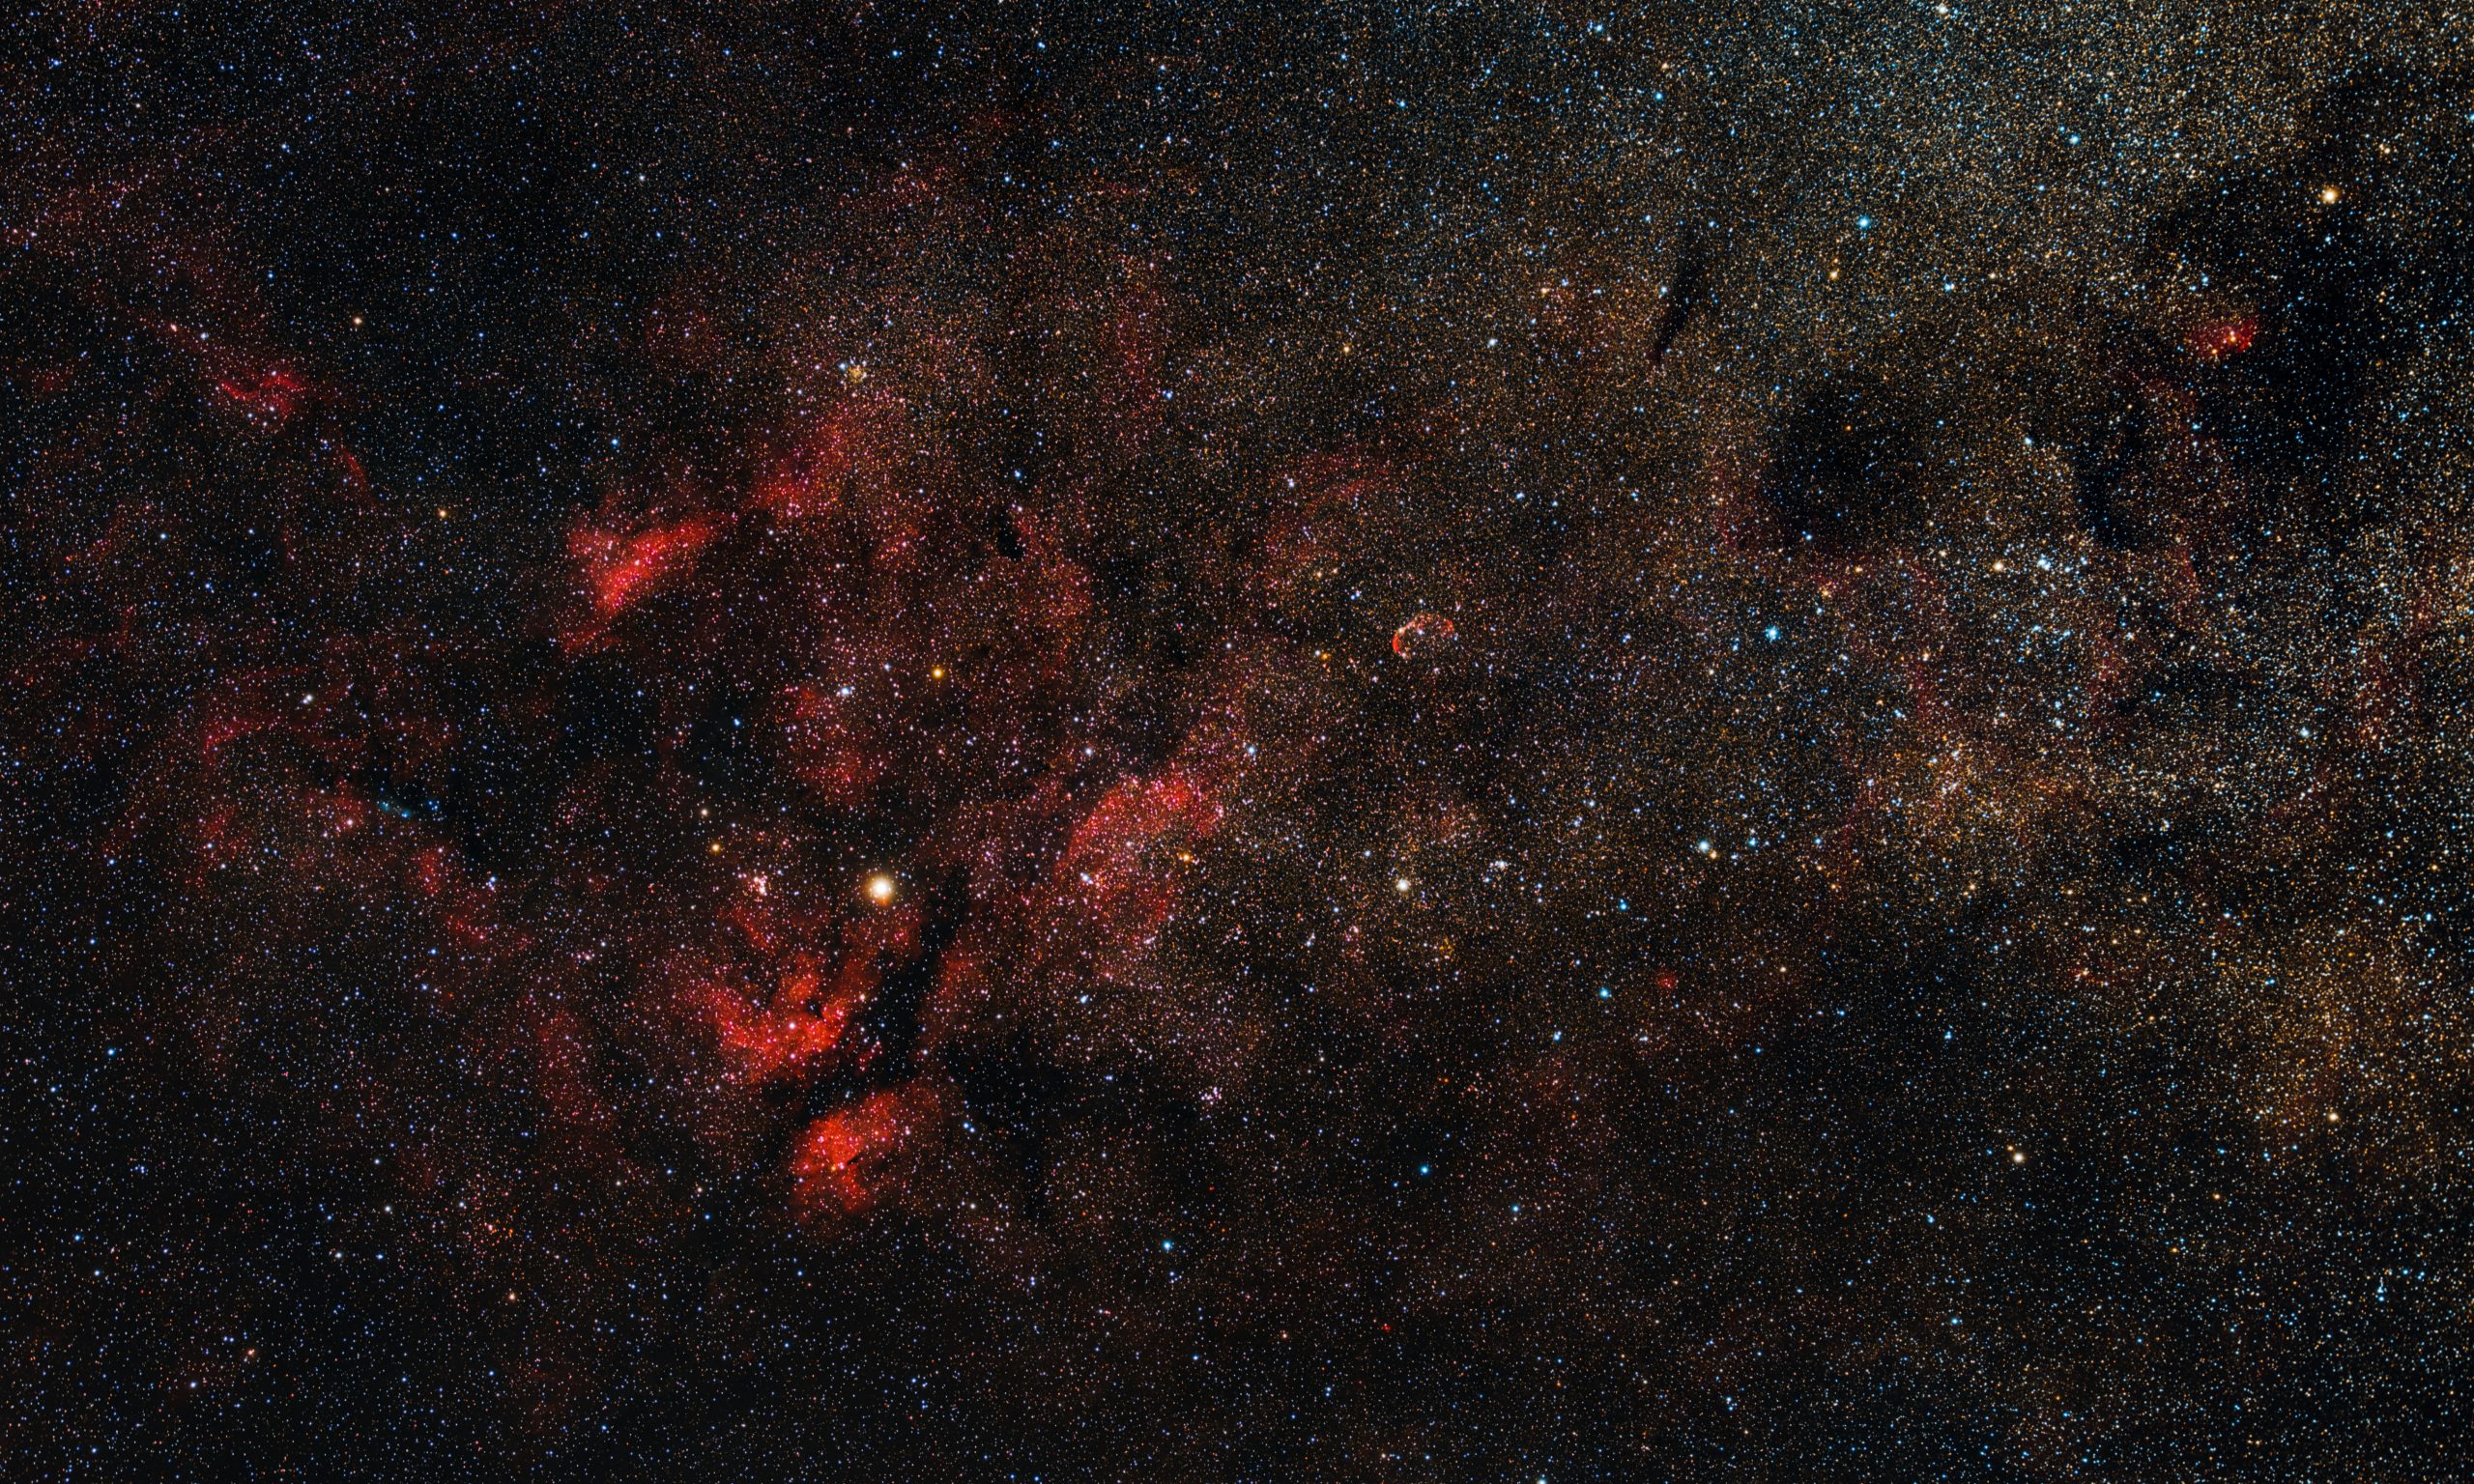
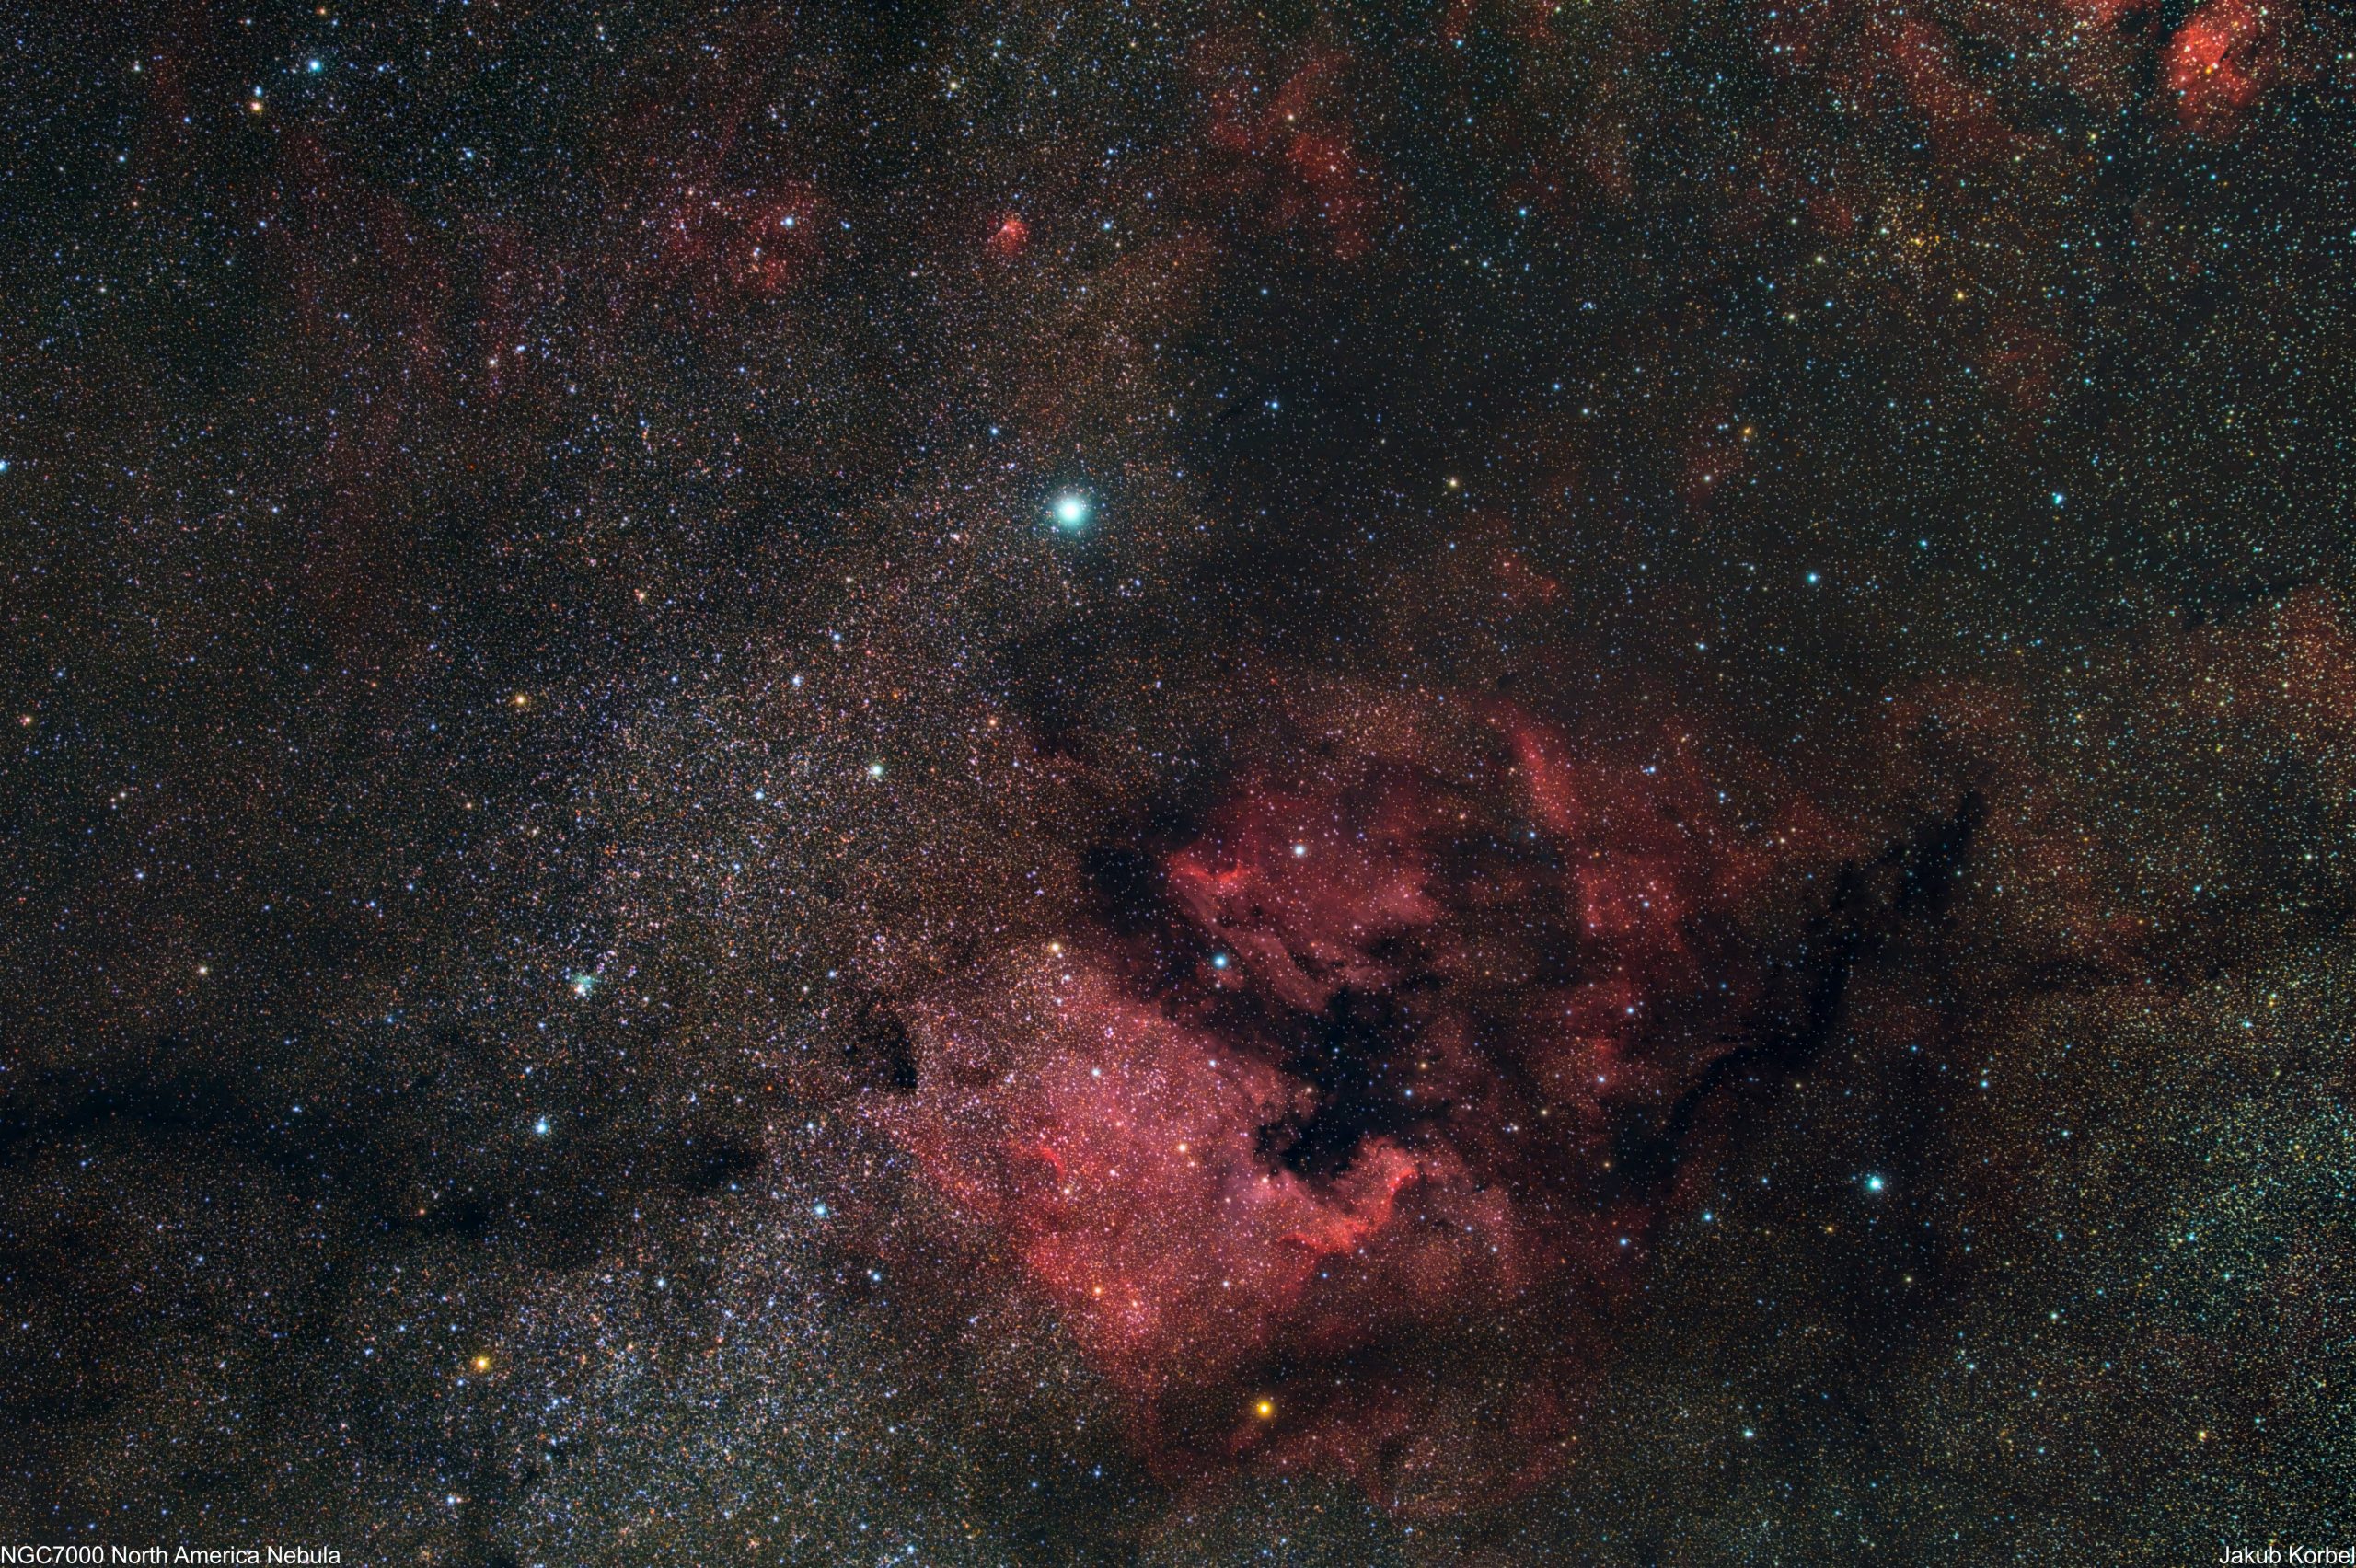
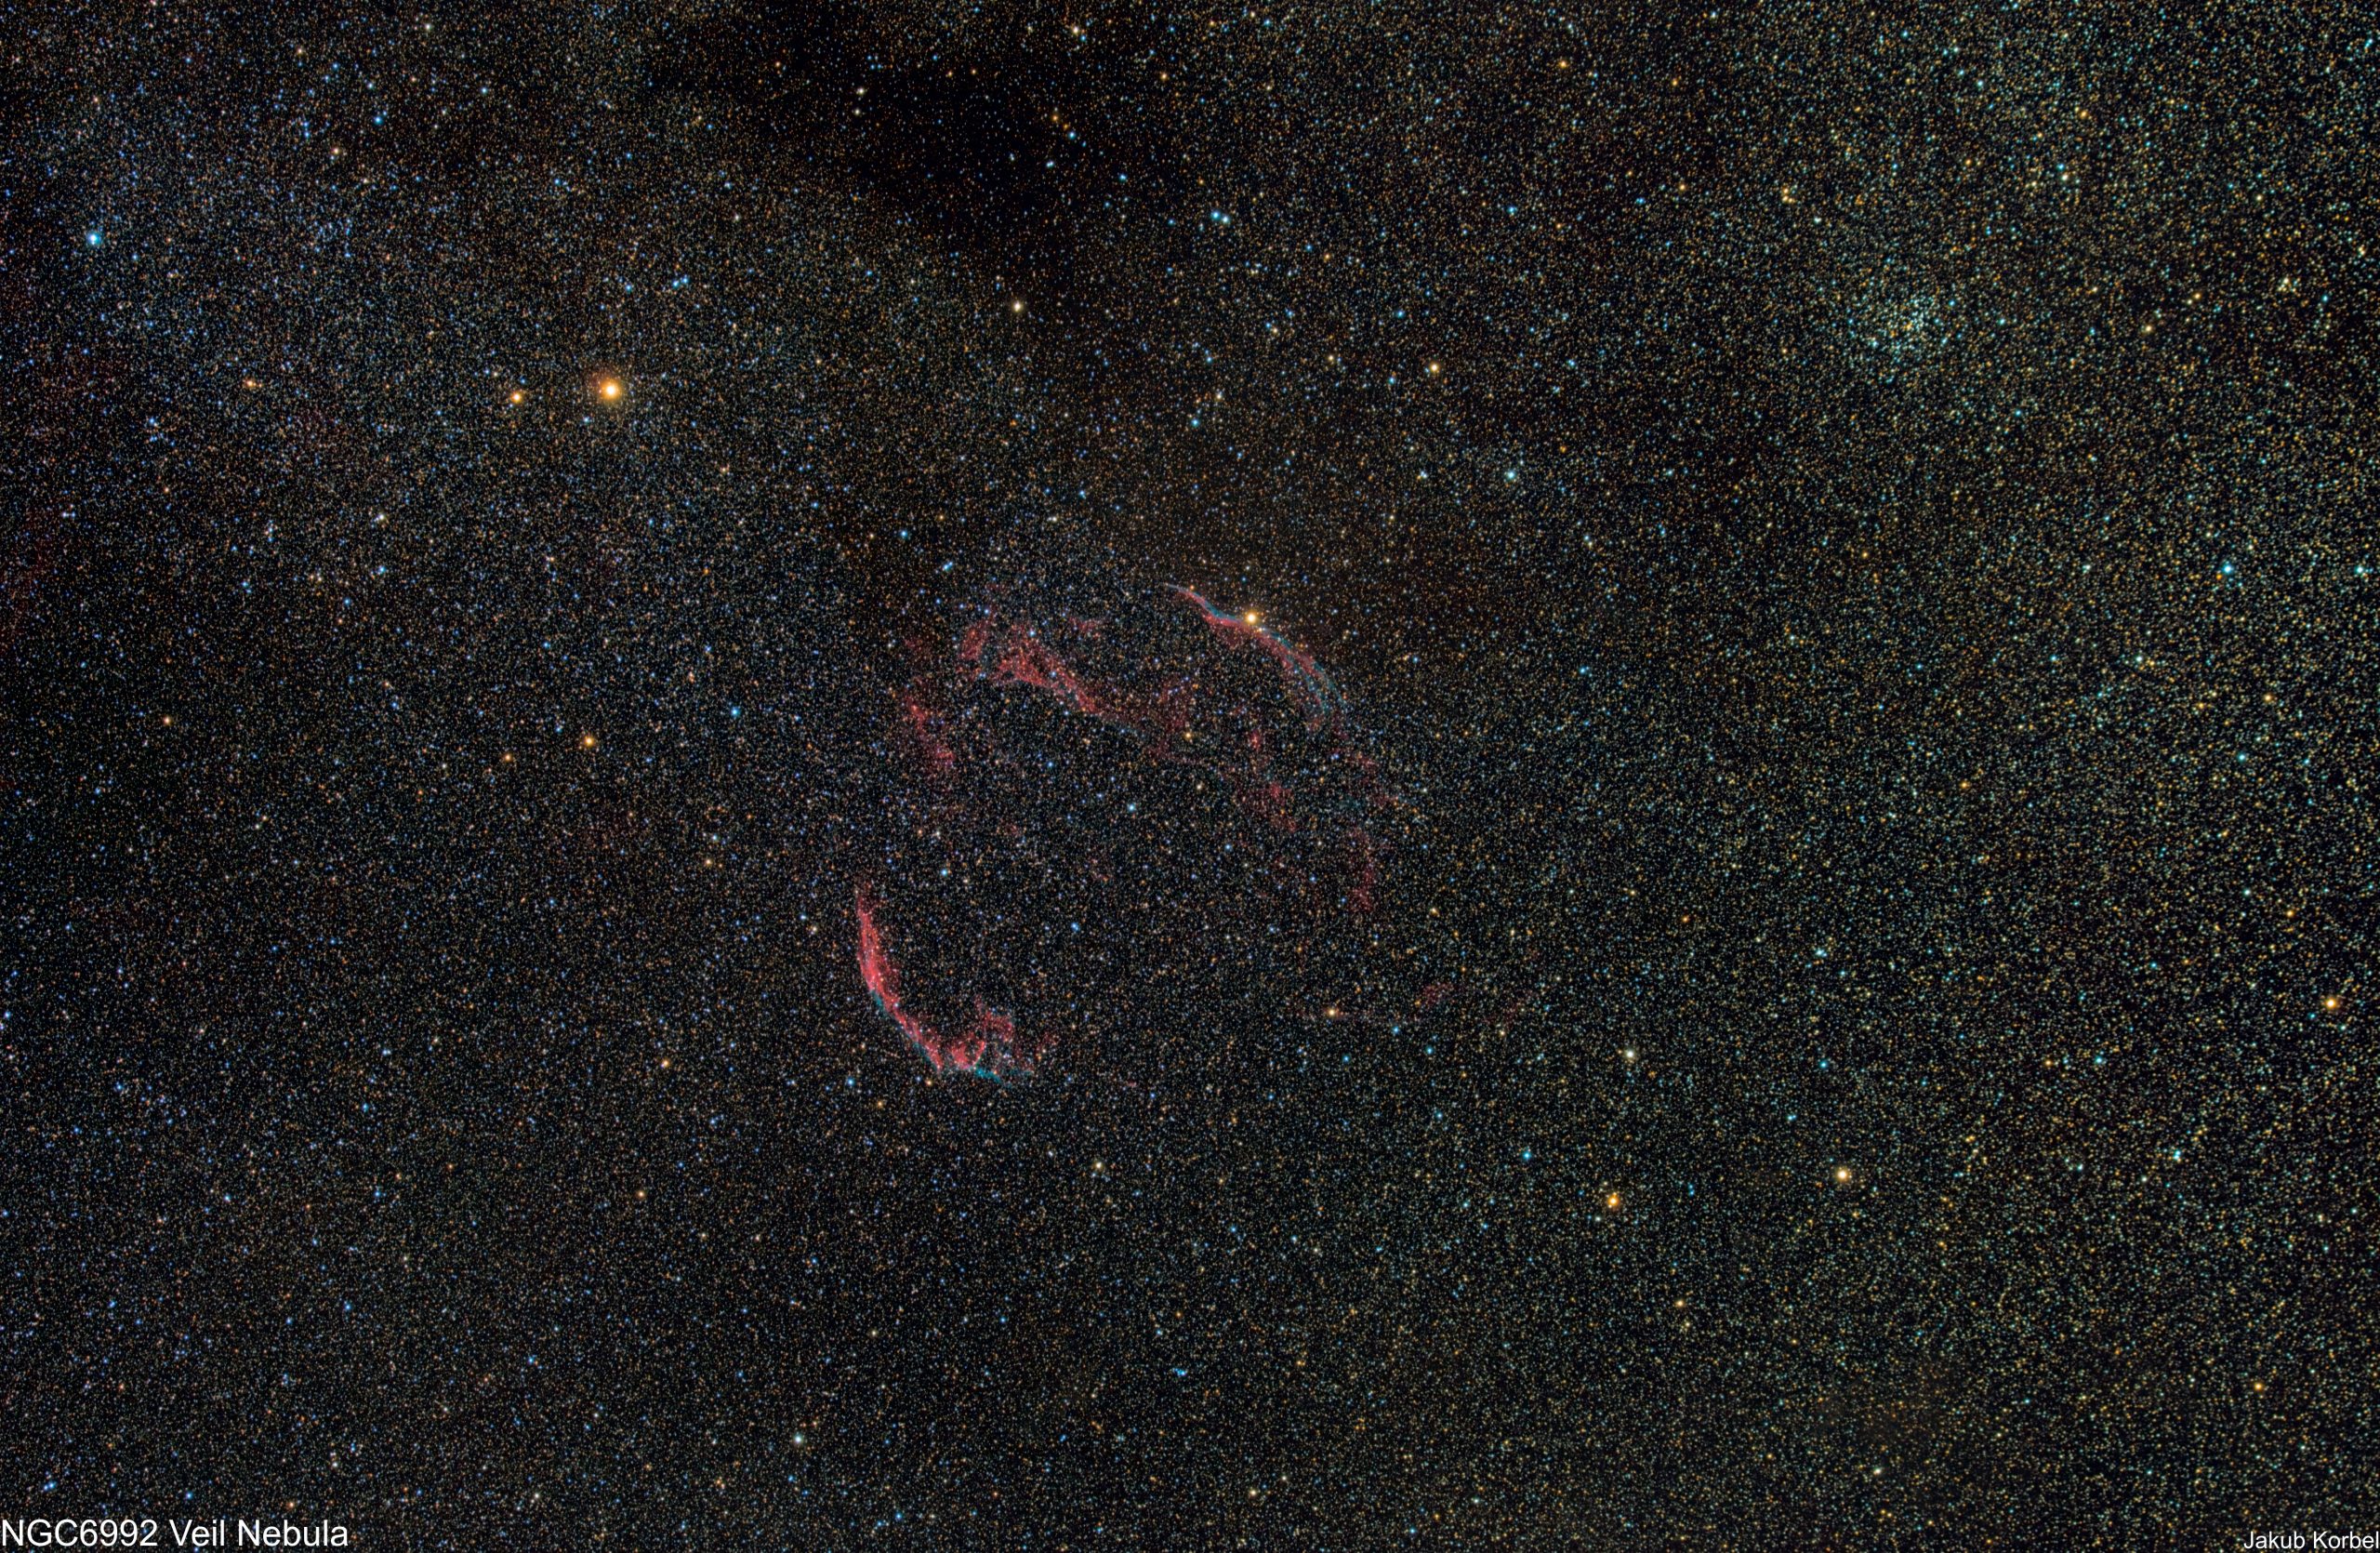
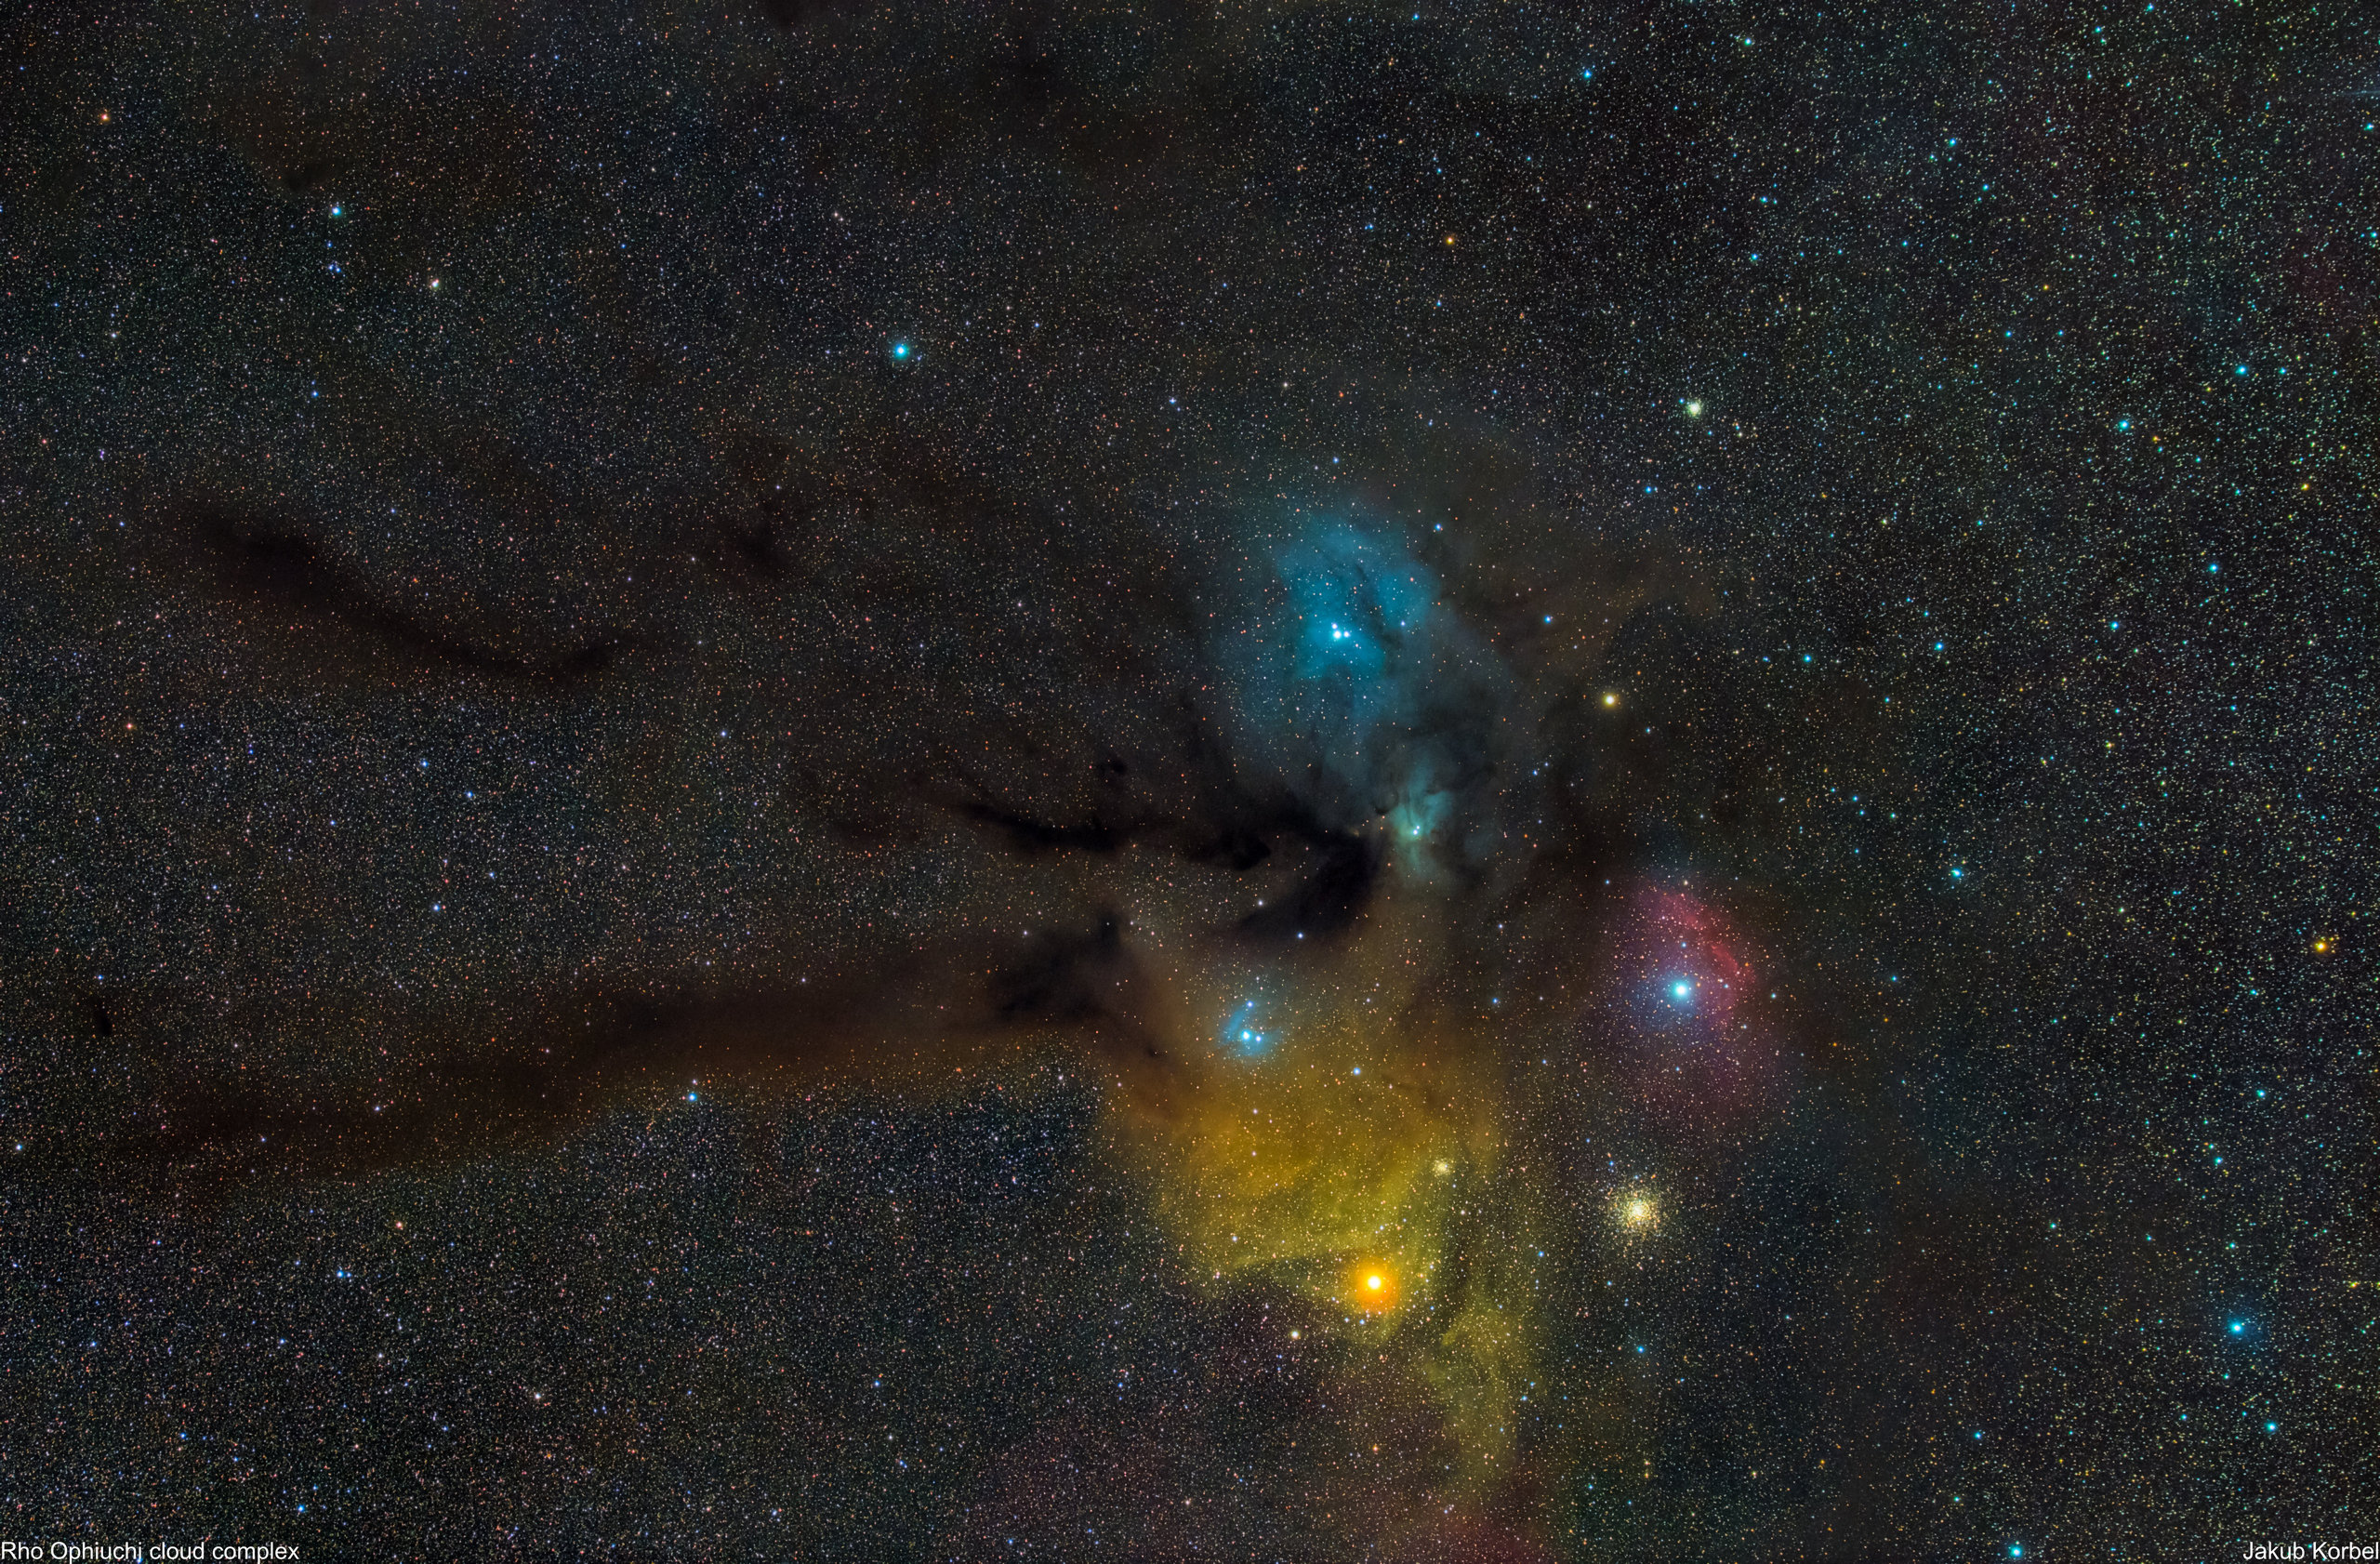
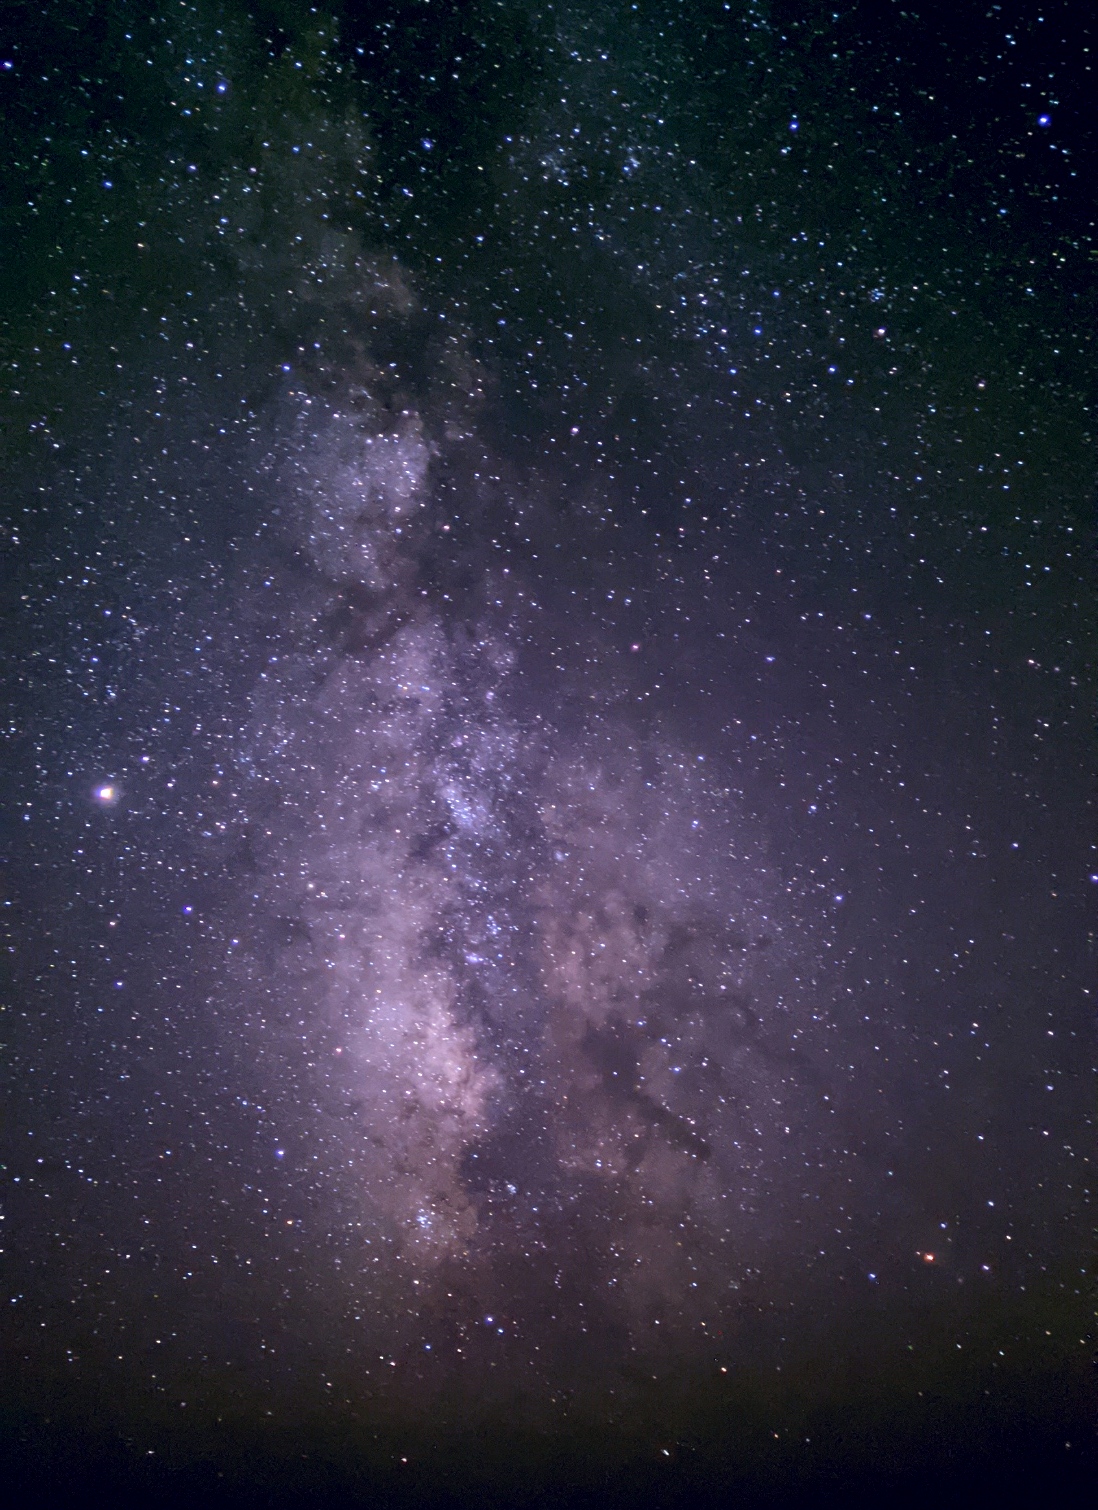
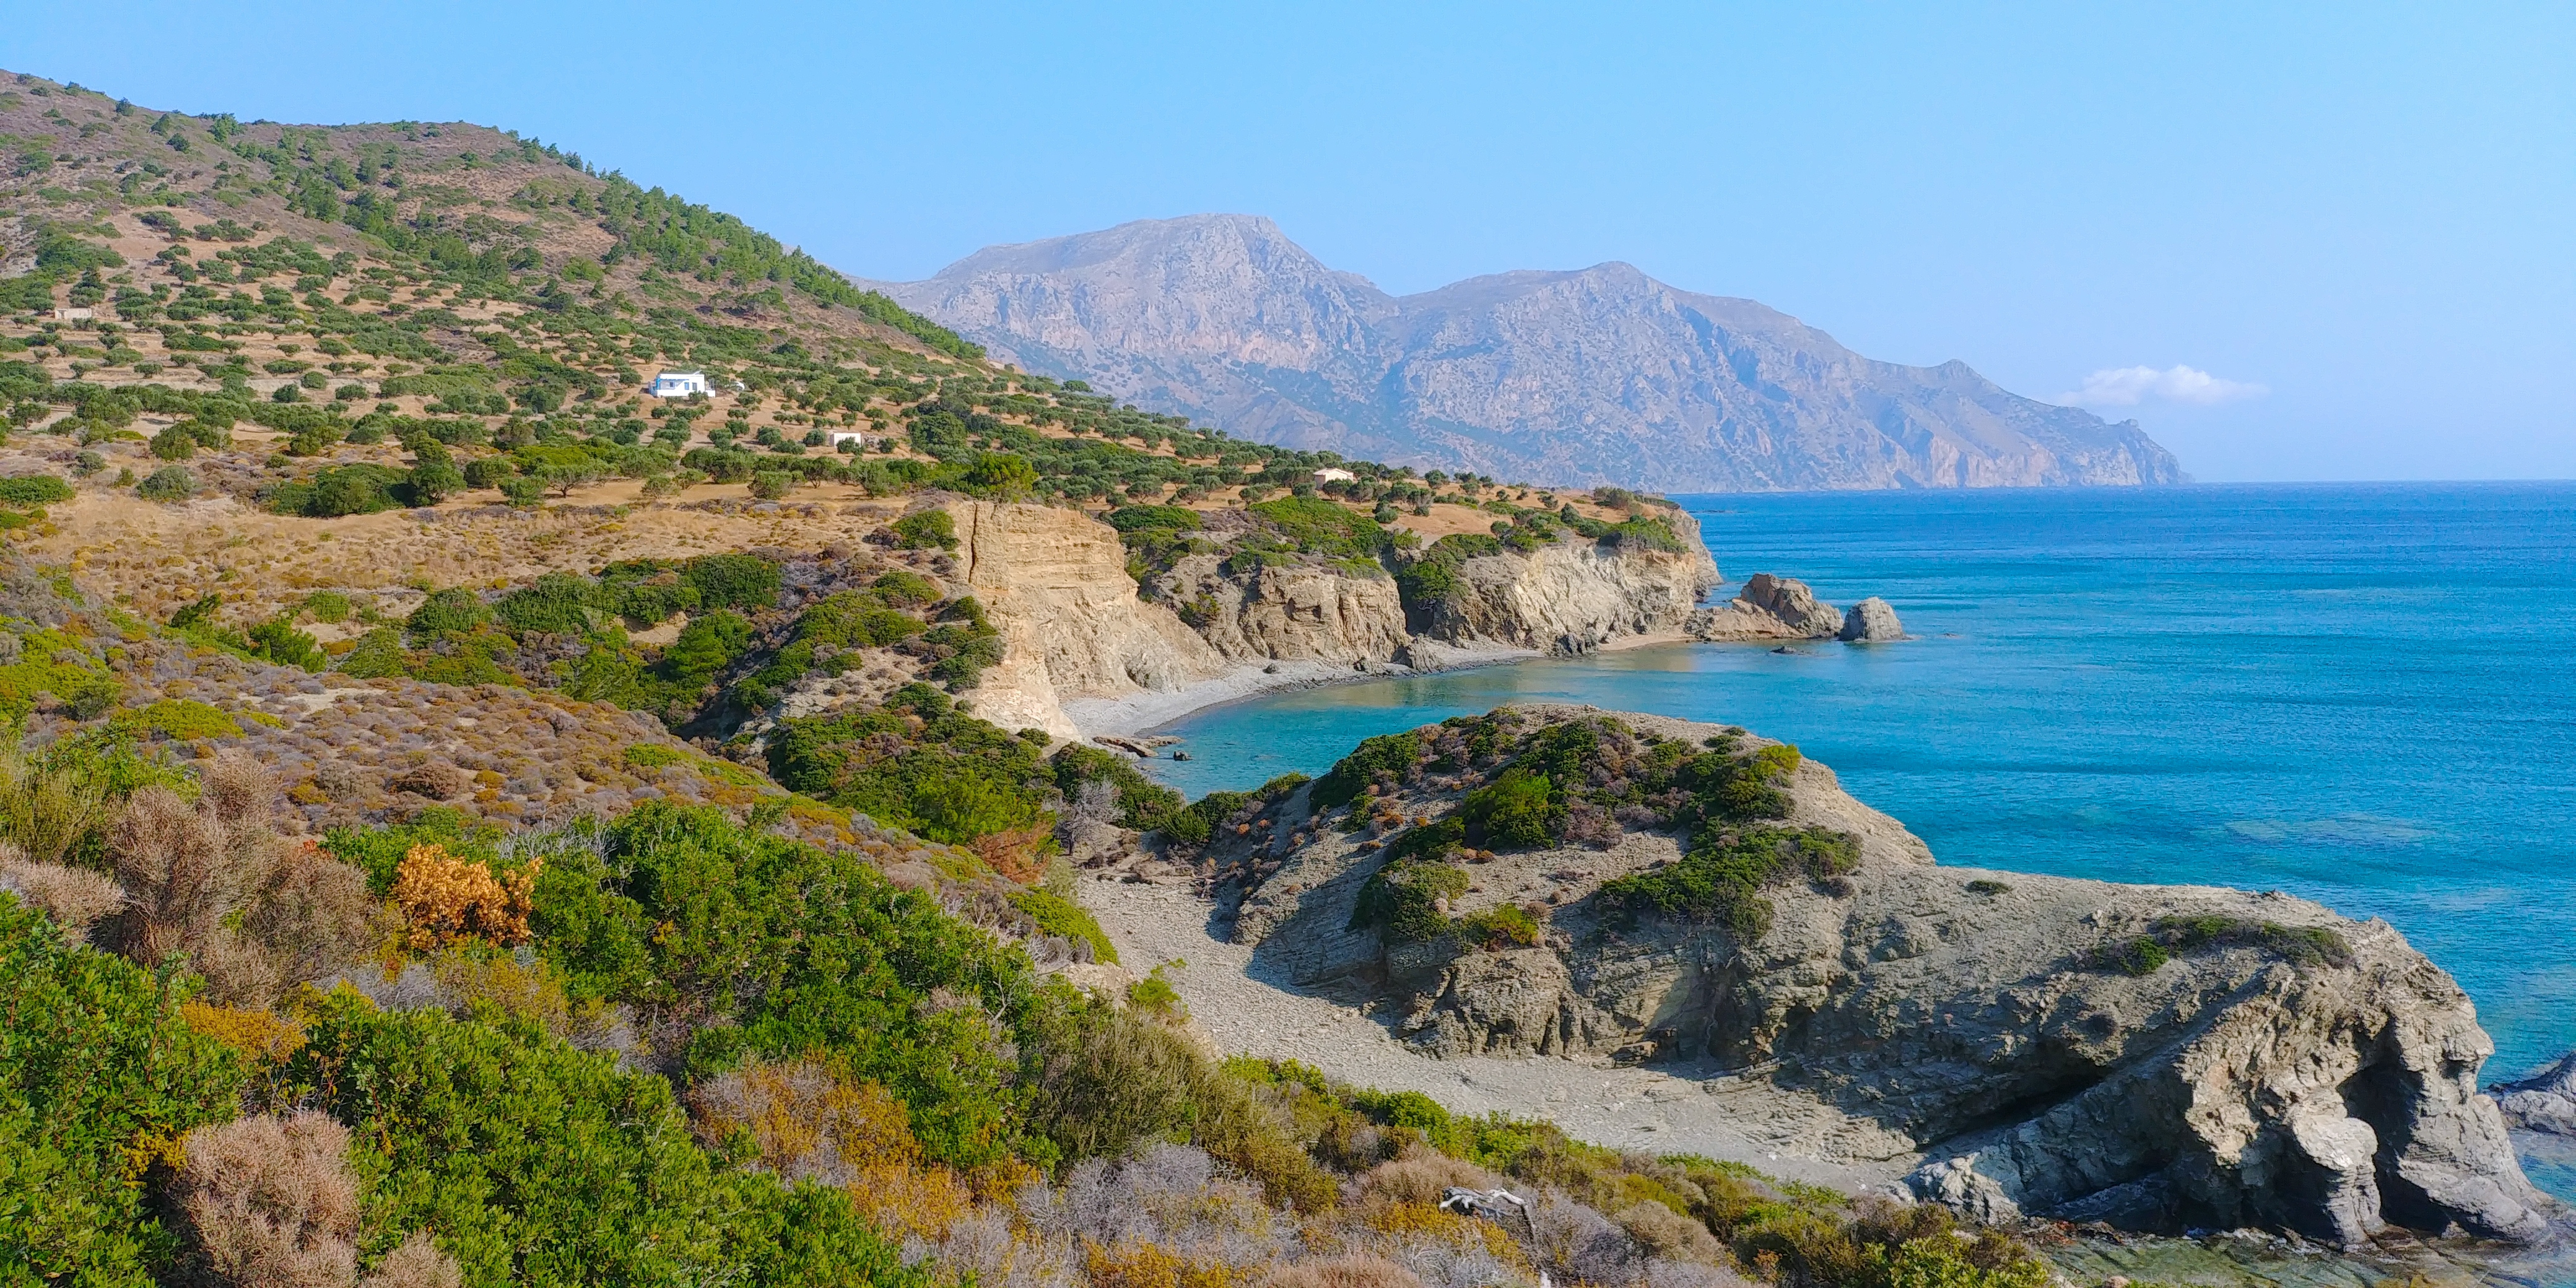
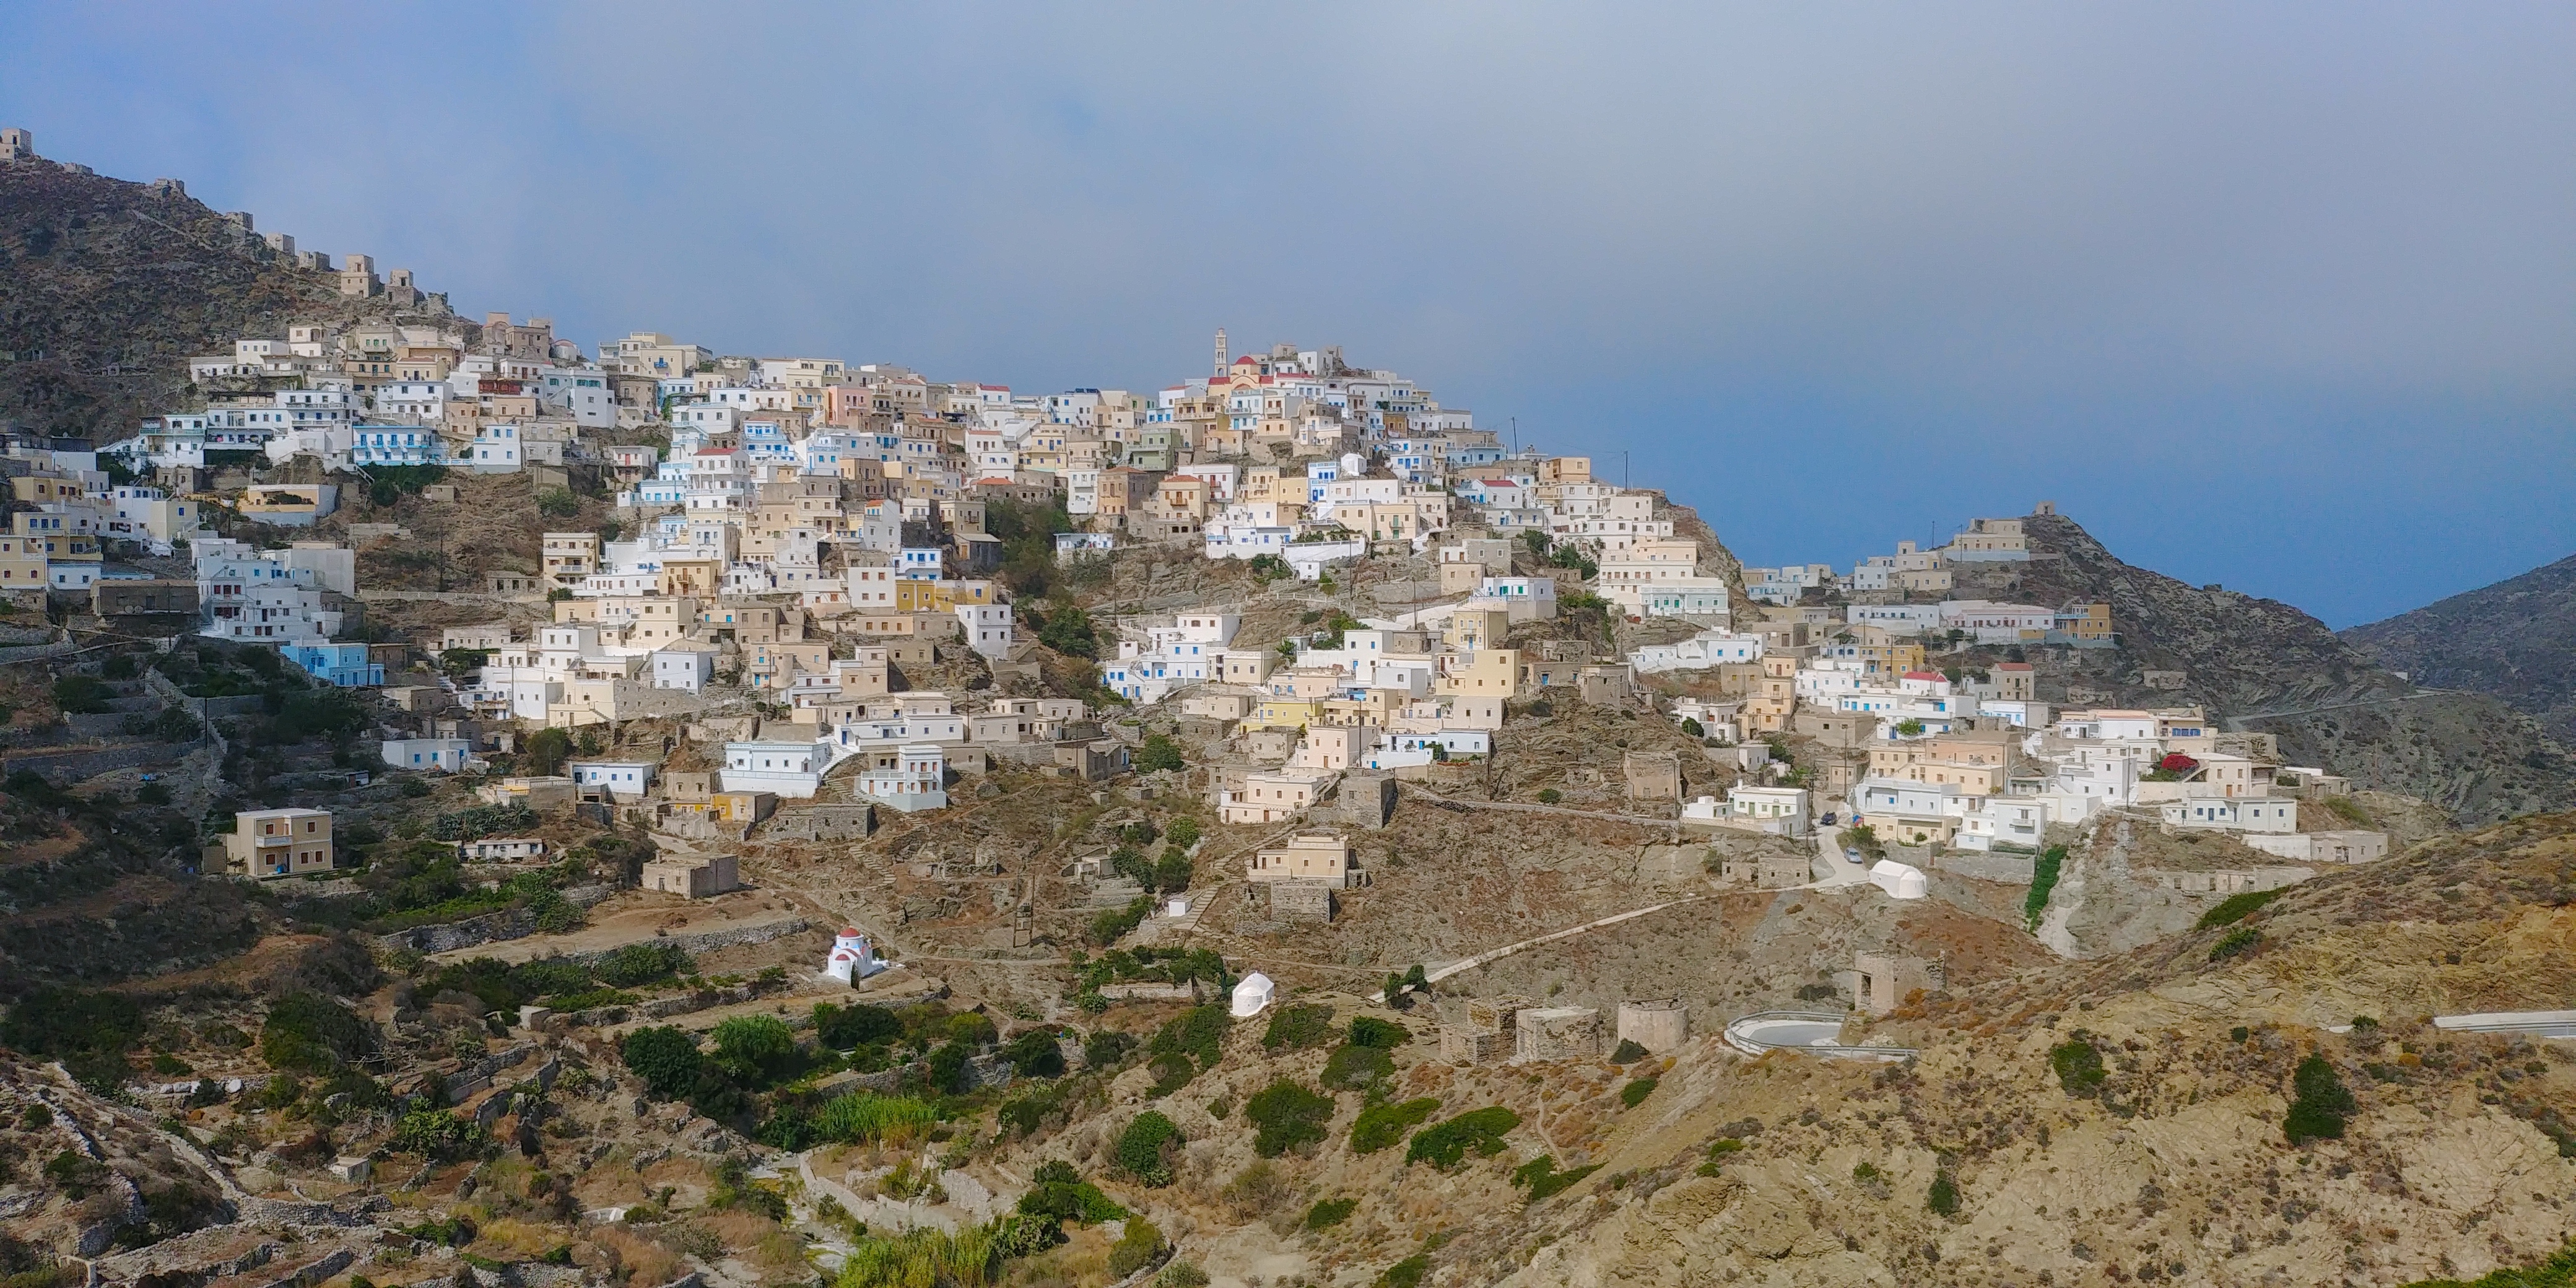
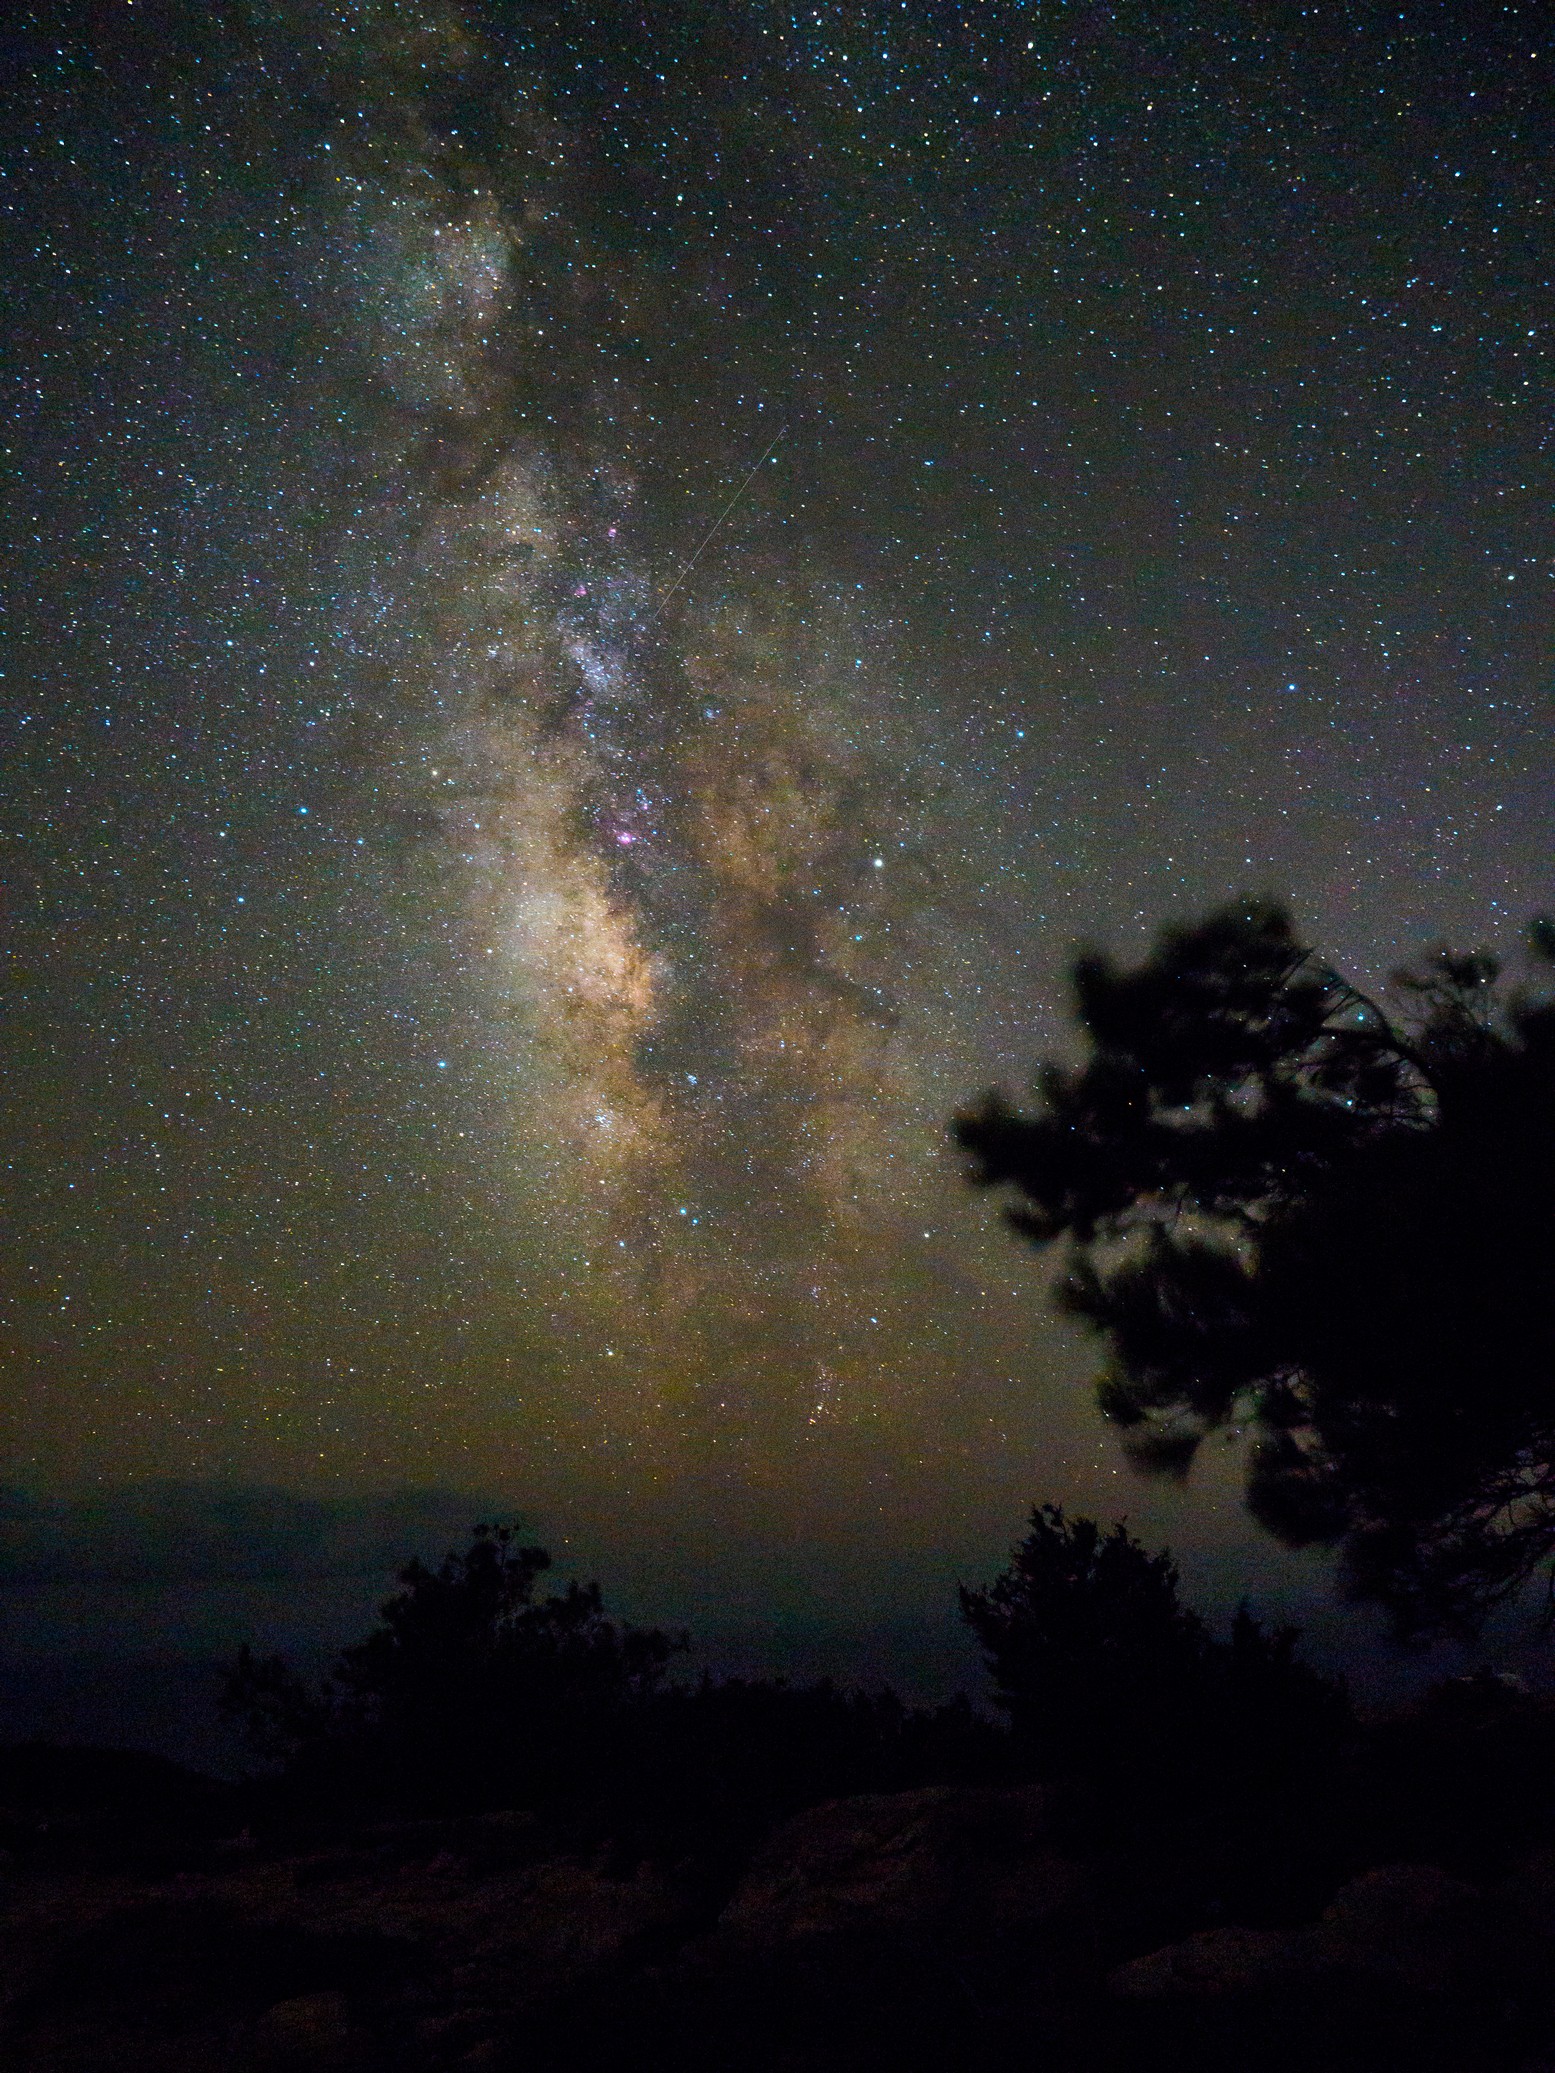
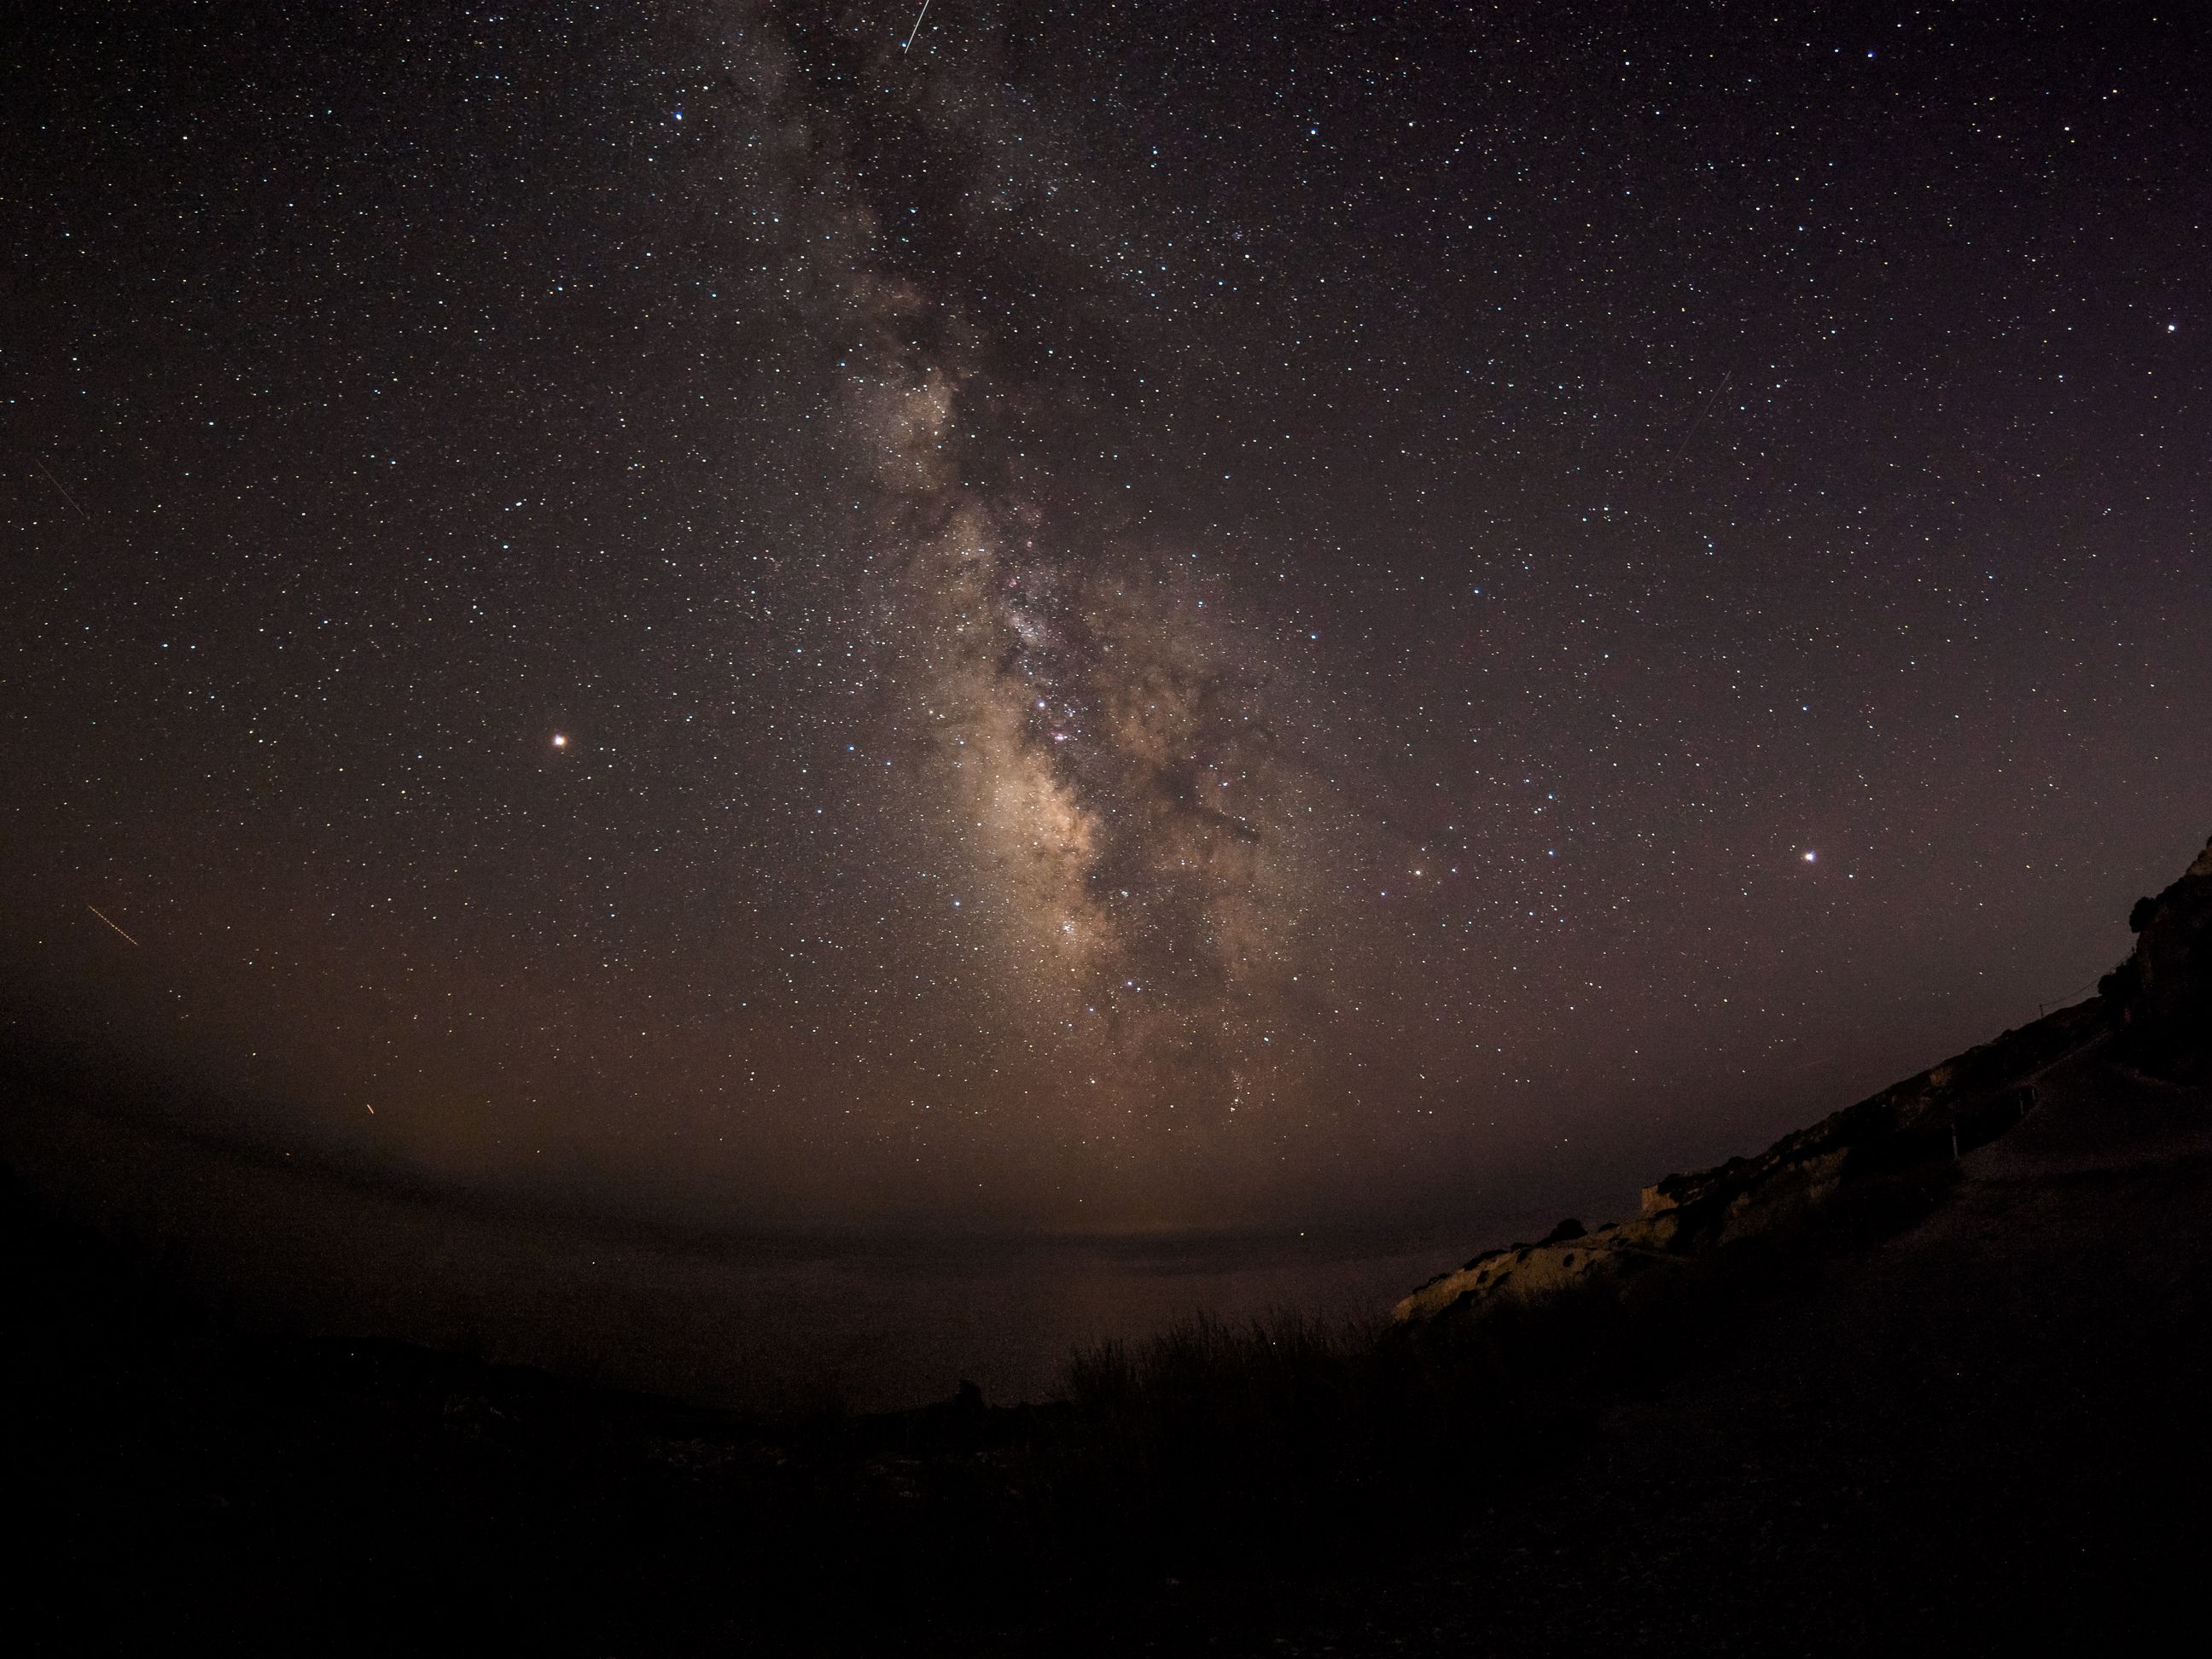
Milky Way is usually visible only if you are in a dark location. For example, there is a desert called Kalahari in Namibia. In this desert, there is an Astro farm Kiripotib. You will see the Milky Way in all its beauty if you get there. We spent several nights just looking at it:
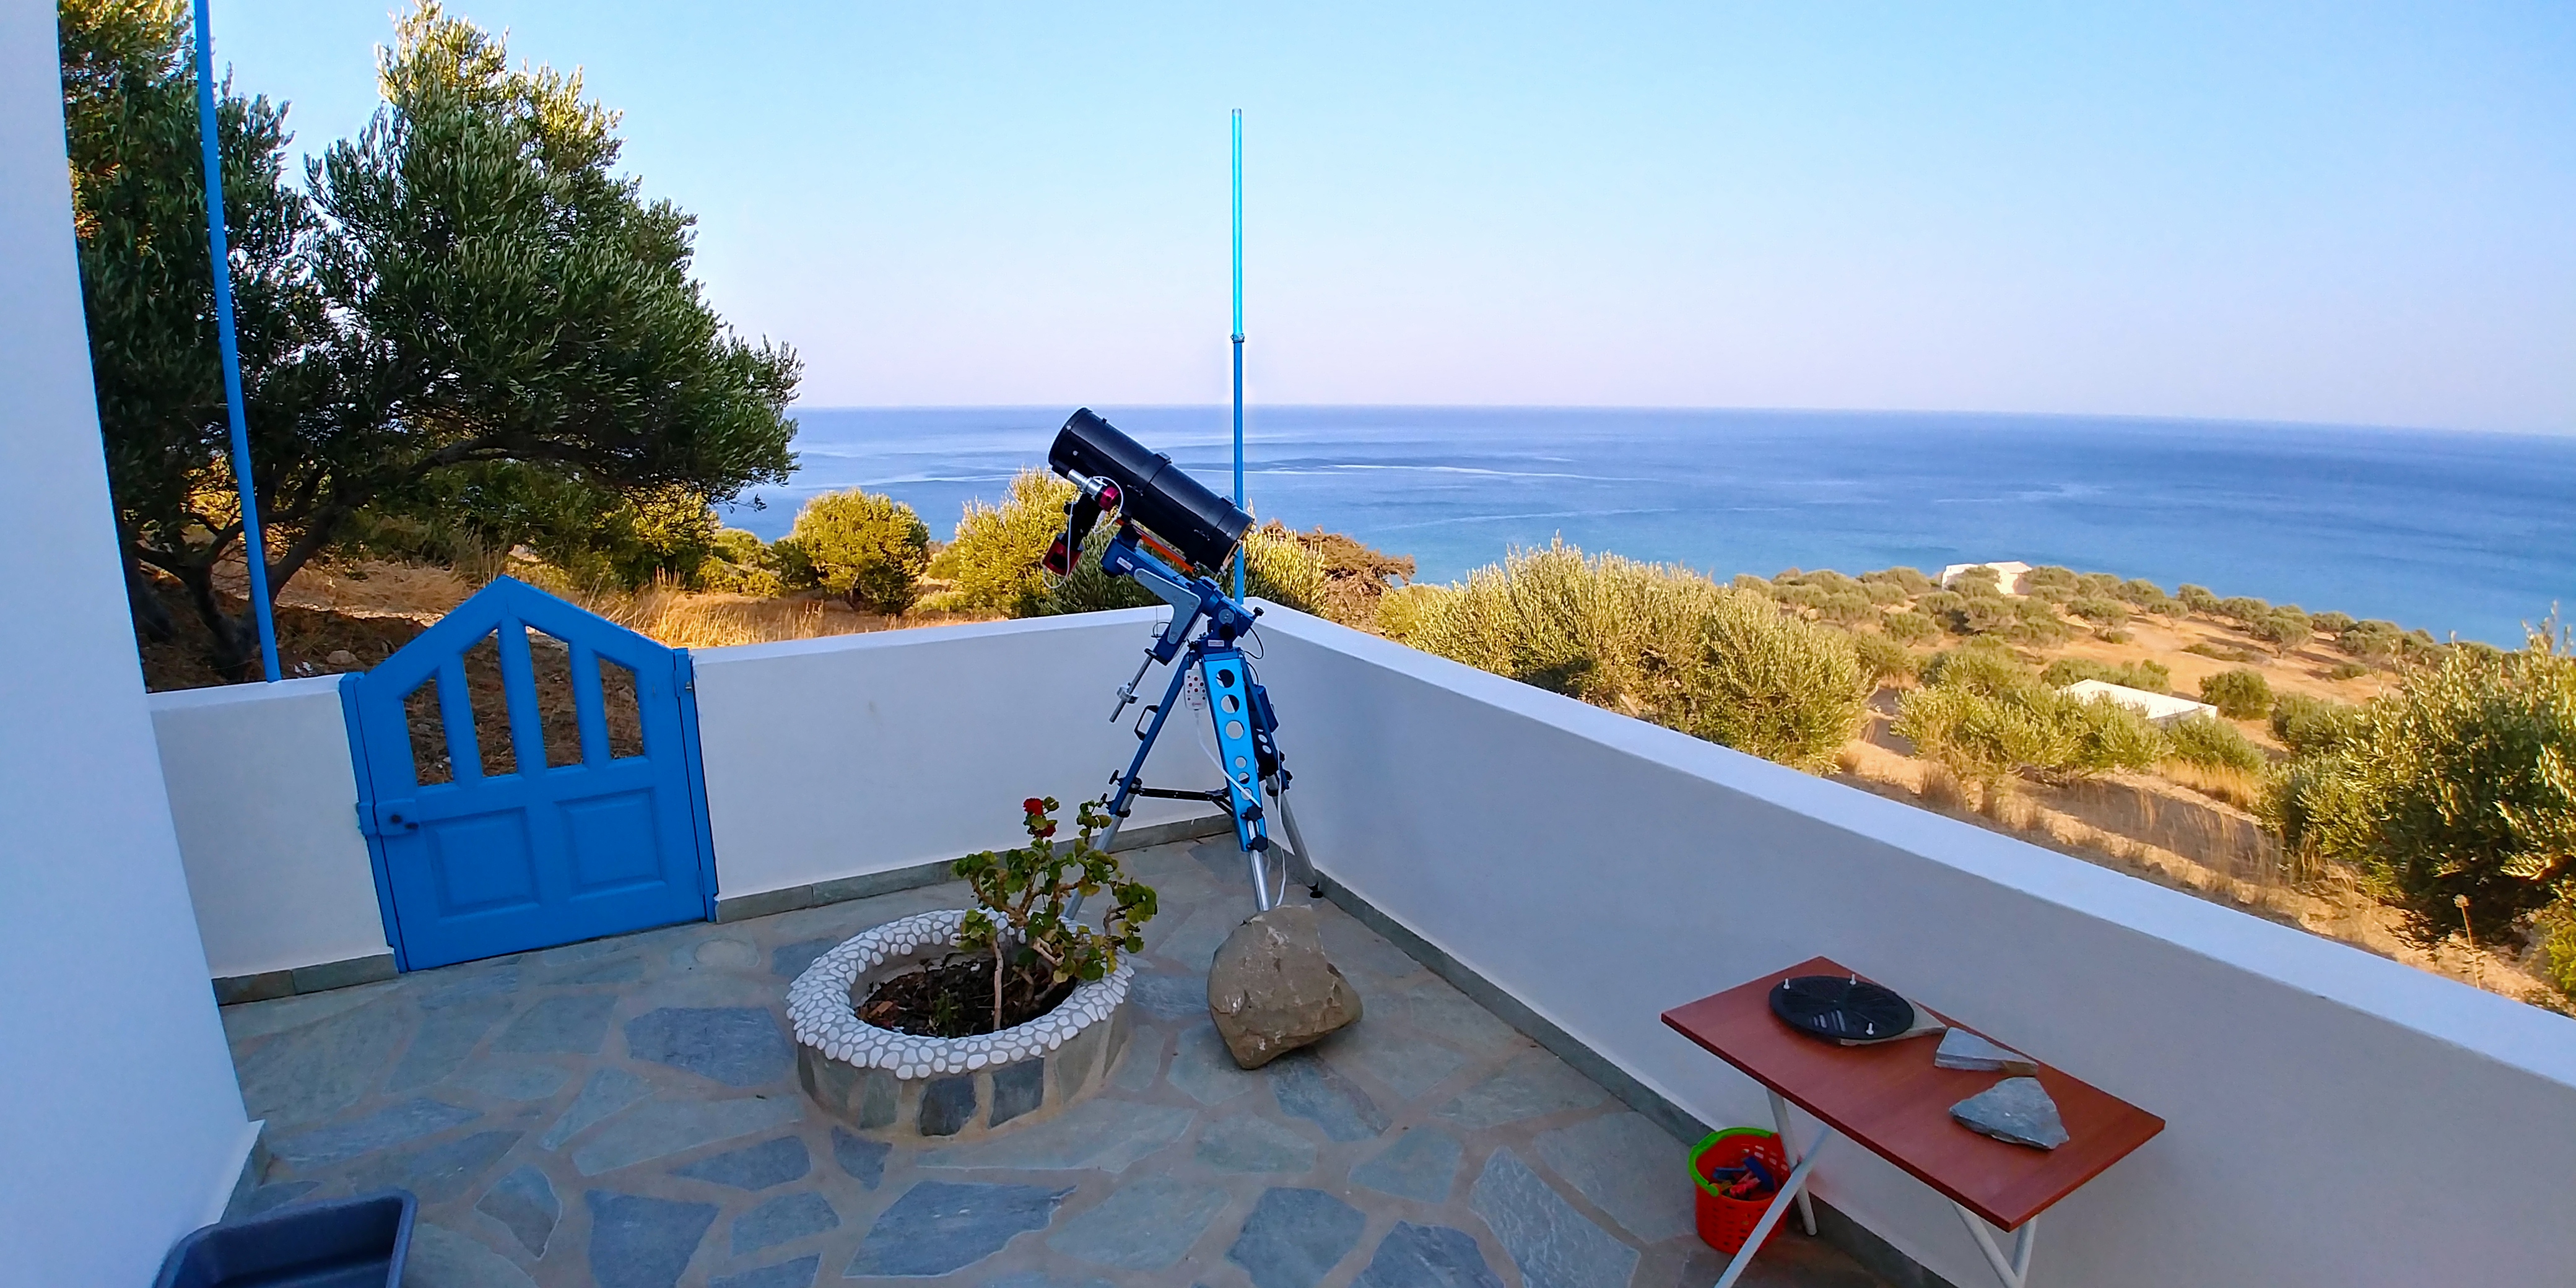
I rented this observatory for a couple of days. Inside is a heavy-duty equatorial mound MK-100, combined with Meade 10″ telescope, which allowed me to capture stunning galaxies like NGC 6744 Galaxy or M83 Southern Pinwheel Galaxy, or NGC 5128 Centaurus A Galaxy.

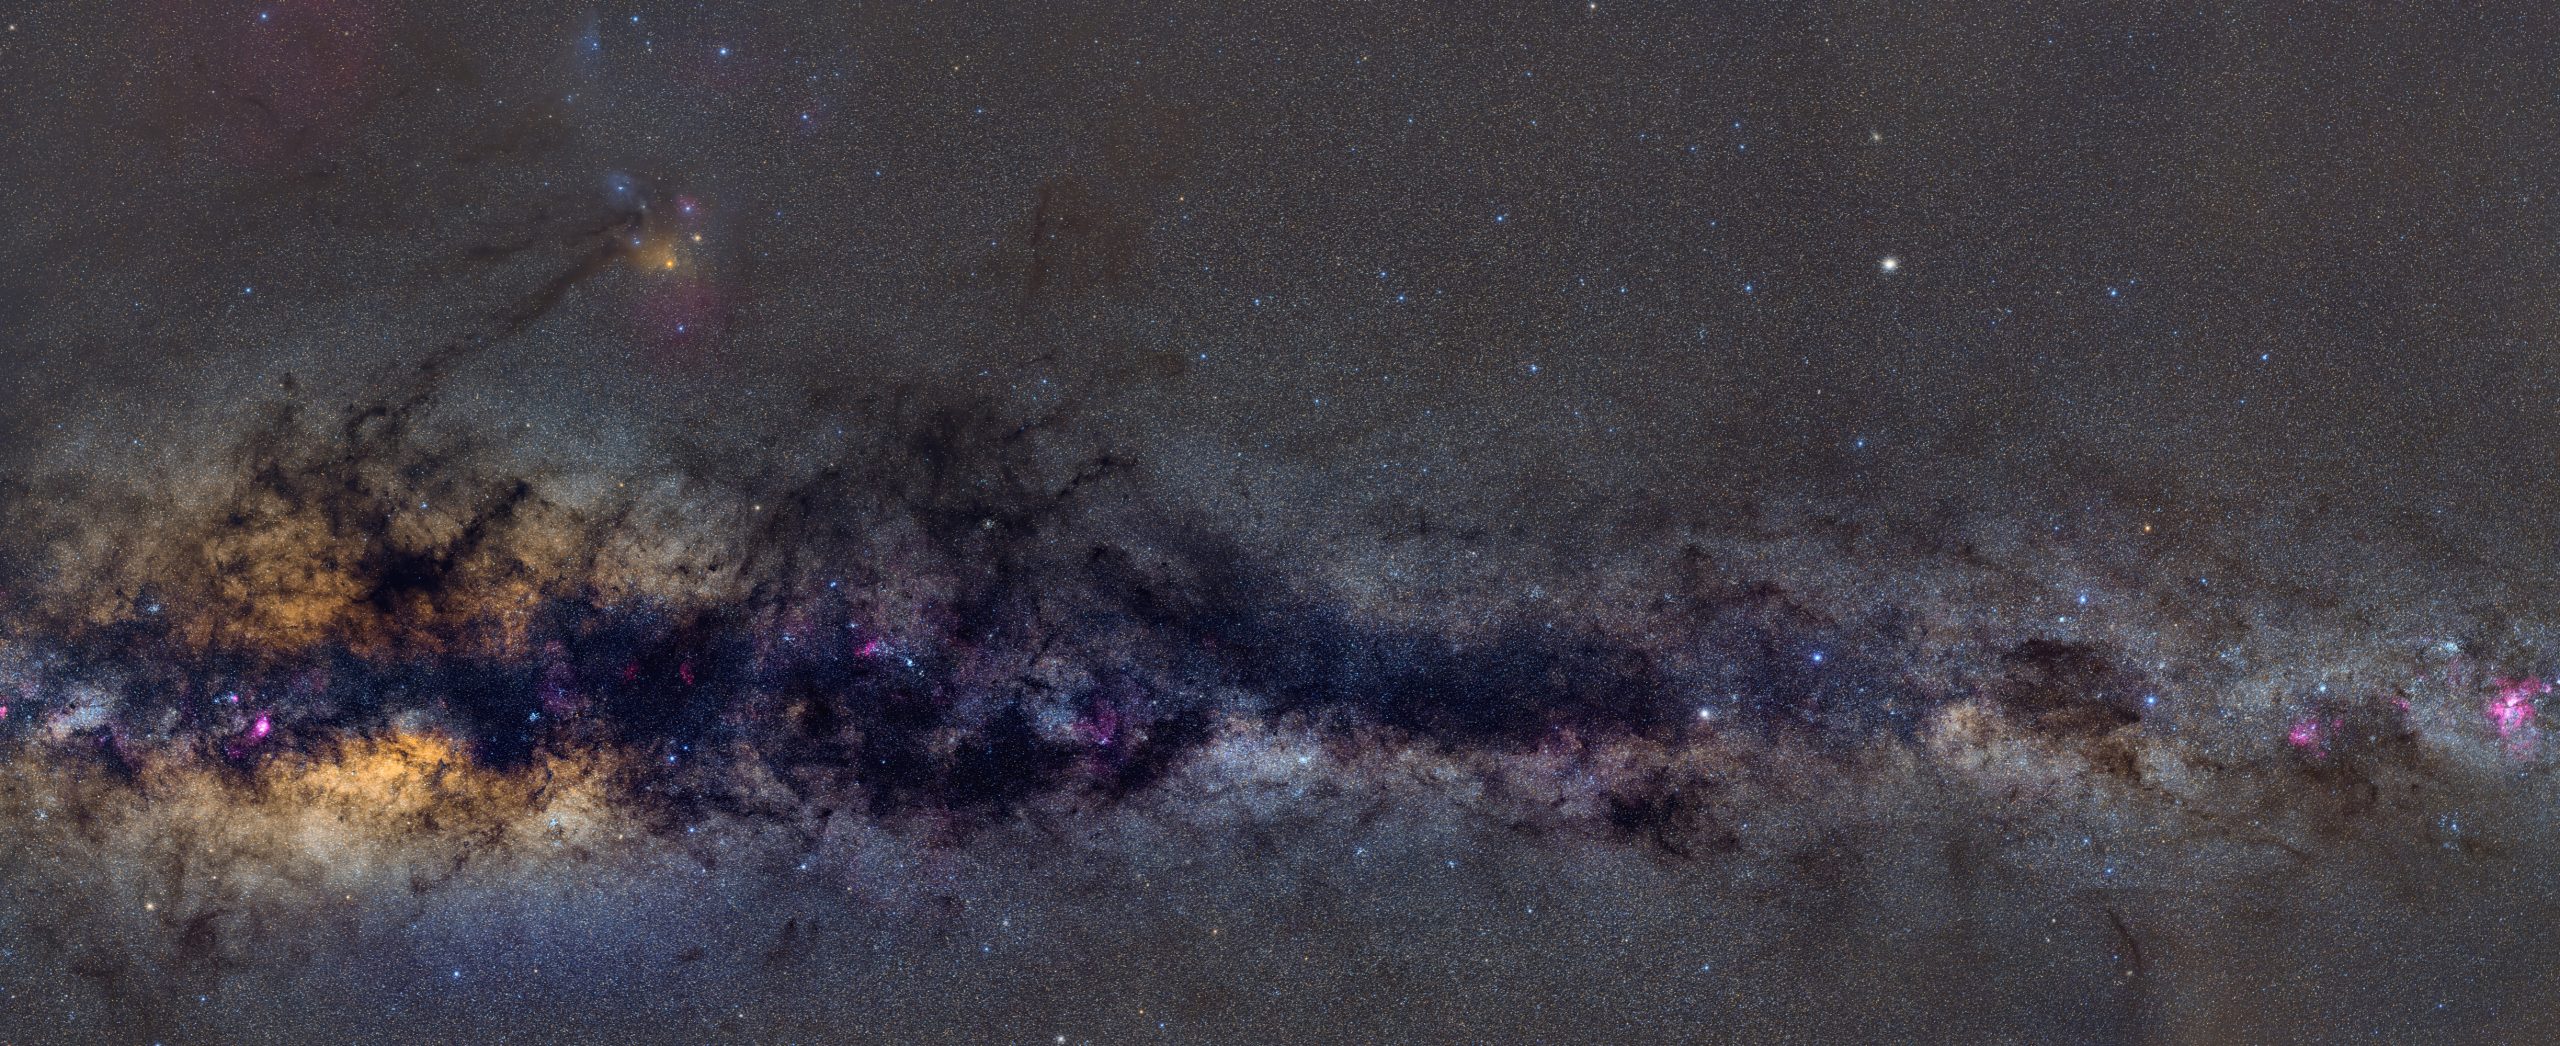
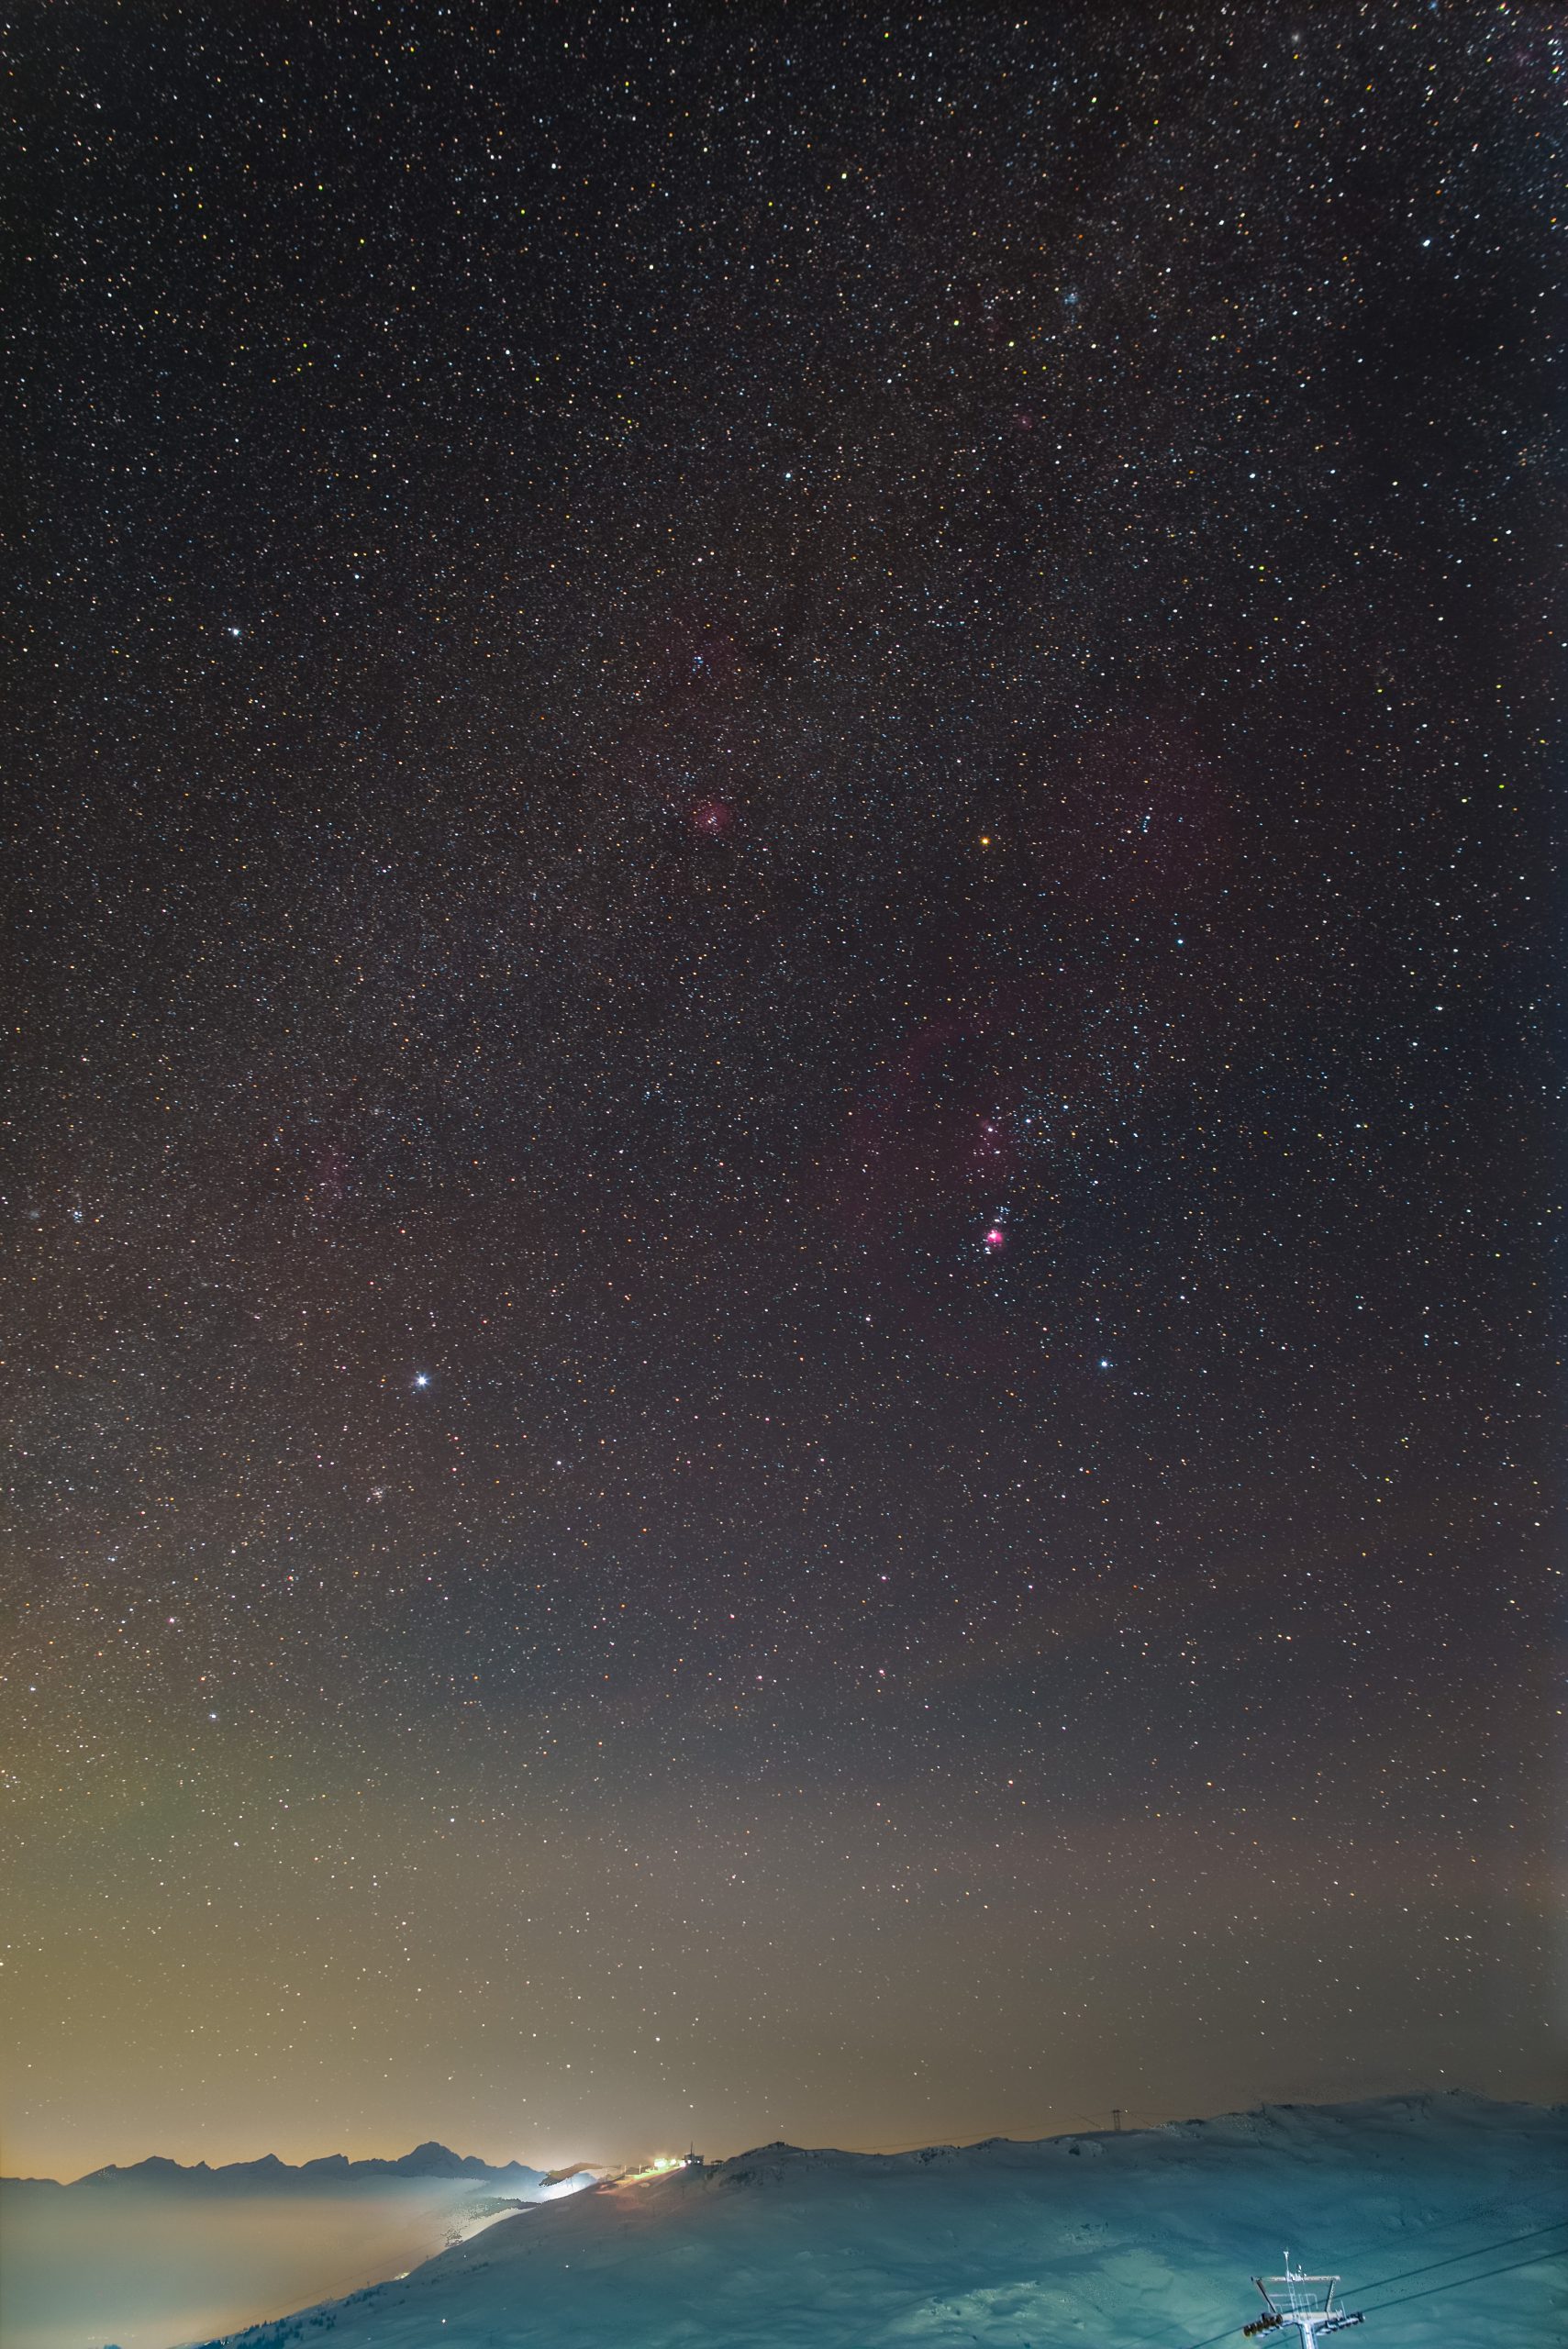
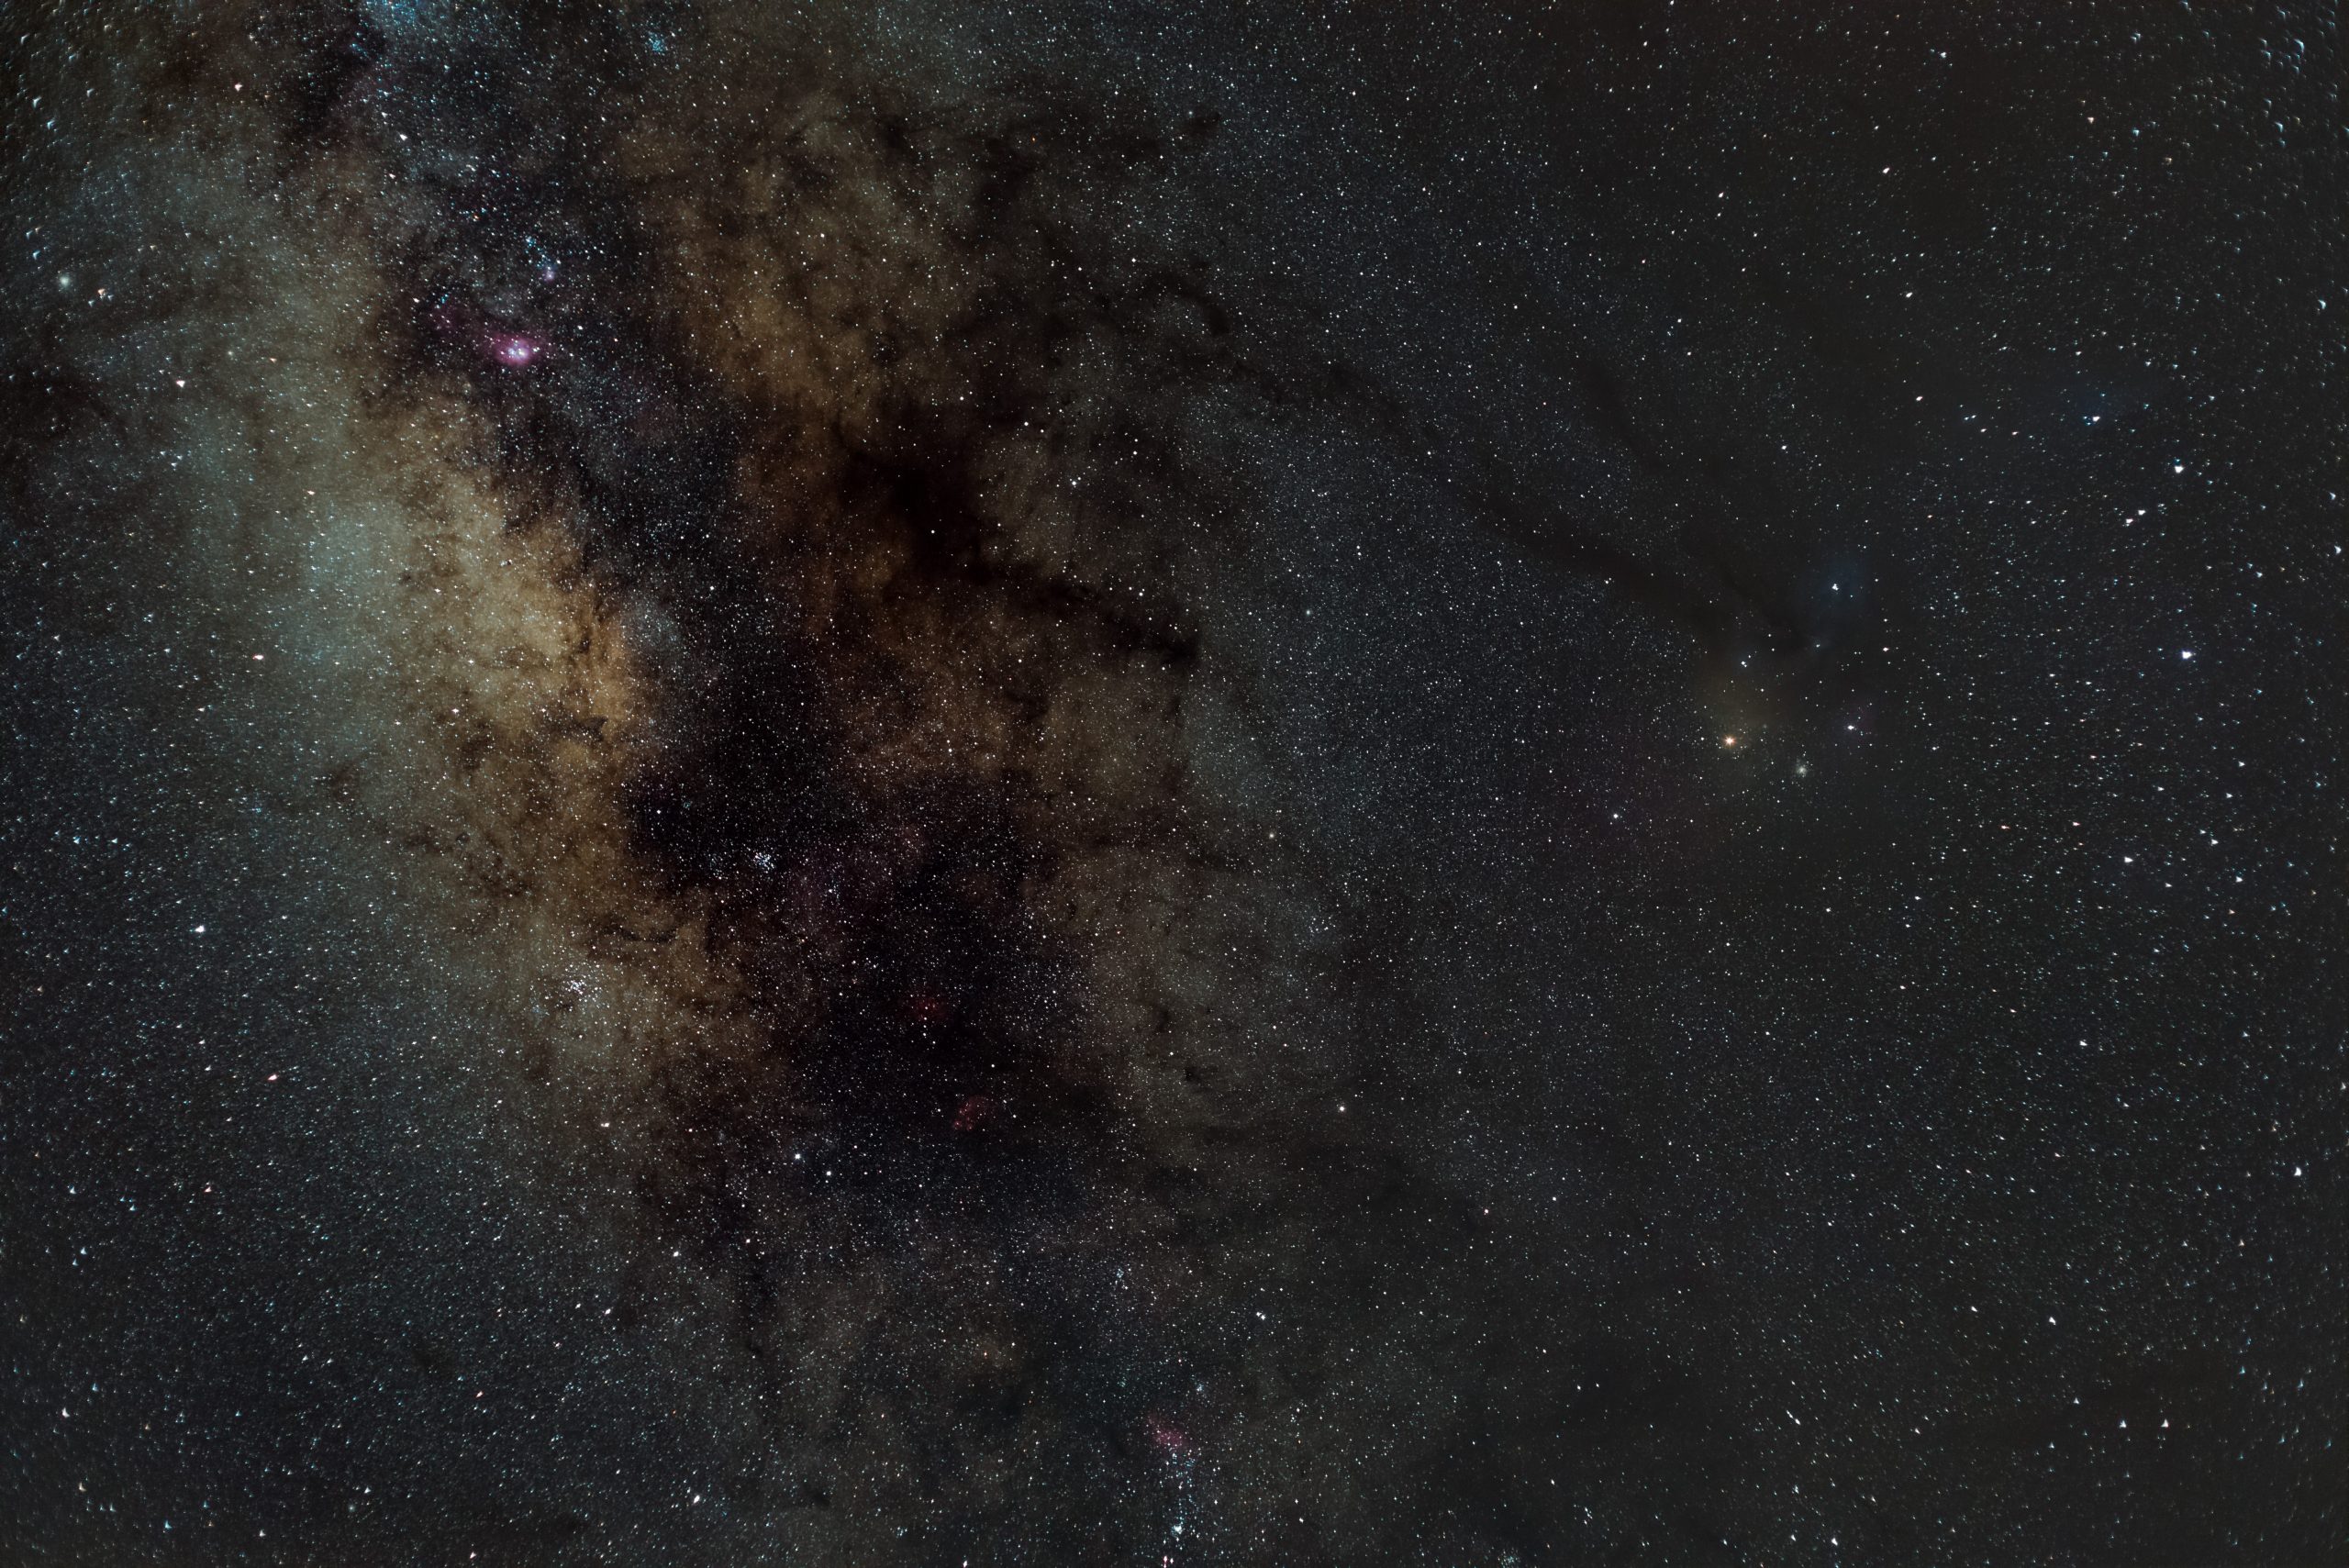
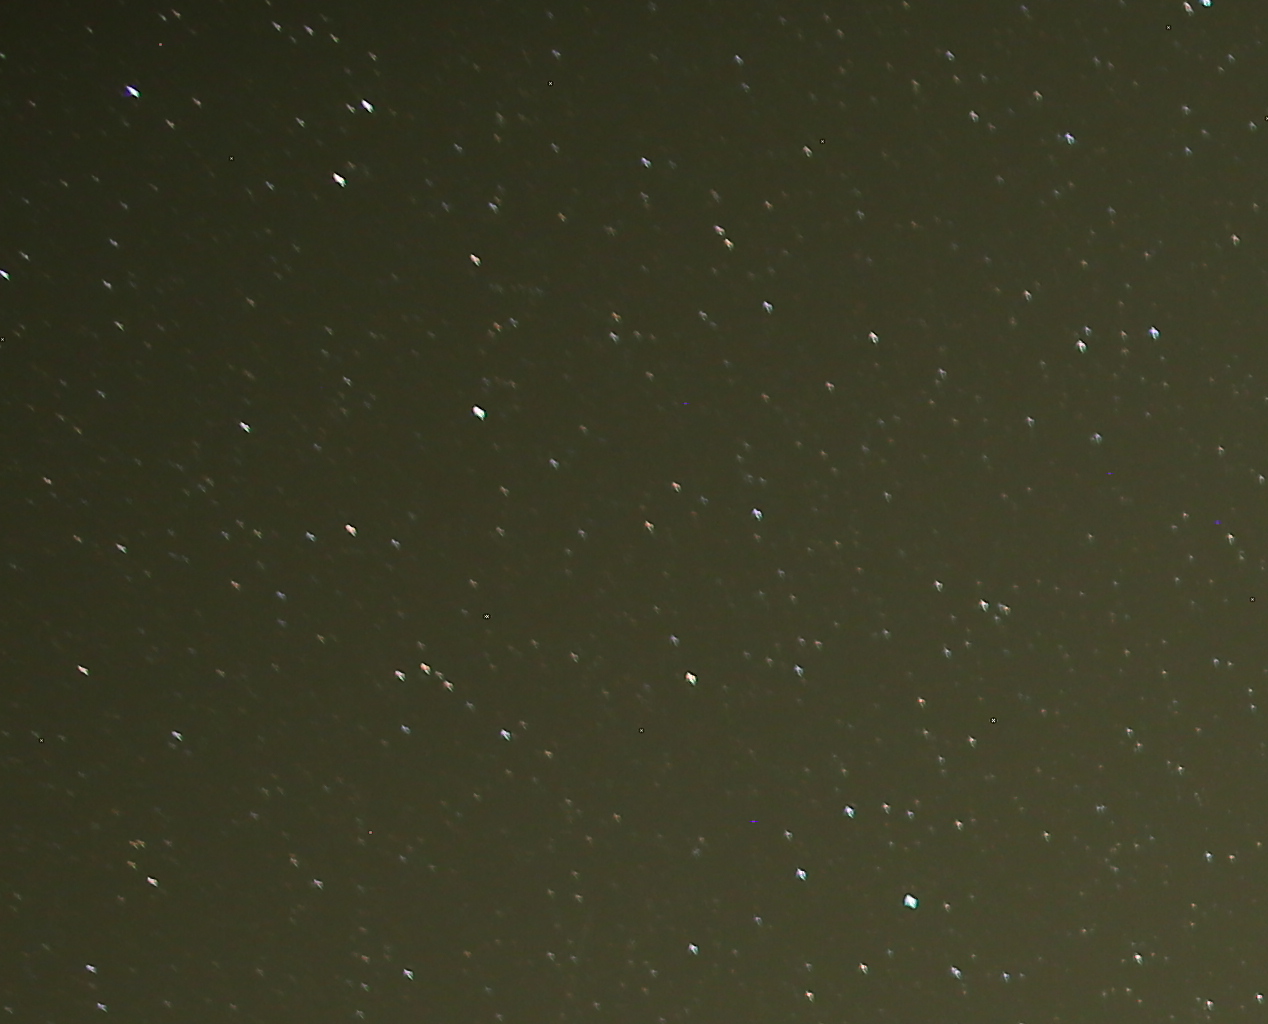
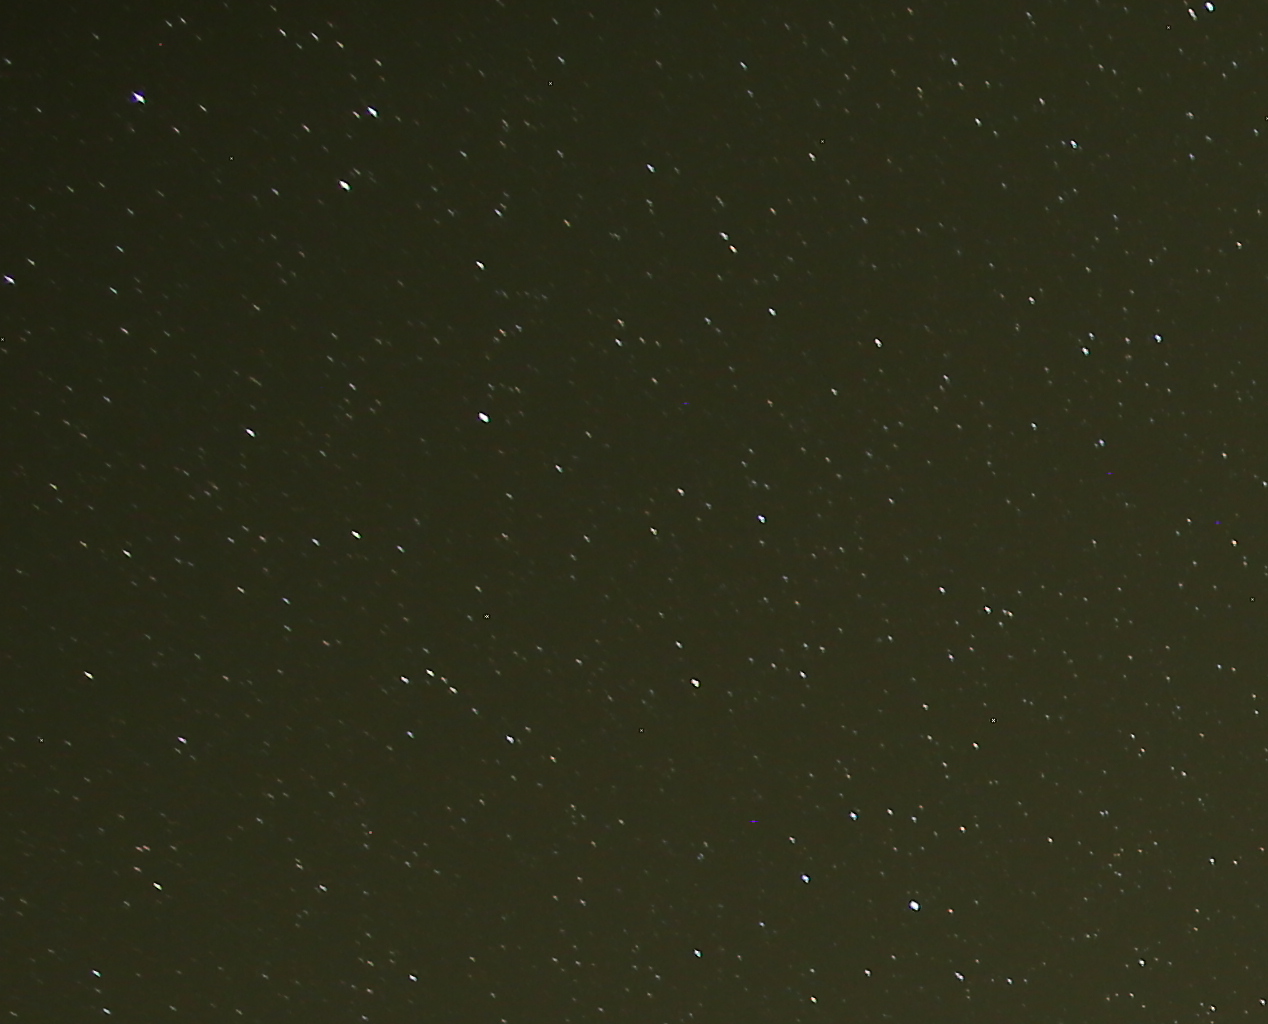
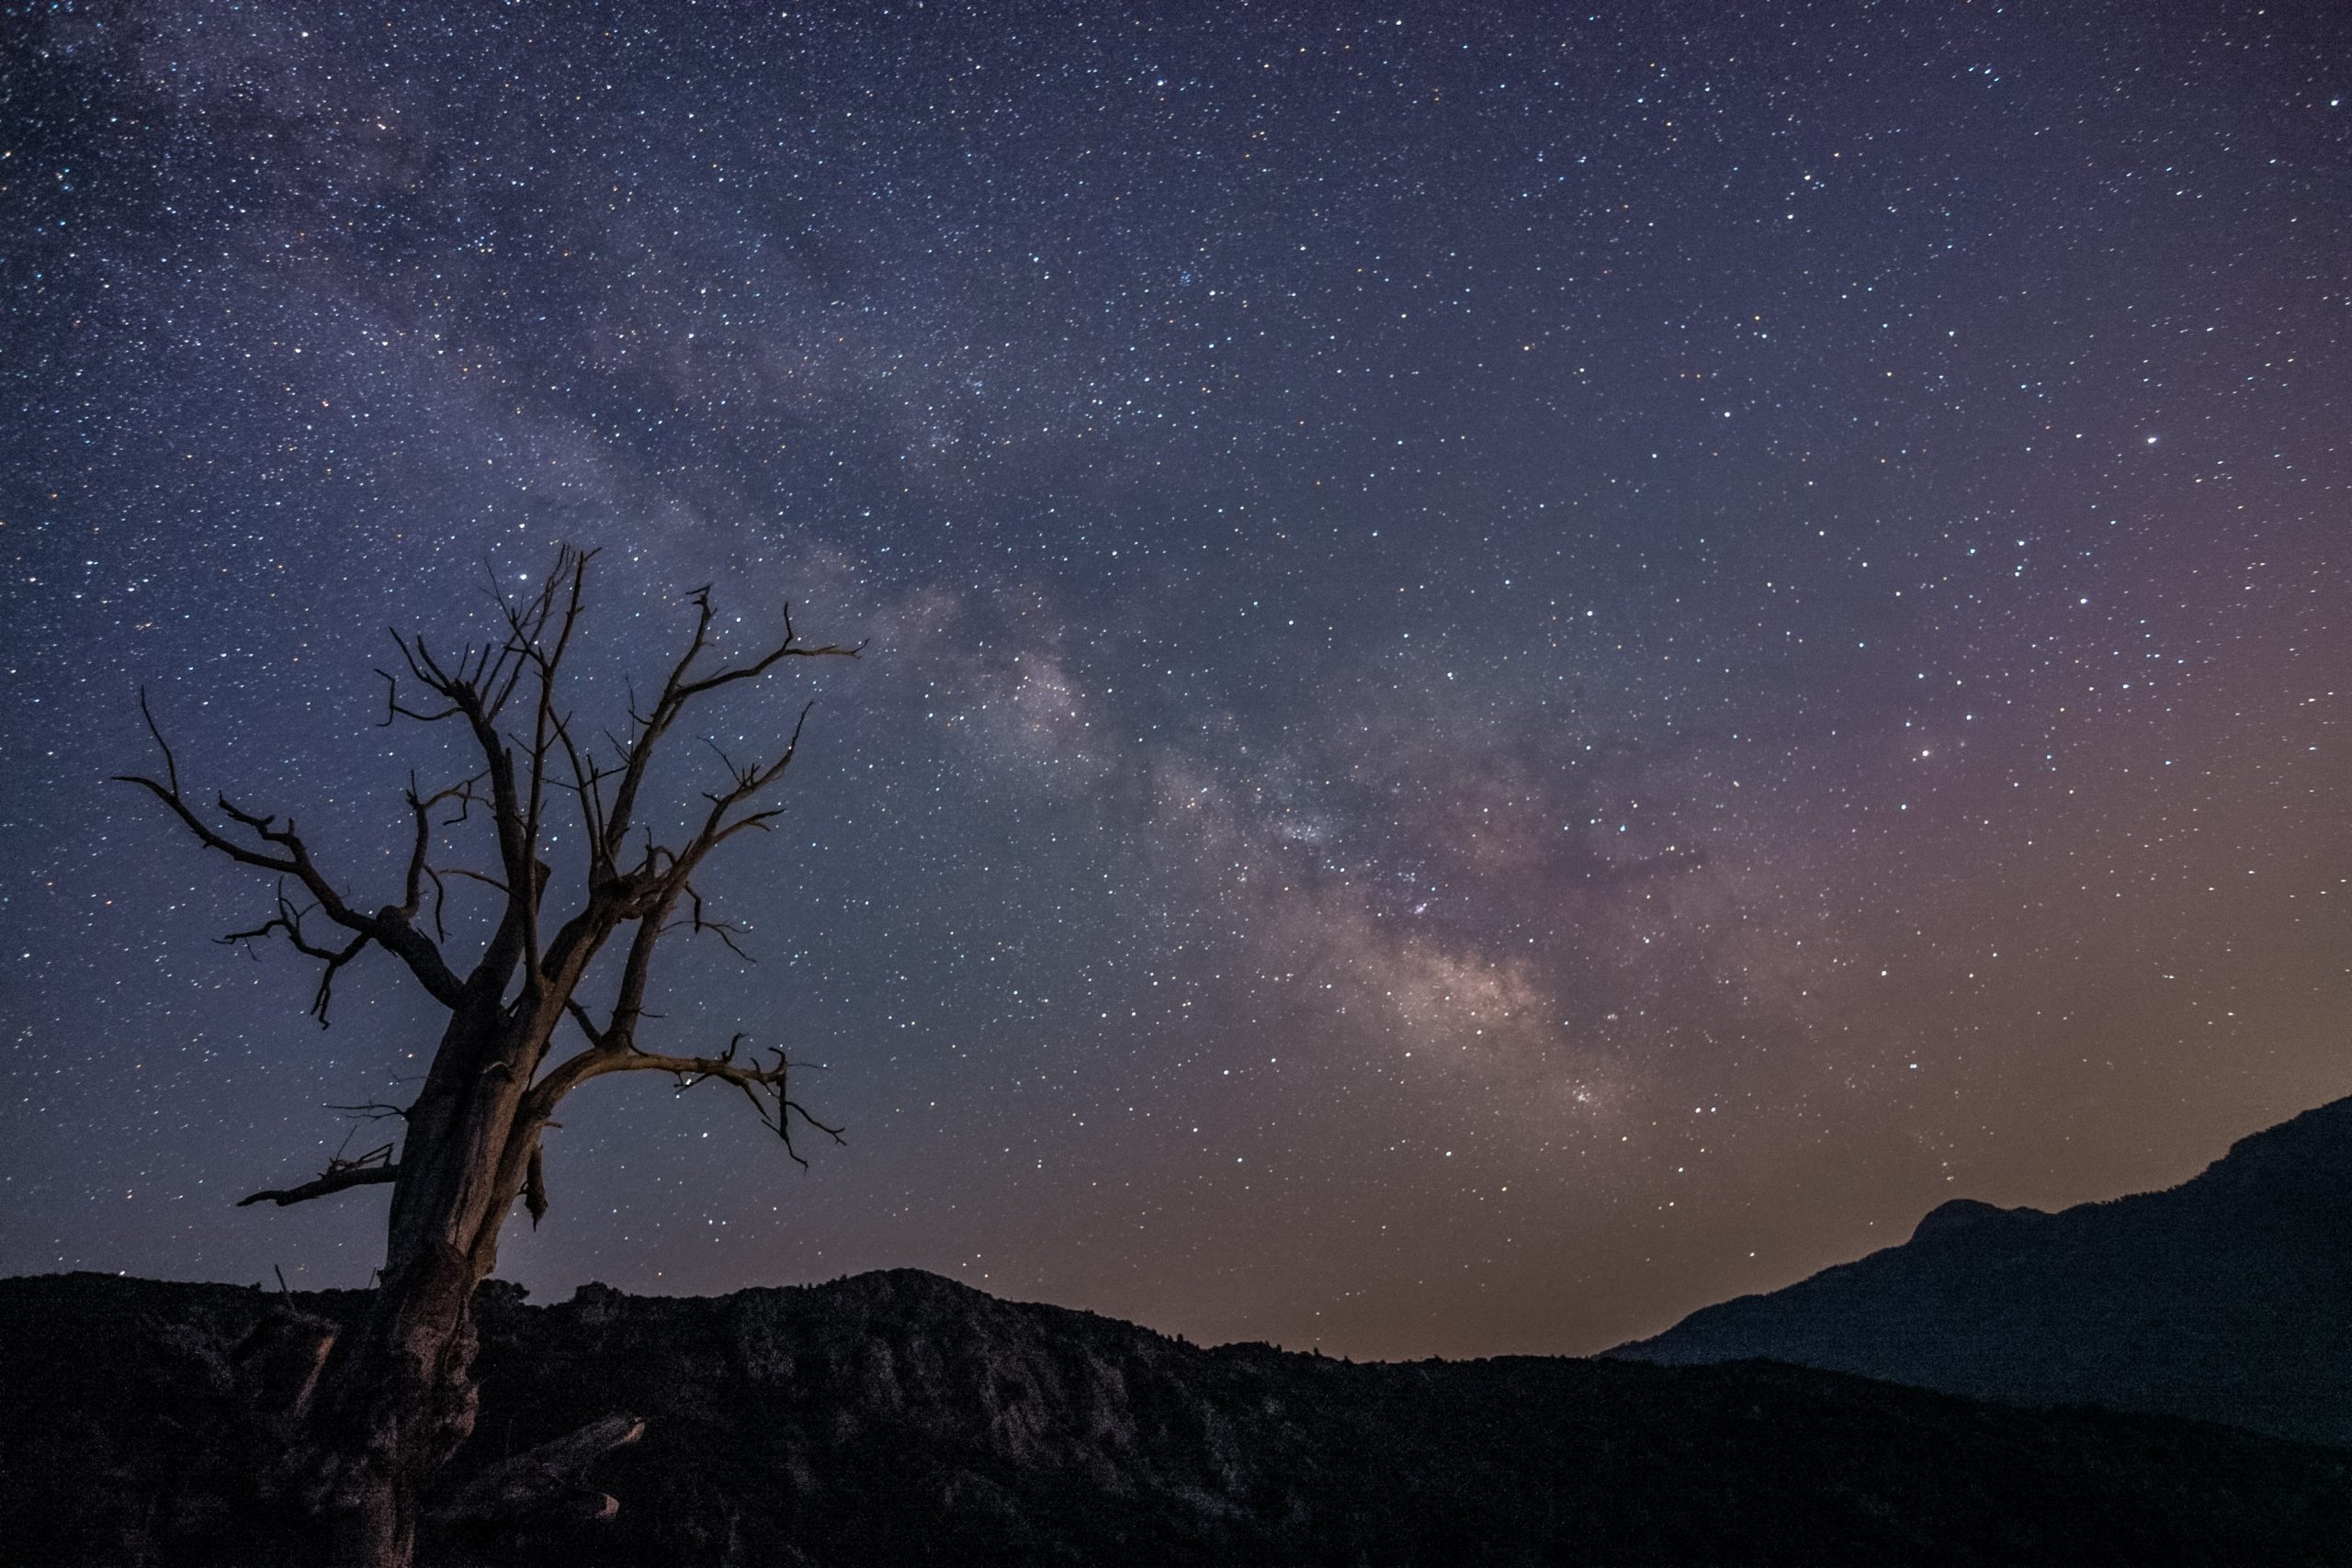
Milky Way formed an arc in the evening spanning from east to west. Later, it rose up and formed a line from south to north. What a fantastic view we had:
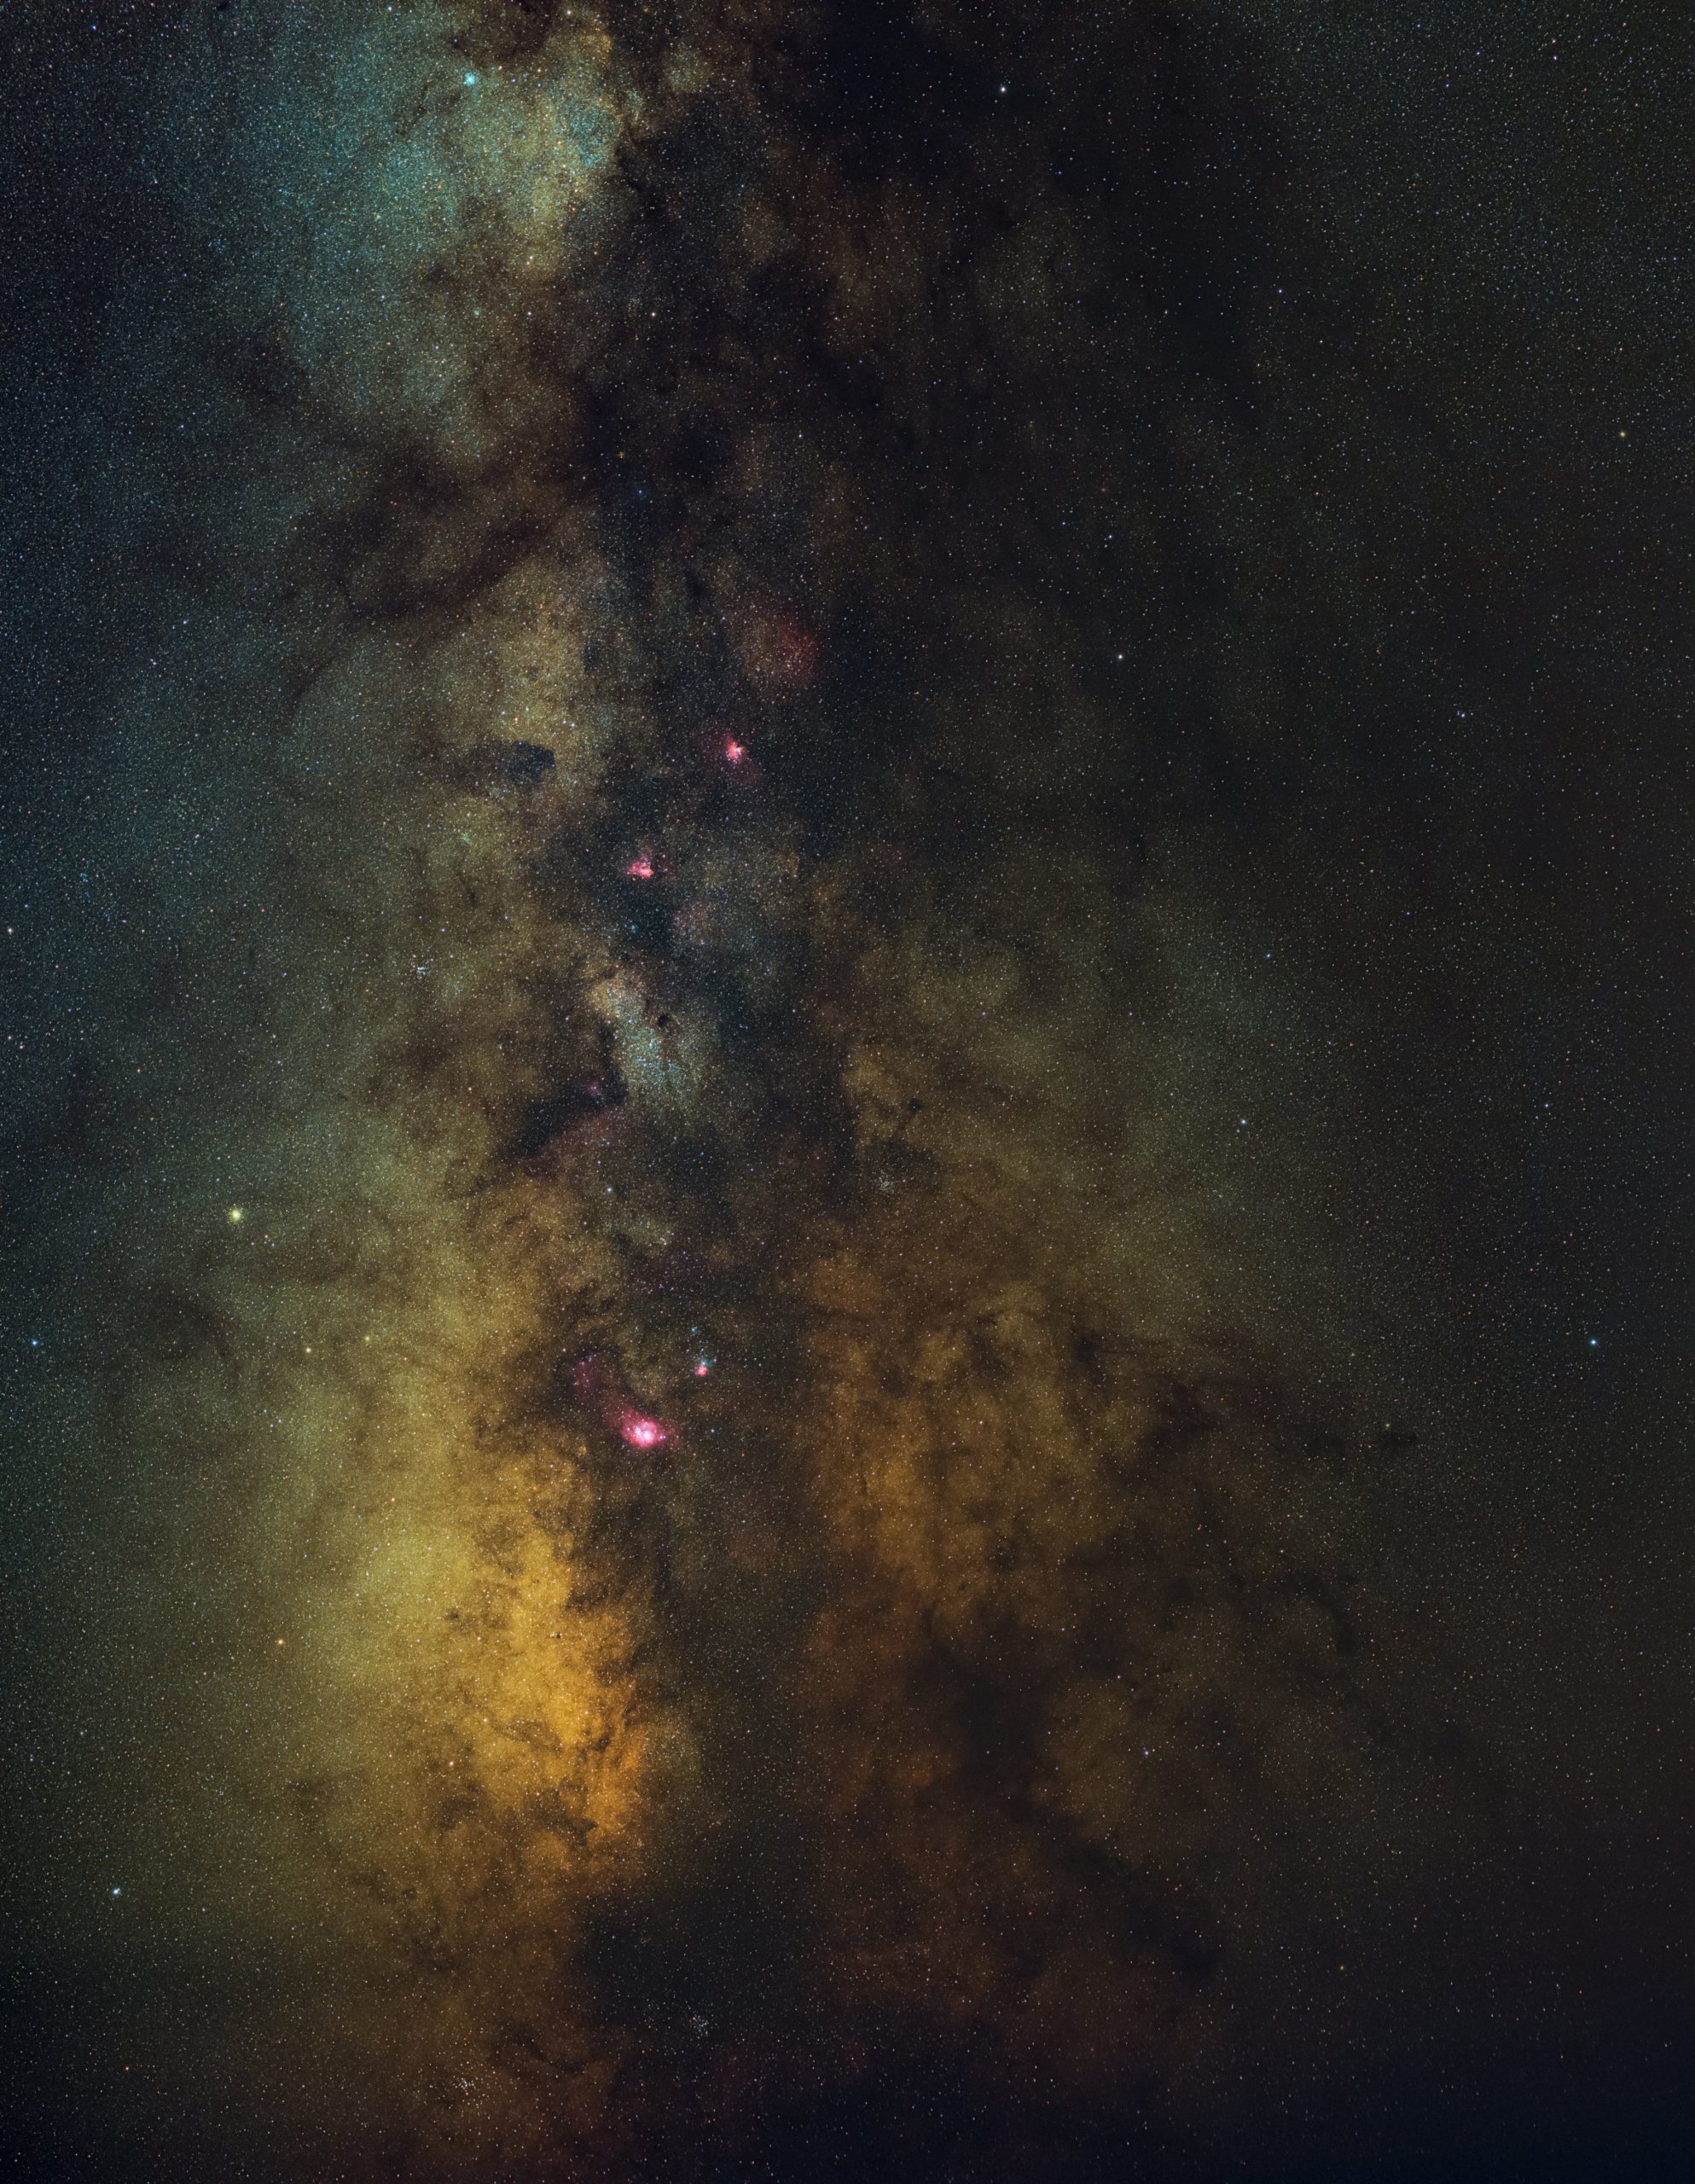
| Lens | Samyang XP 14mm f/2.4 @f2.8 |
| Camera | Canon EOS 6Da |
| Mount | iOptron Skyguider Pro |
| Exposure | 50x20s, ISO 1600 |
| Date | 2021-05-30 |
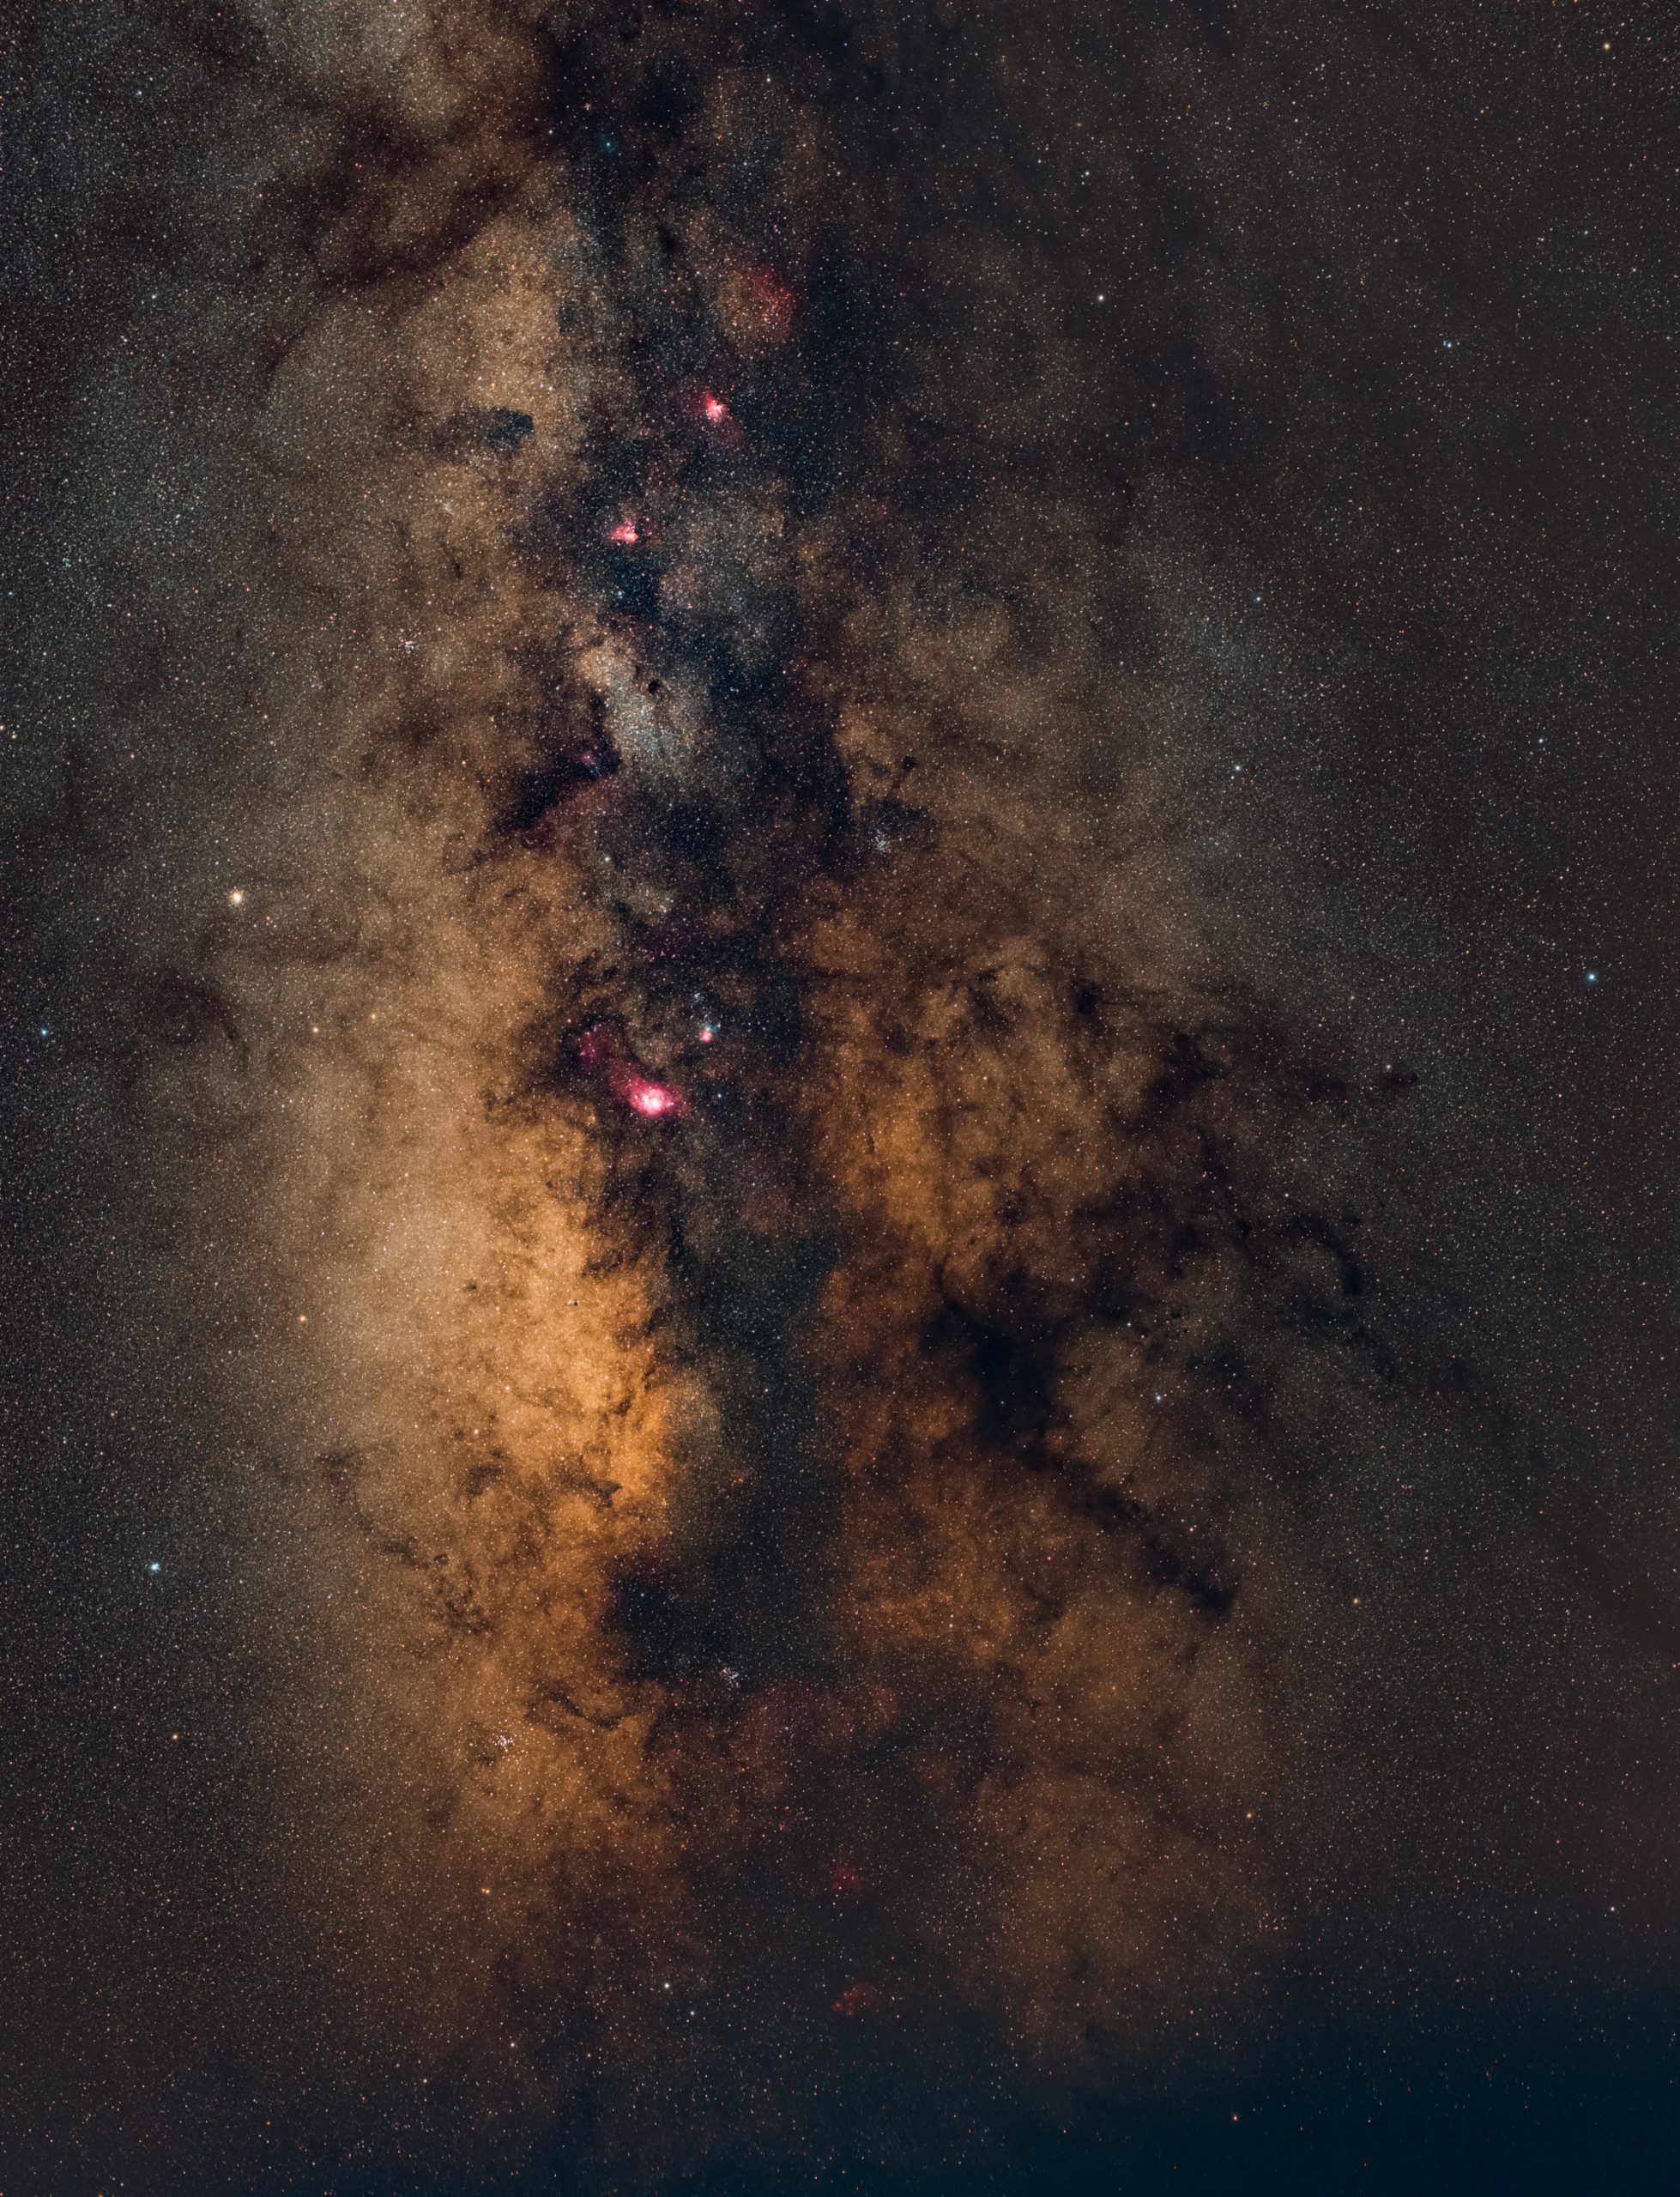
| Lens | Samyang 24mm f/1.4 @f2.8 |
| Camera | Canon EOS 6Da |
| Mount | iOptron Skyguider Pro |
| Exposure | 75x12s, ISO 1600 |
| Date | 2021-05-31 |
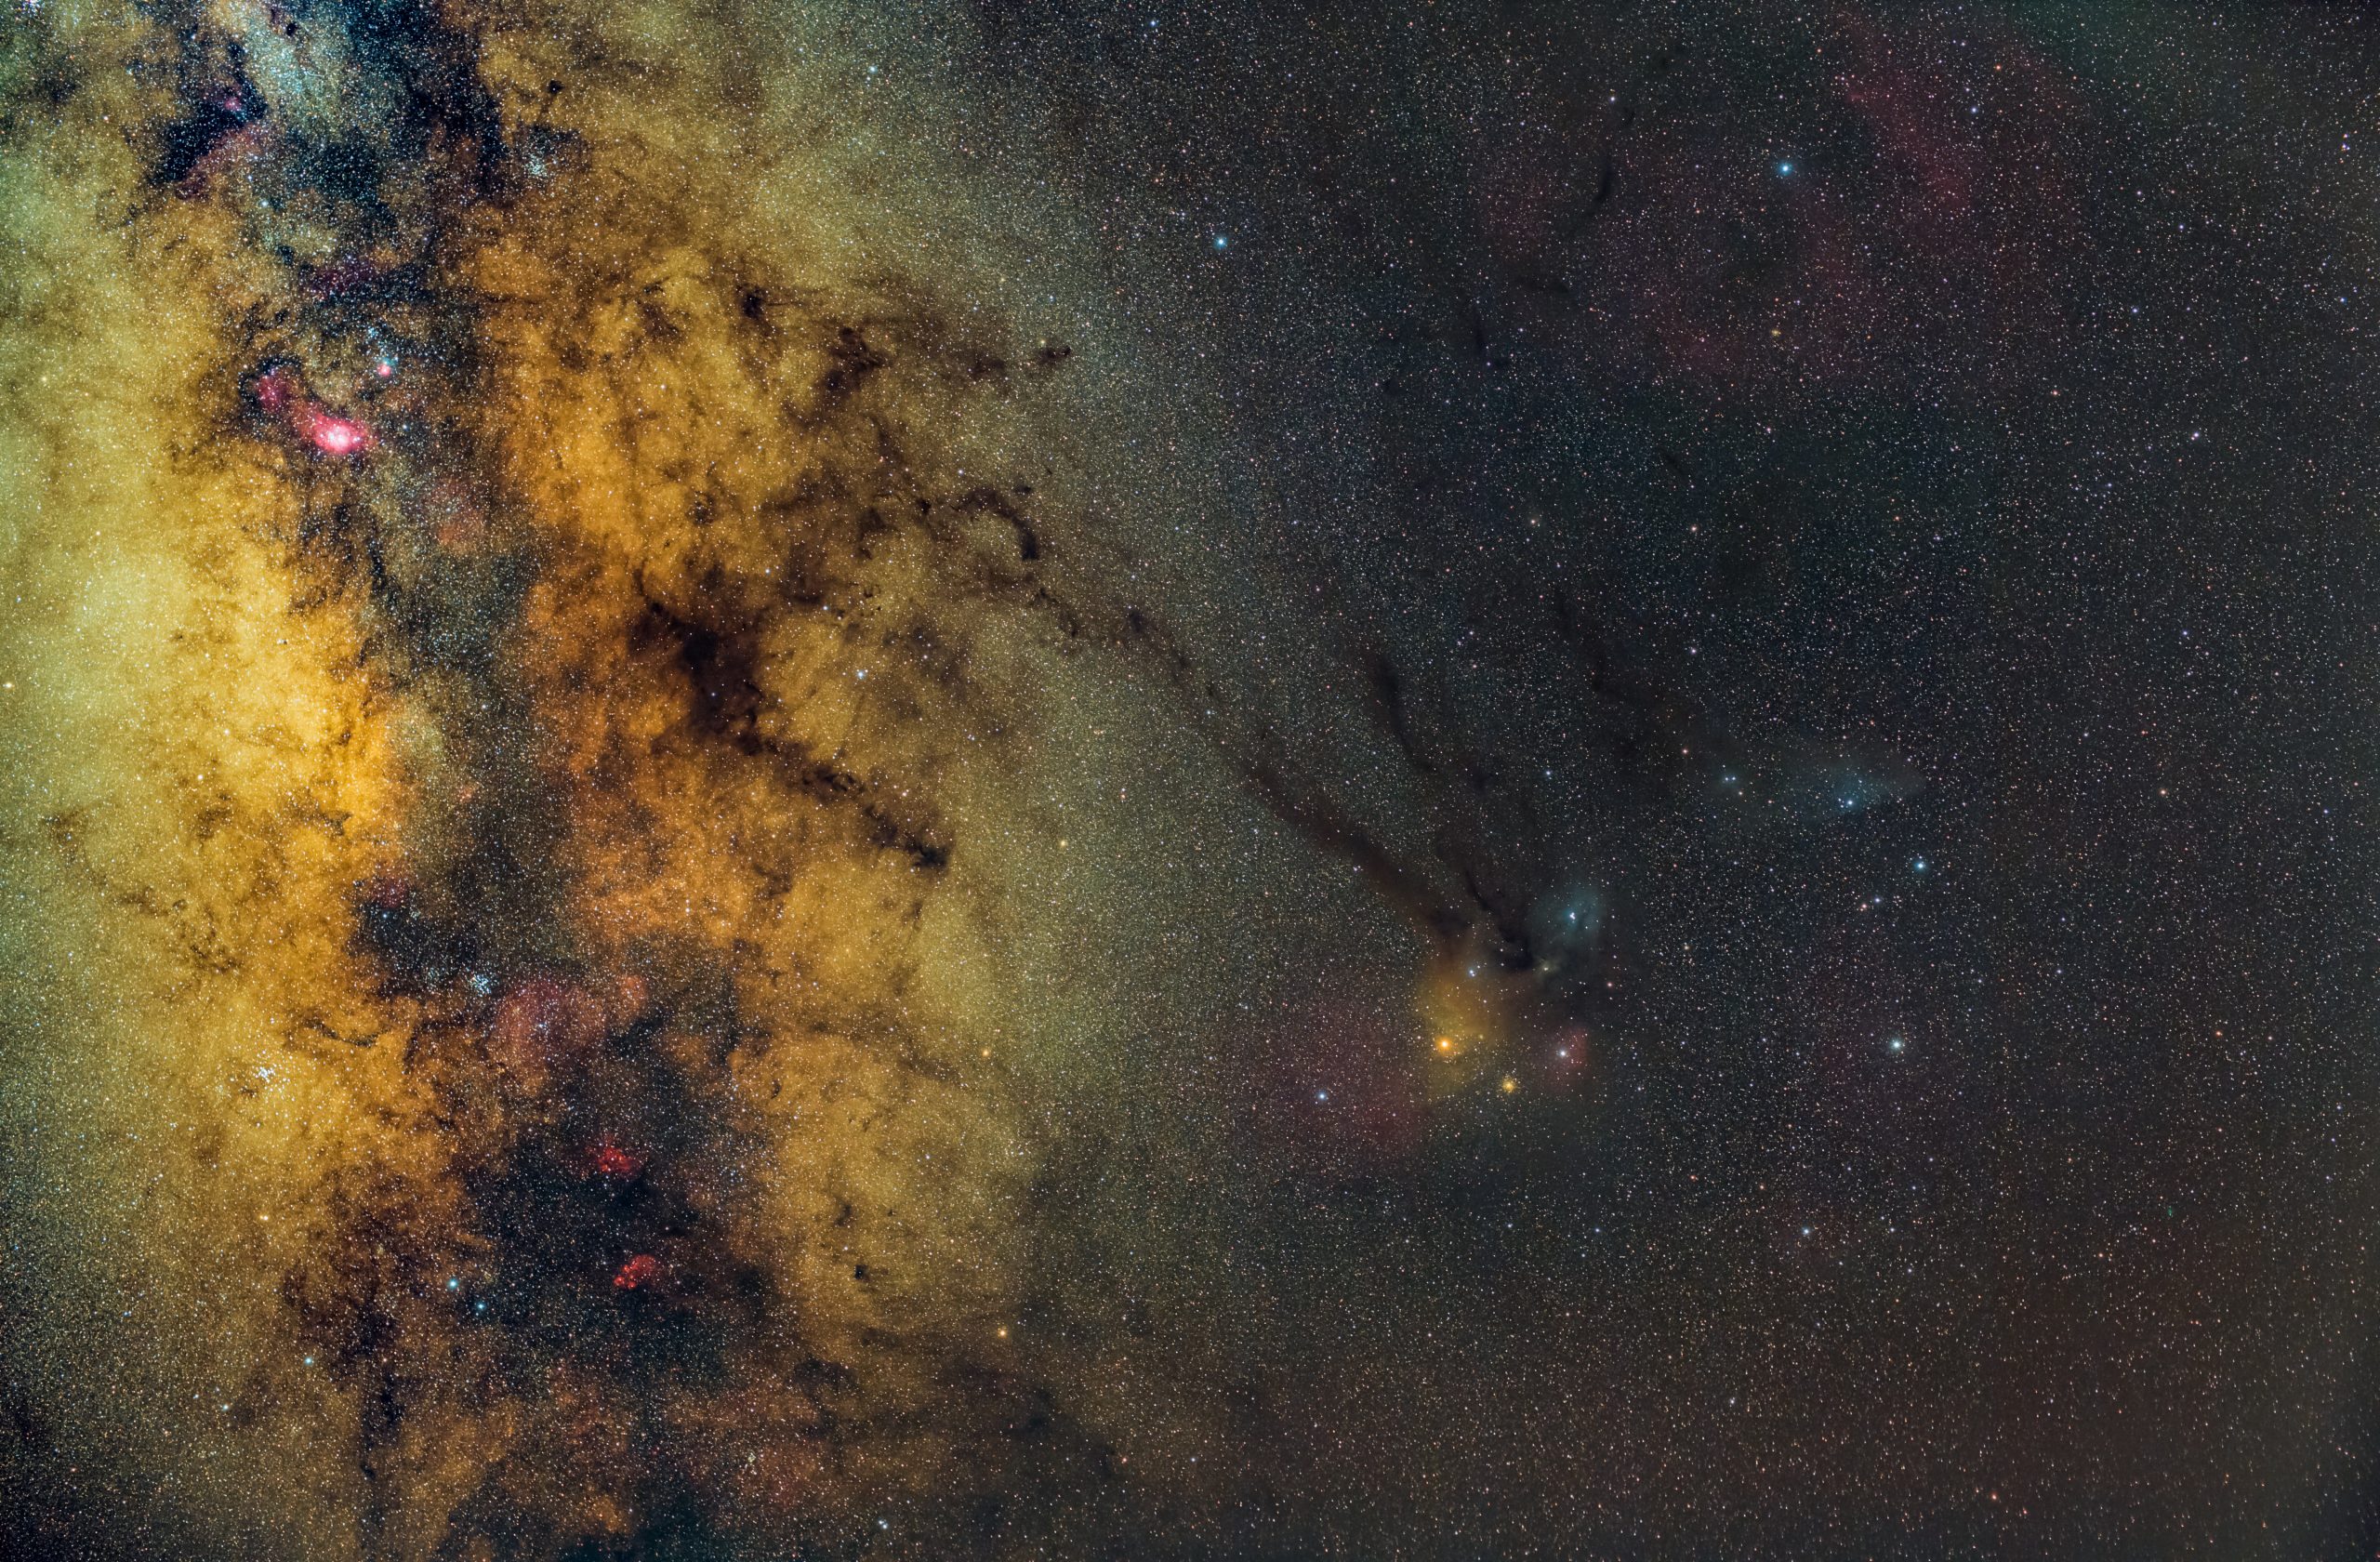
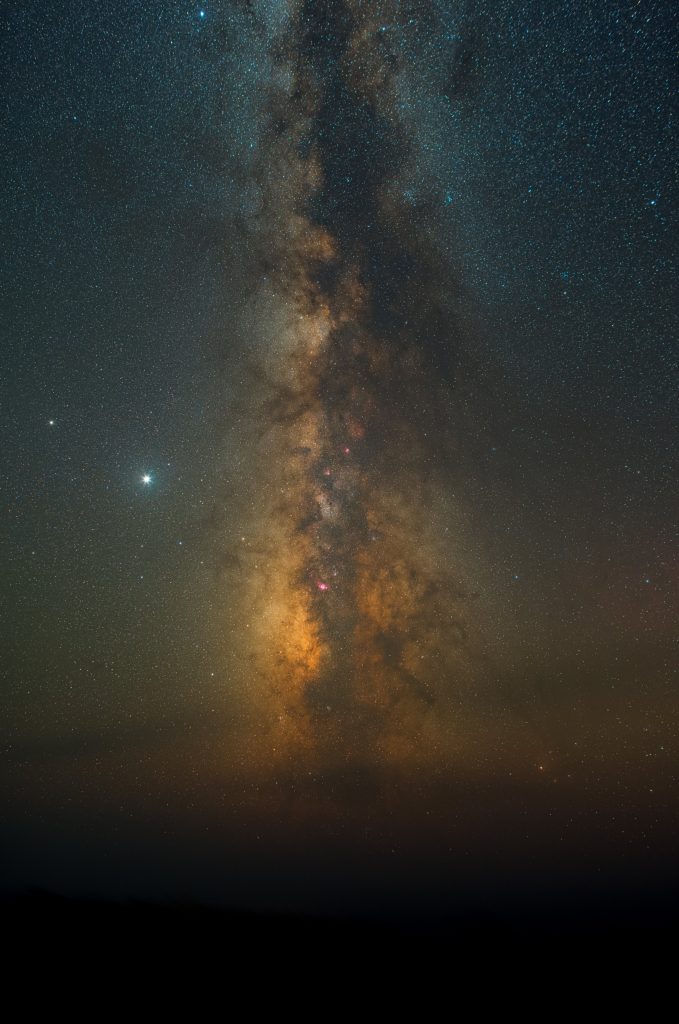
And here is the most complex picture spanning from the Lagoon Nebula on the left to the Carina Nebula on the right. The picture was made as a panorama stitch of 6 photos. Each photo is a stack of 10 images, each 60 seconds long. This means in total I spent only one hour on this photo.
| Lens | Sigma 50 mm f1.4 Art @f2.8 |
| Camera | Canon EOS 6Da |
| Mount | iOptron Skyguider Pro |
| Exposure | 60x60s, ISO 1600 |
| Date | 2021-05-28 |


