Regarding the equipment for astrophotography, one needs a telescope, a motorized mount, and a camera. All these components are equally important. If you have one component significantly worse than the others, you will not achieve good results.
Second equipment (2015 – now)
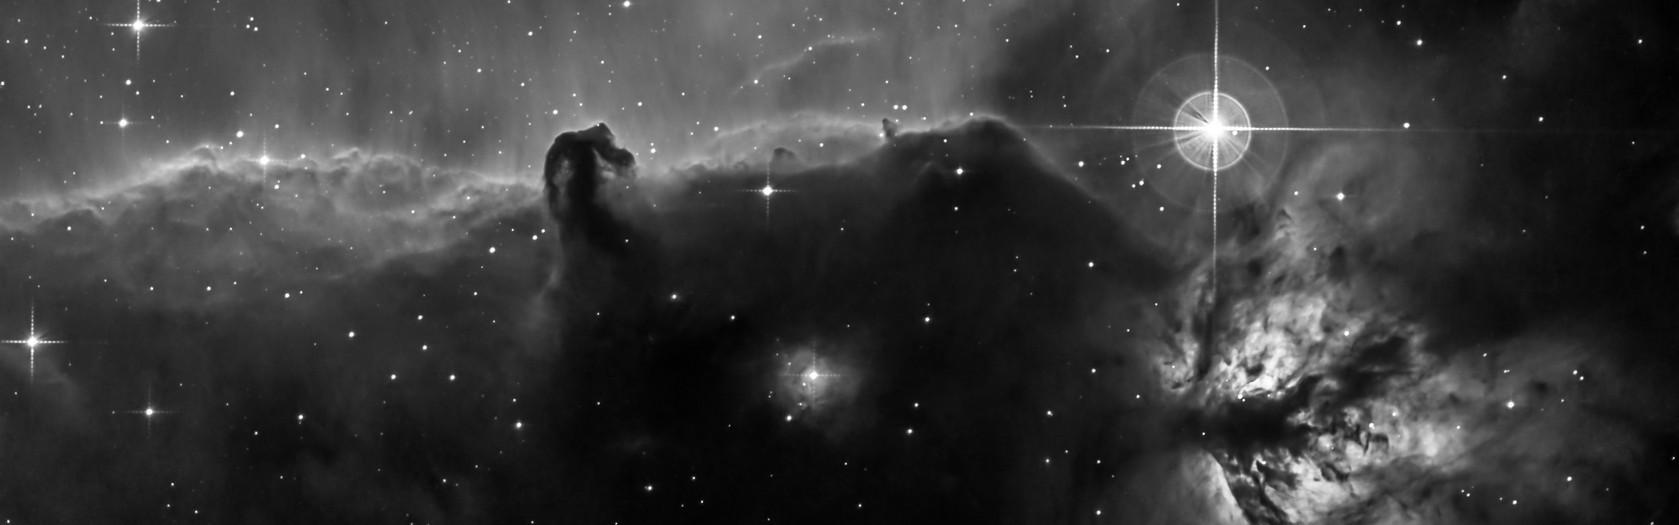
After one year of getting familiar with astrophotography, I decided that it was time for an upgrade. First I replaced the camera. An old DSLR did the job, but for serious work, I need a dedicated astrocamera. Well, the choice is big, but after reading many reviews I decided on Moravian Instruments G2 8300 monochrome with an external filter wheel. This camera is capable of doing standard LRGB but mainly it’s possible to do narrowband astro imaging. Since I live in a suburban area, where light pollution is quite high (SQM 19.5 – 20.5), therefore narrow band is the only way, how one can get good pictures. I had this camera for over one year and I am very happy with it. Never had any problems, also the filter wheel works flawlessly.
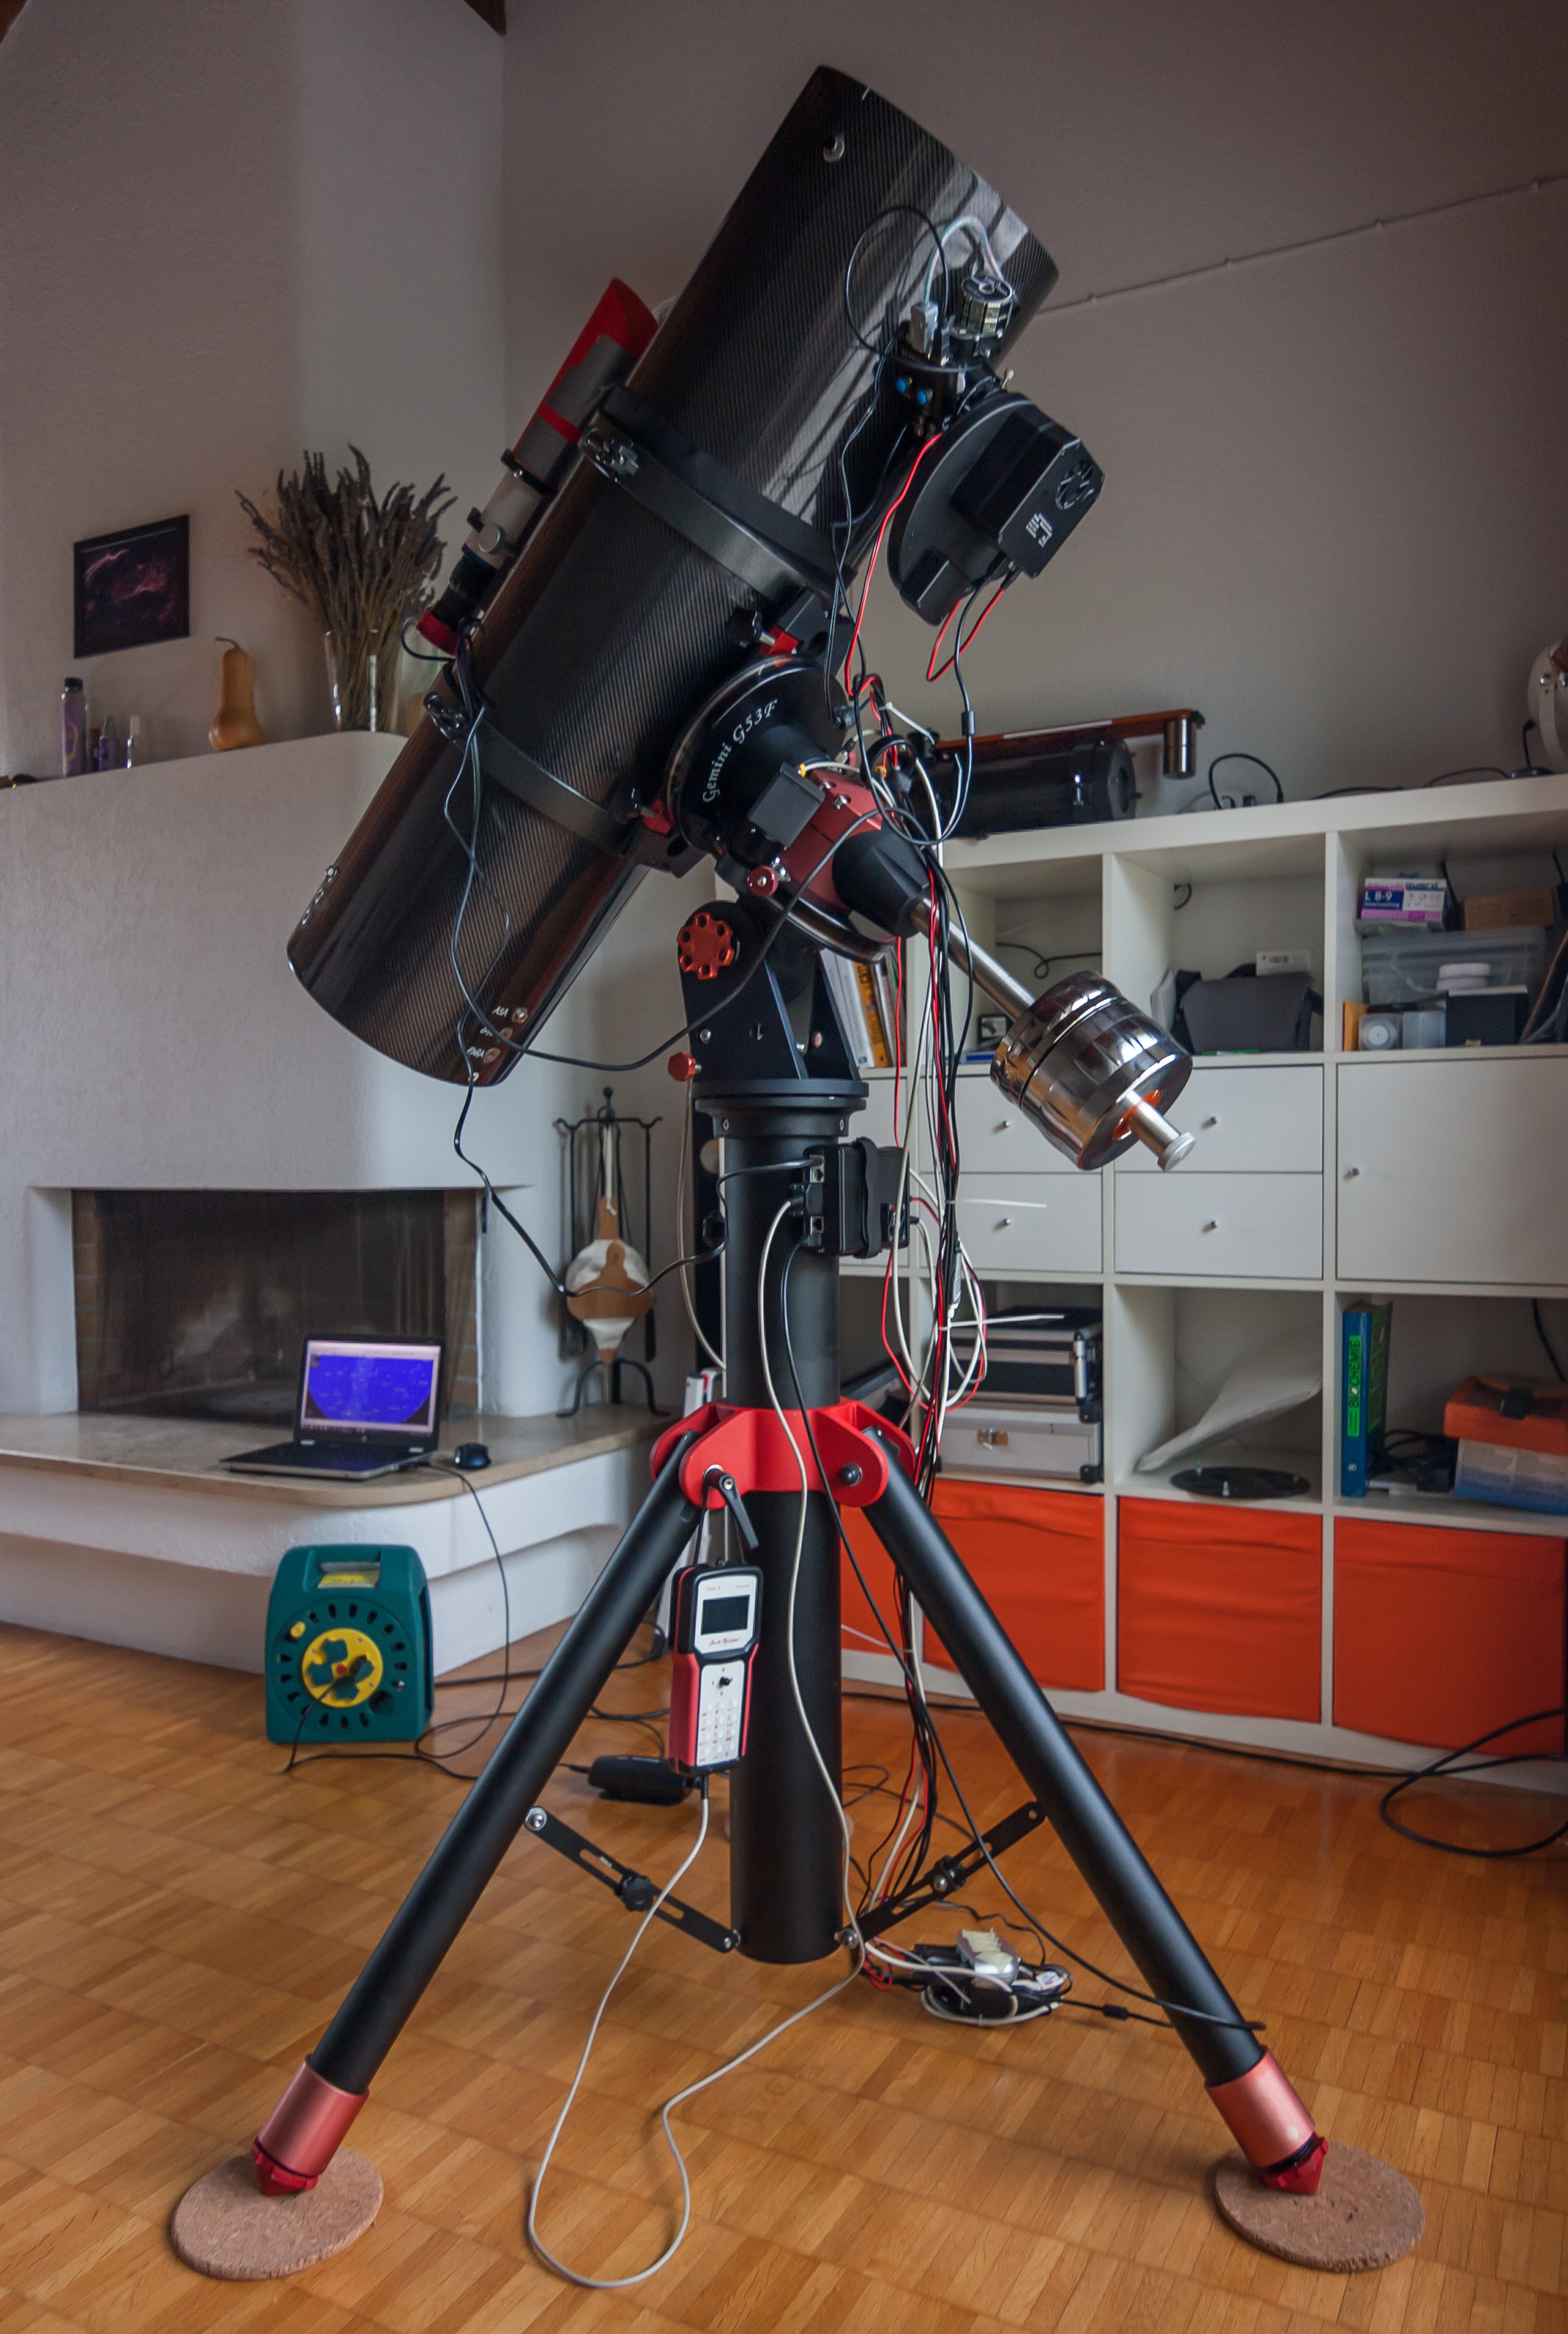
The second upgrade was the OTA (optical tube assembly). My initial newton (called white boiler) was good for the start, but since it was a cheap telescope the tube was made of steel. And steel expands or shrinks when the temperature changes. Even a small strain of a 1 m long telescope can cause defocus of the image, which has happened to me several times, which was very annoying. I remember taking a few sharp pictures and leaving the telescope unattended, leading to a bunch of blurry pictures. There is a solution for that – a carbon fiber-reinforced epoxy tube, which has a significantly lower thermal expansion. Another feature, which I wanted to have, is motorfocus, allowing me to precisely focus without touching the OTA. So I decided on Telescope-service custom-made carbon newton 254/1000. The aperture is 51 mm bigger, but the focal length is the same 1000 mm. Moreover, the focal length can be reduced to 730 mm by a special coma corrector from ASA, which gives magical f/stop 2.8. This number is something like the Holy Grail of astrophotography. Just like with the camera, I am very happy with this OTA.
In order to close the circle, I also upgraded the mount. SkyWatcher EQ6 Pro was an excellent equatorial mount, but the payload of this mount is approximately 15 kg for photography, 20 kg for visual use and my gear was exceeding these values. Moreover, EQ6 has worm gears, which means play and backlash can sometimes happen. Therefore, I searched for a mount without any backlash and found Gemini G53f. The letter f stands for friction drive. This drive doesn’t have any gears, but the shafts of the motors are directly pushed through the clutches to the disks attached to the declination and right ascension axis. Built-in encoders are precisely adjusting the motors, therefore if the polar alignment is precisely done, you can have several minutes of unguided exposures. A payload of 45 kg is more than I can use (so far). I should probably write a review of this mount.
First equipment (2014 – 2015)
My first telescope was a Newtonian reflector Bresser Messier 203/1000 with mount SkyWatcher EQ6. At that time I was completely inexperienced, but it turned out that the mount was an excellent choice. EQ6 has a perfect price/performance ratio, can carry up to 15 kg load, can be connected to a computer, and is driven by community-developed software EQMod, which is really fantastic. I would recommend this mount to everybody who wants to start with astrophotography. Regarding the telescope, it was not so simple to decide. Generally, you have two options: refractors vs. reflectors – Galileo vs. Newton. Refractors are basically ready to use out of the box, but you pay for the aperture. Probably 80 mm ED APO could be a good choice for a start, but I chose a reflector because you get a bigger aperture for the same money. The problem is that I wanted to have an all-rounder, suitable for visual observations as well as for astrophotography, but such a telescope doesn’t exist. If you are serious about astronomy and astrophotography, you will end up having several telescopes.
I already had a DSLR camera Canon EOS 40D, so I just bought the adapter and the camera went straight into the focuser. For getting familiar with astrophotography DSLR camera is a good choice, because it is relatively inexpensive, doesn’t have to be connected to a PC and it’s not so heavy. However, for serious astrophotography, DSLR cameras are not optimal because:
- They have a filter in front of the CCD chip, which blocks most of the red light and most of the nebulae are red. There are some companies, which remove this filter out, but this will introduce a reddish tone for regular photography.
- They are not cooled. High temperature = high noise. Since there is no cooling, and during long exposures, the CCD chip gets heated you can end up with a 10 – 15 °C higher temperature of the chip than the ambient one. Moreover, each time you photograph something, you must capture dark frames (same exposure time, iso, and temperature, but telescope covered), which is time-consuming and annoying.
- They have a low frame rate. Especially for planetary astrophotography high frame rate is essential because you have to capture as many pictures in a short time.
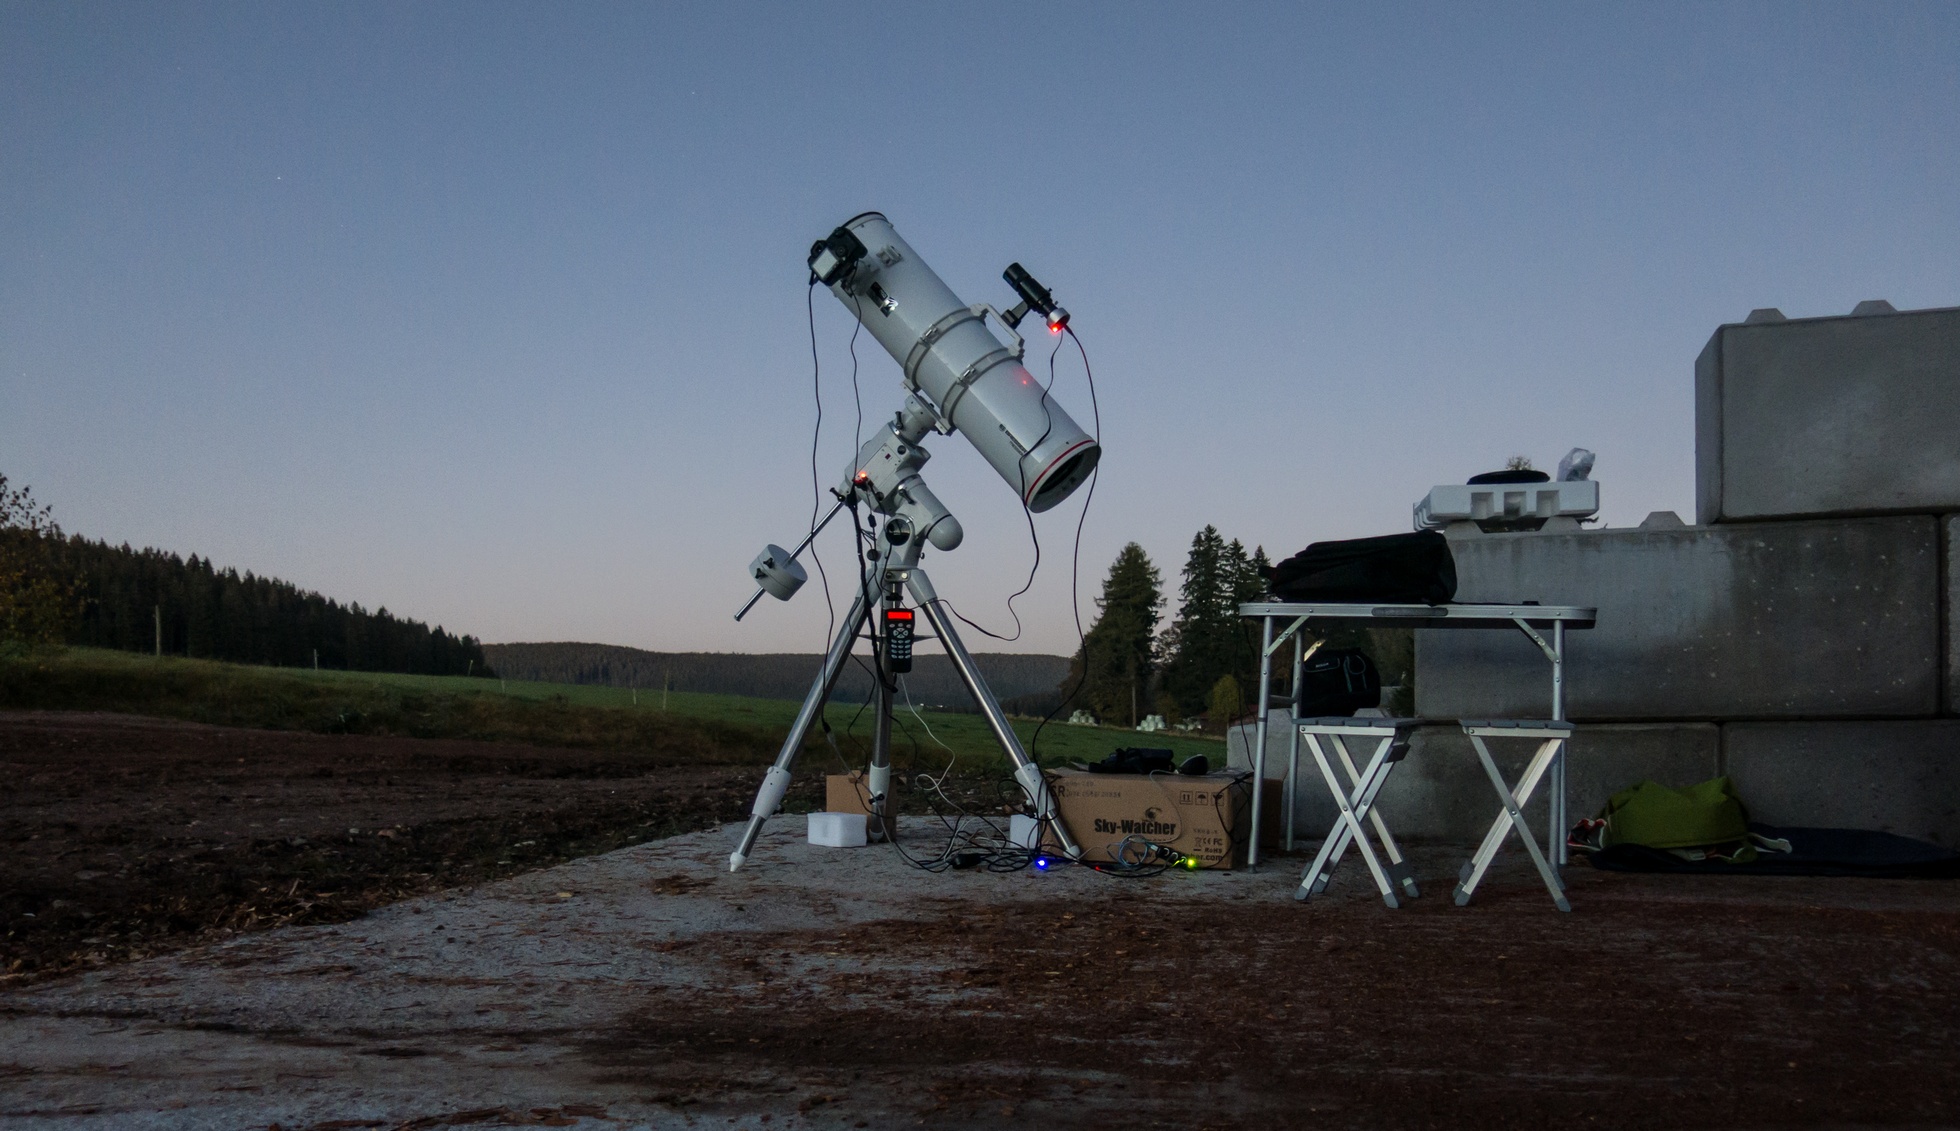
Here is the picture of the setup in Schwarzwald, ready to collect some photons.